From selfies to landscapes, your smartphone camera is a capable tool when used well. You might need to work a little harder to get the most out of it, but it’s a lot lighter and cheaper than a DSLR. And with a little skill, it can produce comparable images that look great on screen or hung from a wall.
While point-and-shoot is fine for a night out on the town, learning how to take better photos will make you the envy of your pals. So, we’ve put together a list of our favorite smartphone camera tips which, once learned, will guarantee great shots every time.
7 smartphone camera tips for better photos
1. Compose before shooting, not afterwards
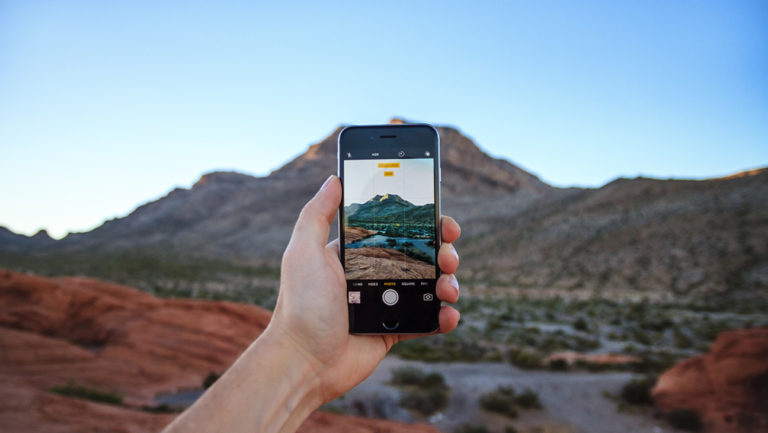
Award-winning photos are often the result of weeks of preparation. Camping out under the stars, lying motionless in the grass, hunkering on a rocky mountainside – the professionals have done it all. What really sets them apart is composition – knowing the kind of photograph they want to shoot and realizing it in-camera, not pressing the shutter and hoping for the best.
Composition is about what you capture with your camera, and what you leave out. How much of the sea and sky should you include in your holiday snaps? Who should be in them? Do I want whole bodies or just faces? When is the best time of day to shoot? And at what angle?
You can change some things after you’ve taken the shot, but usually at the expense of something else. If you took a whole body shot but think a face would be better, you’ll have to crop the image, lowering the overall detail in the picture. If your friends’ faces are silhouetted by background sunshine, you can lighten shadow detail, but at the expense of highlights.
Your smartphone shots will rarely need weeks of attention, but that doesn’t mean you should just point and shoot. A little thought goes a long way. Get the preview of your shot right first, then shoot.
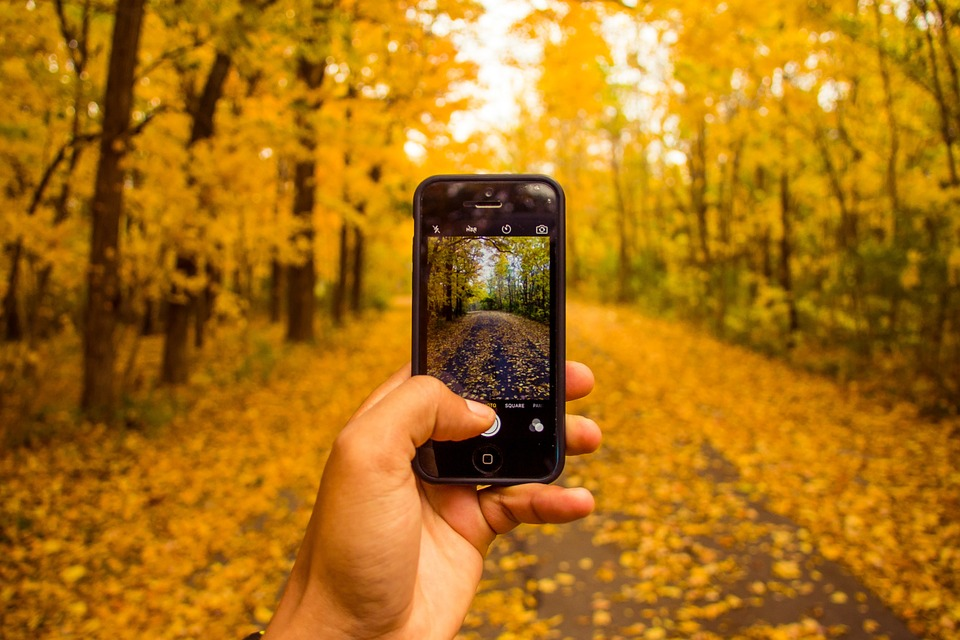
2. Improve your composition with burst mode

If you’ve ever been at a restaurant and asked the waiter to take a photo of you and your friends, they normally take a few, don’t they? That’s because, as amateurs, we don’t trust ourselves to get composition right first time. Especially when there’s a lot going on in the picture. So, we take a few shots instead of one.
An easy way to do this is by using your camera’s burst mode. This takes several shots, one after the other, with just one tap of your finger. You then choose the best of the bunch. Burst mode is particularly useful for shots involving action or moving subjects, when your eyes and fingers aren’t quite fast enough to capture those mid-air moments.
3. Don’t use digital zoom

There are two types of zoom: optical and digital. Optical zoom is a function of the lens. It works in a similar way to binoculars or a telescope in that the lens itself magnifies the image. Digital zoom is a software feature. It magnifies the image by expanding the pixels. With optical zoom, you retain all the detail of your subject. With digital zoom, you lose detail and gain pixelation (the appearance of little blocks and jagged lines).
If you’re looking for richly detailed images, it’s best to avoid digital zoom altogether. Instead, try to get the composition right before you shoot. Zoom with your feet if you can, or just crop the image afterwards. Cropping will lose some detail, but not as much had you used digital zoom. Better yet, if your smartphone camera has optical image stabilization, stick to using that.
4. Clean your lens before shooting
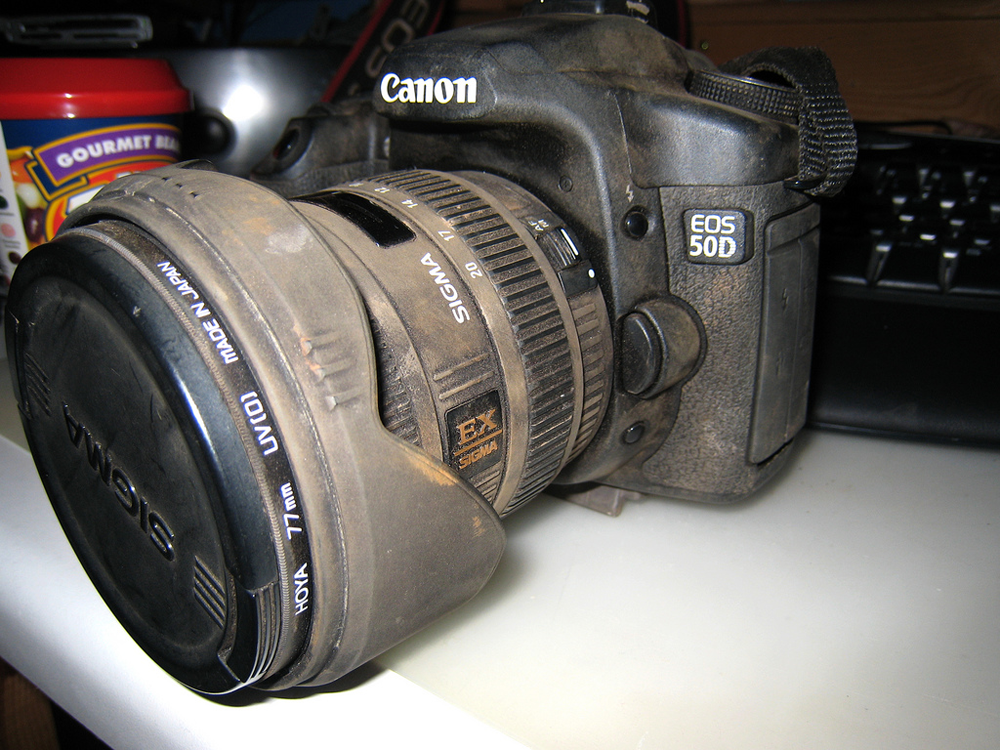
Many people keep their smartphone in their pocket, where it gets covered in fluff and whatever else you’ve been keeping in there. Bags are the same. These environments are full of dust, dirt, and other detritus that can leave marks, particles, or smudges on your camera lens – all of which will ruin your snaps.
As smartphone camera lenses don’t usually have retractable lens covers, give your lens a quick wipe with a cloth to get a clean and clear shot.
5. Use flash selectively

Our smartphone flashes are unidirectional, meaning they fire straight ahead in one direction. This isn’t particularly flattering, and can also produce unwanted shadows and artifacts in your images. Use natural light wherever possible, or if your flash has a power setting, dial this down a bit to retain more ambient light (and leave your friends some skin tone).
On the other hand, there are moments when flash is essential. That problem with backlit subjects on the beach? You can make it disappear by forcing your flash on (if you have it on auto it won’t fire). This is called fill flash and is a common technique for backlit subjects.
Always consider your environment and decide whether flash will improve the shot or make it worse.
6. When the going gets tough, go manual
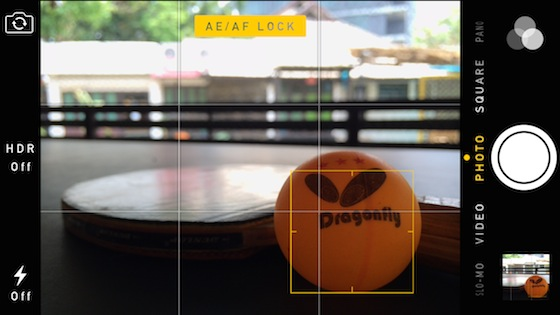
Your smartphone camera uses a lot of clever software to choose the best settings for you. This isn’t foolproof, however, and sometimes you need to take control yourself. While not all cameras offer full manual control, you should at least be able to choose what to focus on and your exposure levels.
Let’s imagine you want to photograph your friend in front of a huge waterfall. You want your friend to be in focus, as the waterfall is just a mass of white spray. If your smartphone has face detection, it might focus automatically, but if it doesn’t, tapping on your friend should do the job.
Similarly, because the waterfall is reflecting so much sunlight, your smartphone might dial down the exposure, making your friend’s face too dark. You can either select the exposure by switching to that setting and tapping on your friend’s face again – assuming your camera supports this – or use a bit of fill flash (tip #5).
7. Use your camera’s self-timer or volume button for pin-sharp images
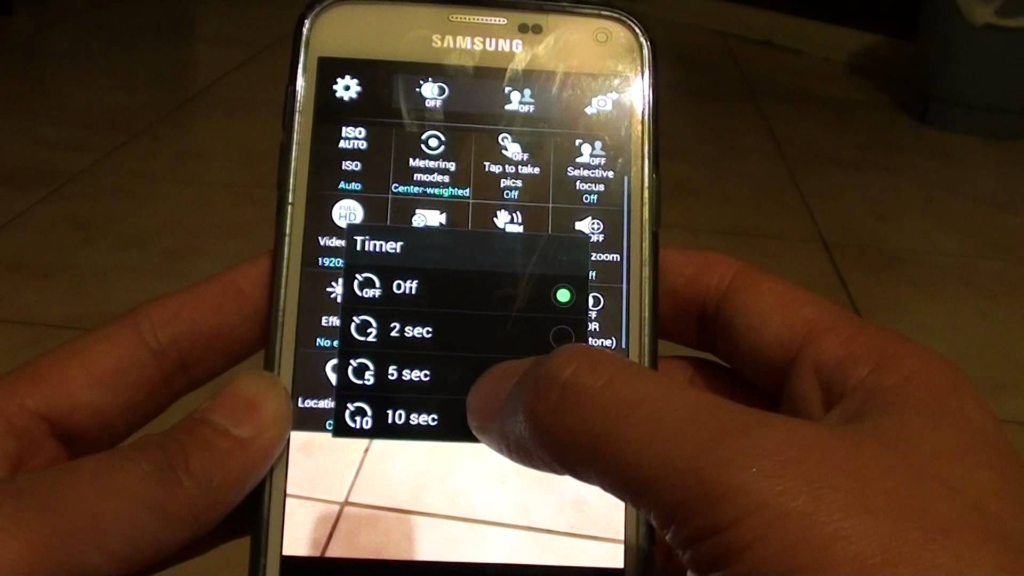
Newer smartphones use optical image stabilization (OIS) in their lenses, but until now, it’s mostly been digital. If your hands get a bit shaky, your photos might look blurry and out-of-focus – especially in low light. Tapping the on-screen shutter button without moving your phone is a tough task, too.
Thankfully, there are two solutions to this. One is to use your camera’s self-timer. That means you can concentrate on holding the camera steady while your smartphone takes the shot.
Or you can use the volume button to take a picture. This usually creates less movement than trying to tap the screen. And if you own a pair of headphones with volume controls on the cord, you can take pictures without having to press anything on the phone at all.
It’s never been easier to capture your favorite memories. And with a little technical knowhow, your photos will be crisp, clear, and colorful reminders worthy of any wall in your home.
Related:

