This summer a friend of mine went to New York and came back with a handful of beautiful pictures from the city. One of them caught my attention: a close-up of his girlfriend, standing on floor 86th of the Empire State Building, with the New York skyline reflected on her sunglasses. I immediately thought it would be great to be able to recreate this effect in Photoshop, taking whatever photos you had at hand and using them as reflections on sunglasses. Follow this tutorial and you’ll learn how to do it!

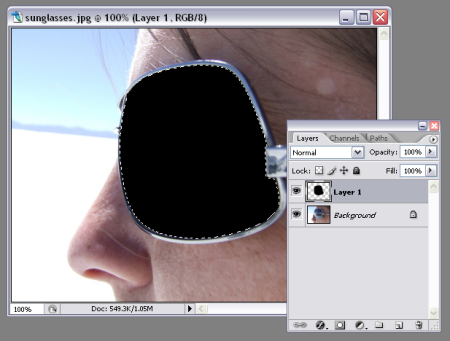
1. First, open the image with the sunglasses and create a selection around the glass with the Polygonal Lasso tool. Create a new layer, make it the active layer and fill in the selection with black. Then deselect it with Ctrl+D.
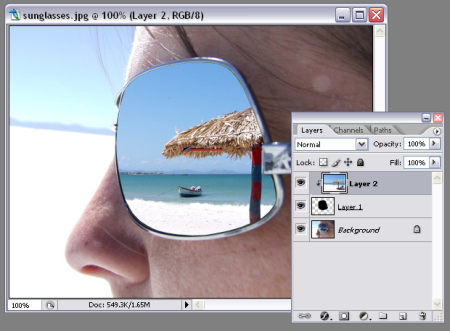
2. Now add the landscape image on top on this photo, as a new layer. Right click on this newly created layer and select Create clipping mask so that the landscape only shows through the bit you filled in with black.
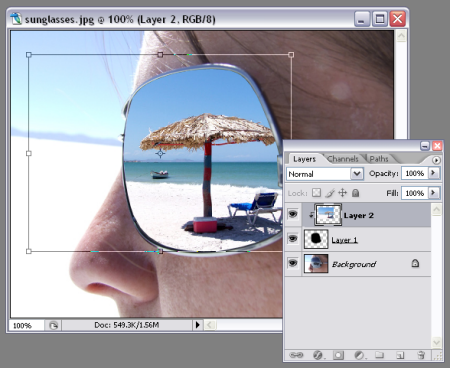
3. Now let’s make it a bit more realistic! First use Ctrl+T to resize and adjust the landscape to make it fit the sunglasses.
4. Then go to the first layer you created (the one with the black spot) and add an Inner Shadow effect.

5. Finally select that same layer again with Ctrl+click, then click on the landscape layer to make it active and go to Filter > Distort > Spherize to add a sphere effect to the image.

6. Duplicate the landscape layer and change the blending mode to Multiply. The resulting image on the sunglasses will be much darker now, but you can easily fix it by lowering the opacity of the original landscape layer.

7. Add the final touch: select the first layer again with Ctrl+click and apply a gradient effect from white to transparent.

8. Your effect is finished! Feel free to try it with different landscapes and see which one looks best on your sunglasses.