First things first, let’s address a sad fact: there is no objectively perfect pumpkin! The only person who can decide if your pumpkin rocks…is you. So, to ensure you have the best shot at making a masterpiece, let’s get down to our steps for…
Guide to carving the perfect pumpkin!
Getting a Pumpkin
Buy your pumpkins in person, period. Next step!
As long as you buy in person, the place shouldn’t matter. However, we suggest Walmart, which currently sells a great variety of pumpkins for $4.88 (a far better price than many of these “pumpkin patches”).
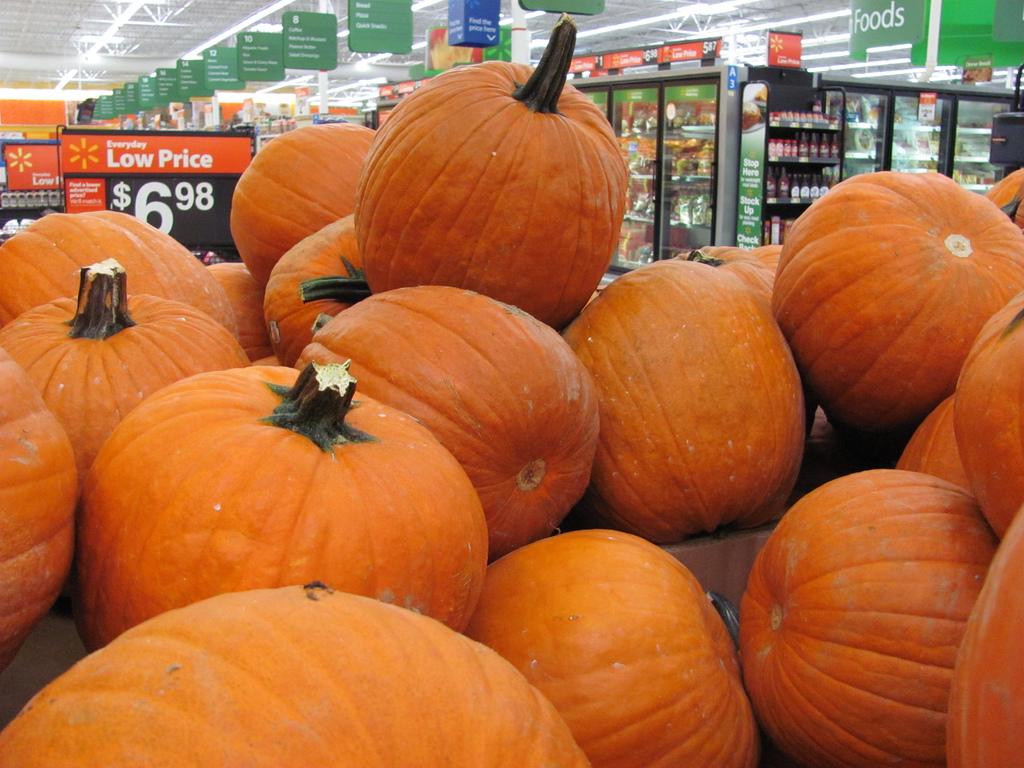
You shouldn’t have to look hard: pumpkins are often placed in the parking lot or right inside the front doors. Gotta keep those holiday shoppers happy!
Finally, consider buying your pumpkins in the morning a few days before Halloween. Why? Most stores restock in the morning, so you’ll have better choices. Also, the closer it gets to Halloween the more likely another shopper will snag the best gourds!
Setting up Shop
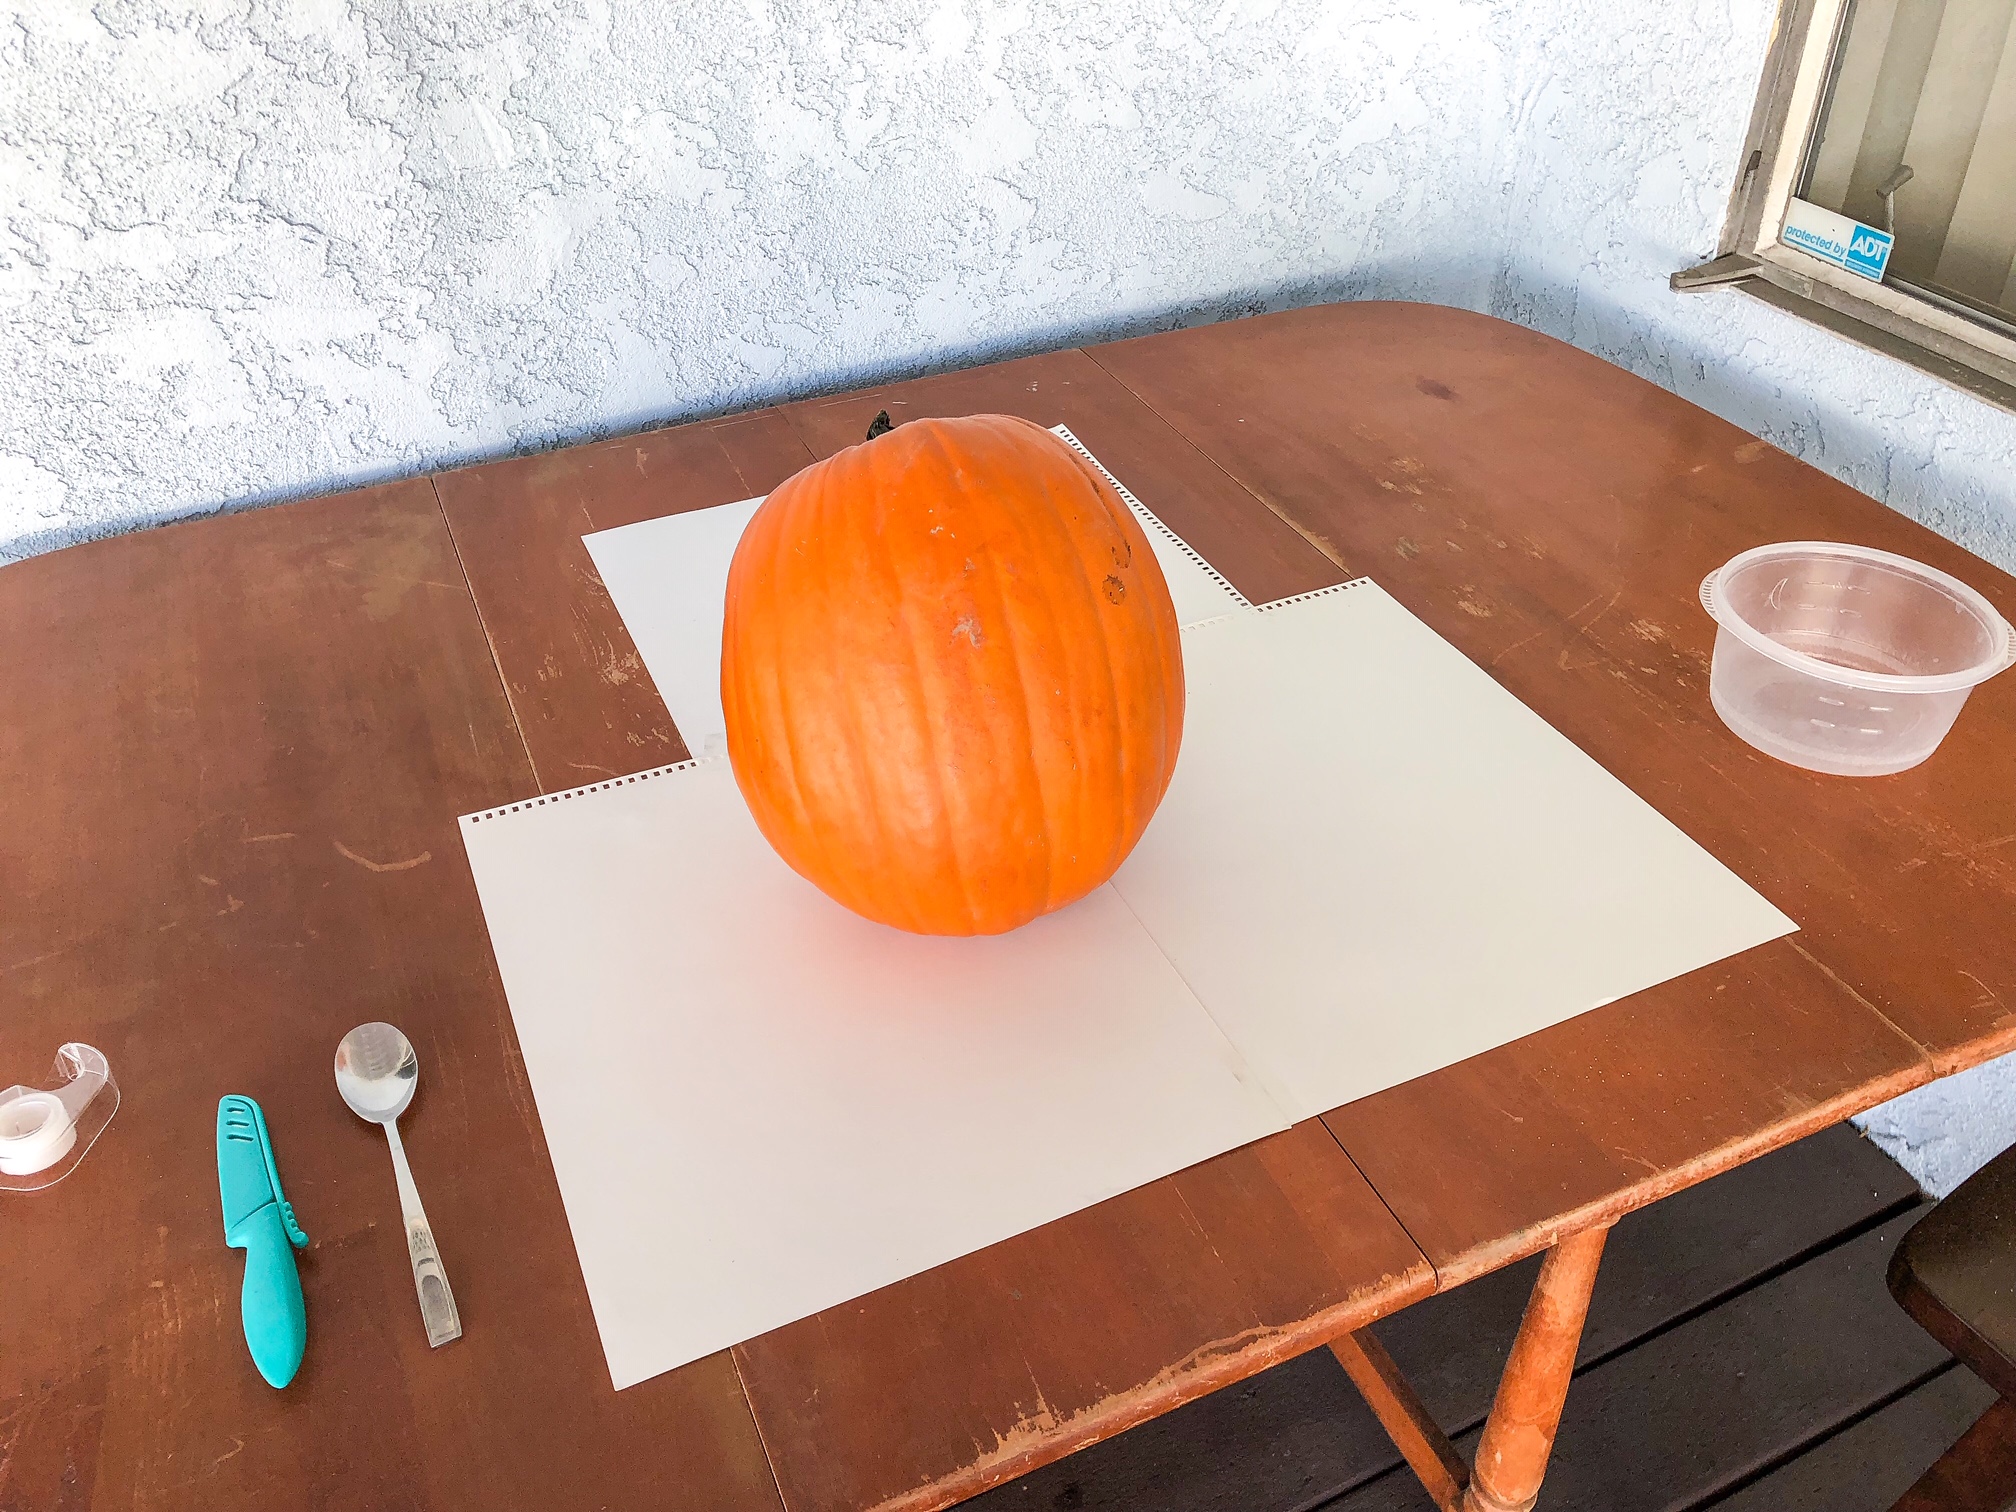
There are a few basic articles to pumpkin carving:
1. A good workspace. This should be an open table, preferably somewhere outside. You want room to work!
2. Paper or plastic wrap. Pumpkin cleanup works best when you can wrap the remains in a sheet and scoot the remains into the trash! Even newspaper works great. (Remember when newspaper was a thing?)
3. The pumpkin.
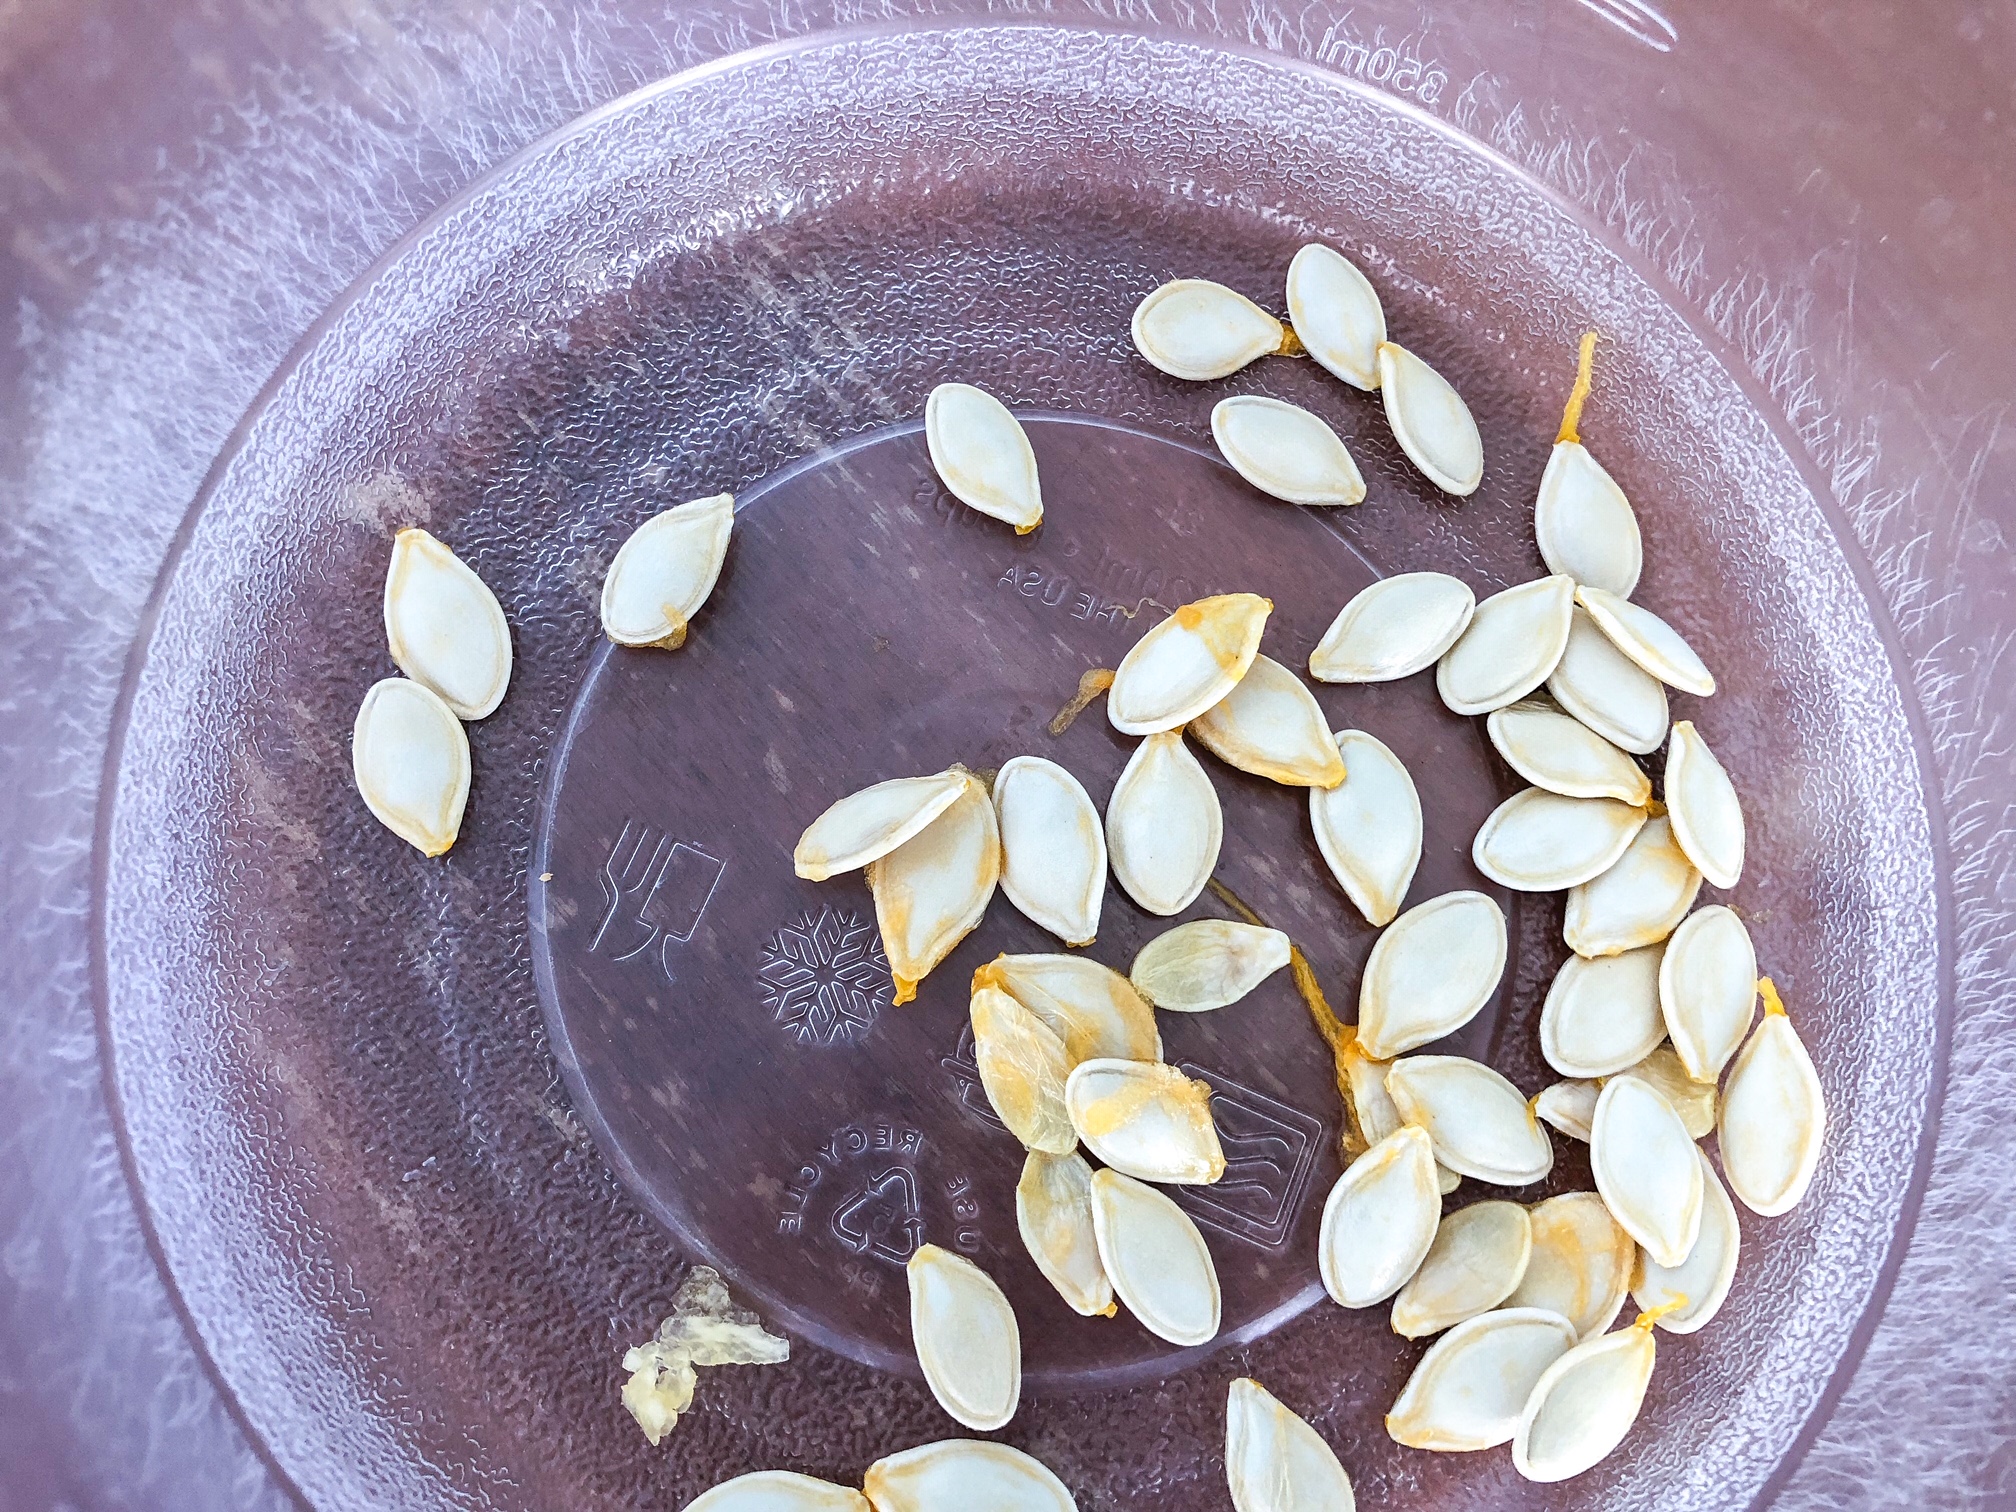
4. A bowl for pumpkin seeds. Have you ever baked the pumpkin seeds? It’s delicious! We highly recommend it, since throwing seeds away is a waste of delicious snack material.
5. Carving utensils. For demonstration, we used the classics: a kitchen knife for carving, and a spoon for scooping. Bare bones, right there! You can find cheap kits in most grocery stores during the fall, but there are some more professional options available online…

6. Your friends. Whenever possible, get multiple pumpkins for yourself and friends, then attack those gaping gourds together!
Carving the Top
What should you consider? Size and notch!
The size of your cap depends on the pumpkin’s shape and your plans for a carving design. Thinner pumpkins necessitate a smaller hole while bigger ones allow for more wiggle room. However, if you plan a large design, you’ll need more room at the front of the pumpkin. You may wish to trim the cap down…or simply cut out the back instead (like a lunatic).
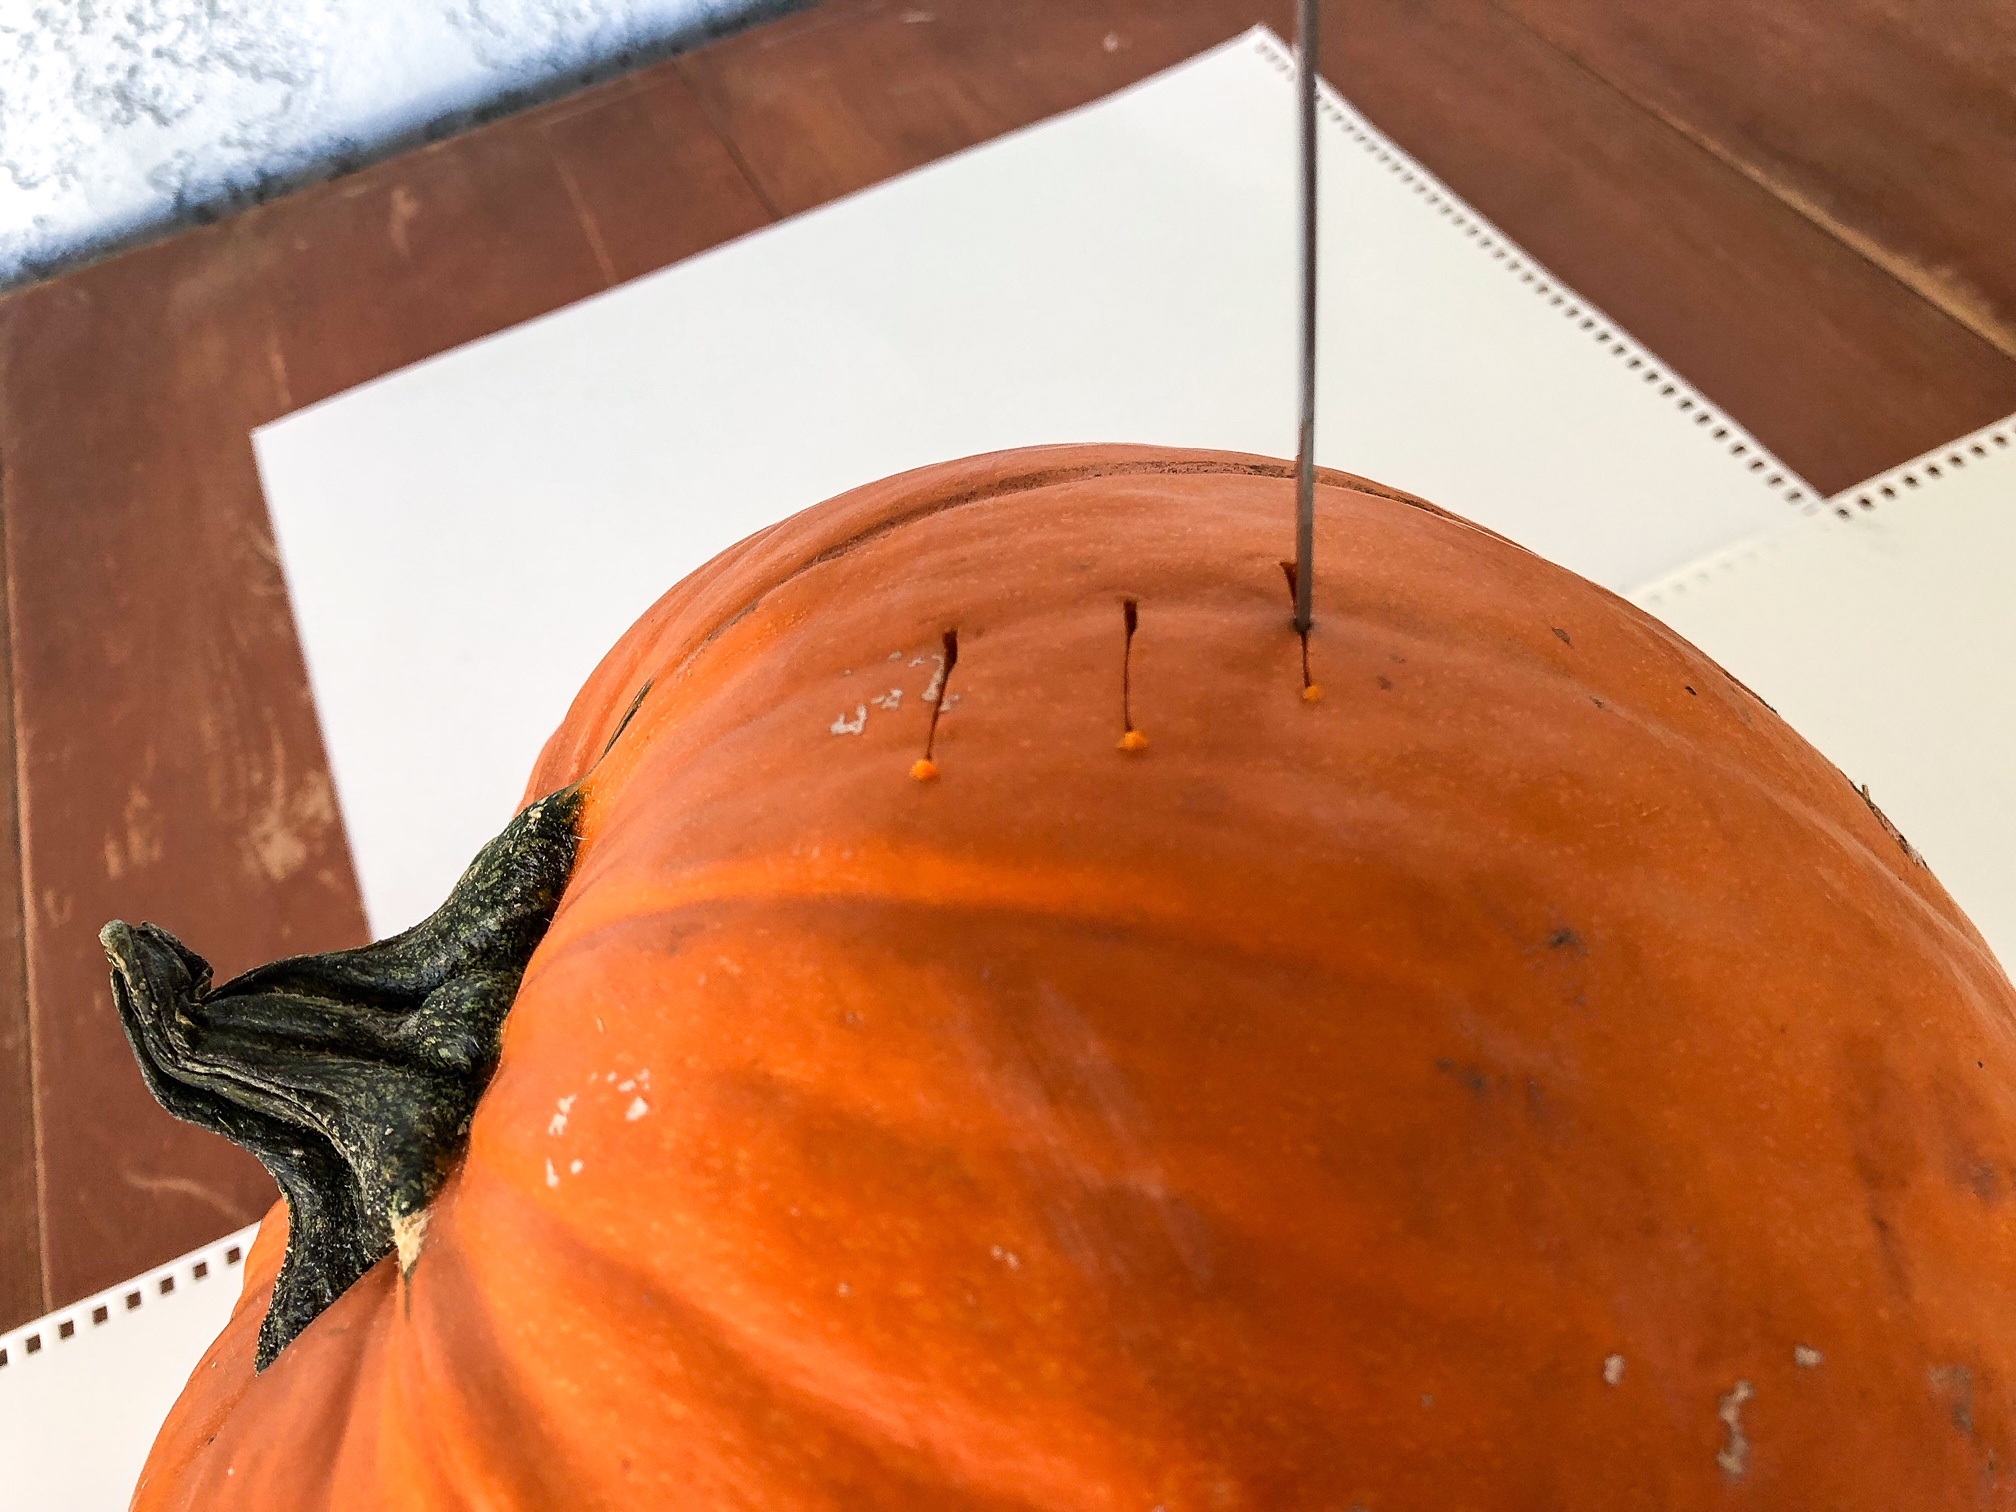
Subsequently, make sure to include a “notch”:
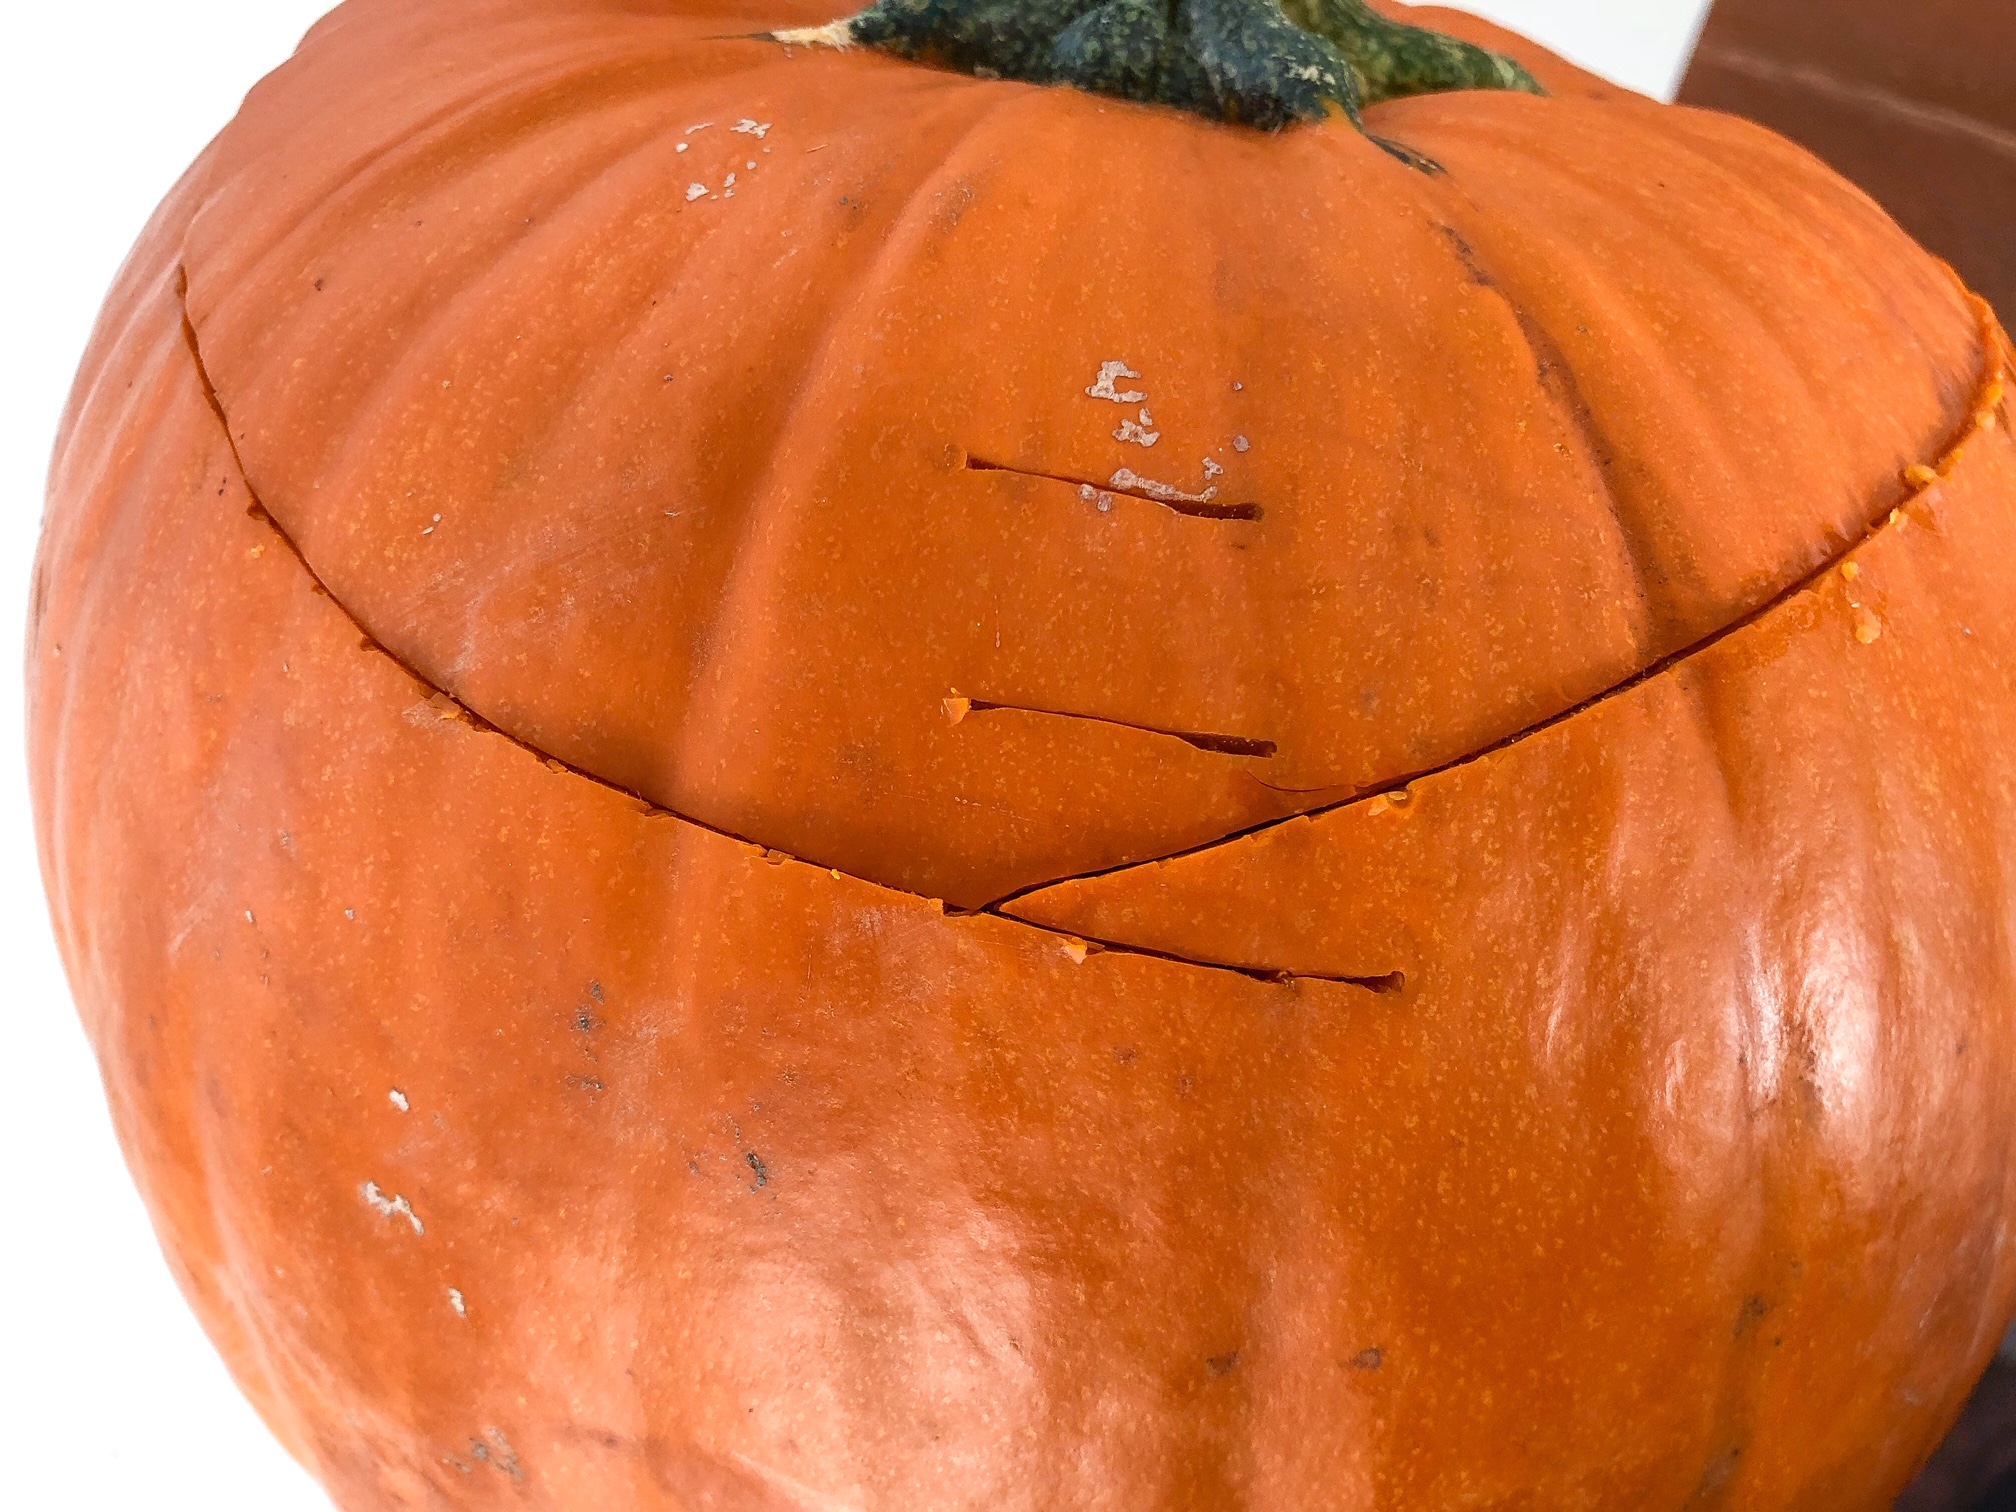
Notches are clear, angular portions of your pumpkin cut. They help you easily replace the cap after it has been removed. Surprisingly, this makes a huge difference!

Top 5 apps to prepare you for Halloween
Read Now ►Scooping Out the Guts
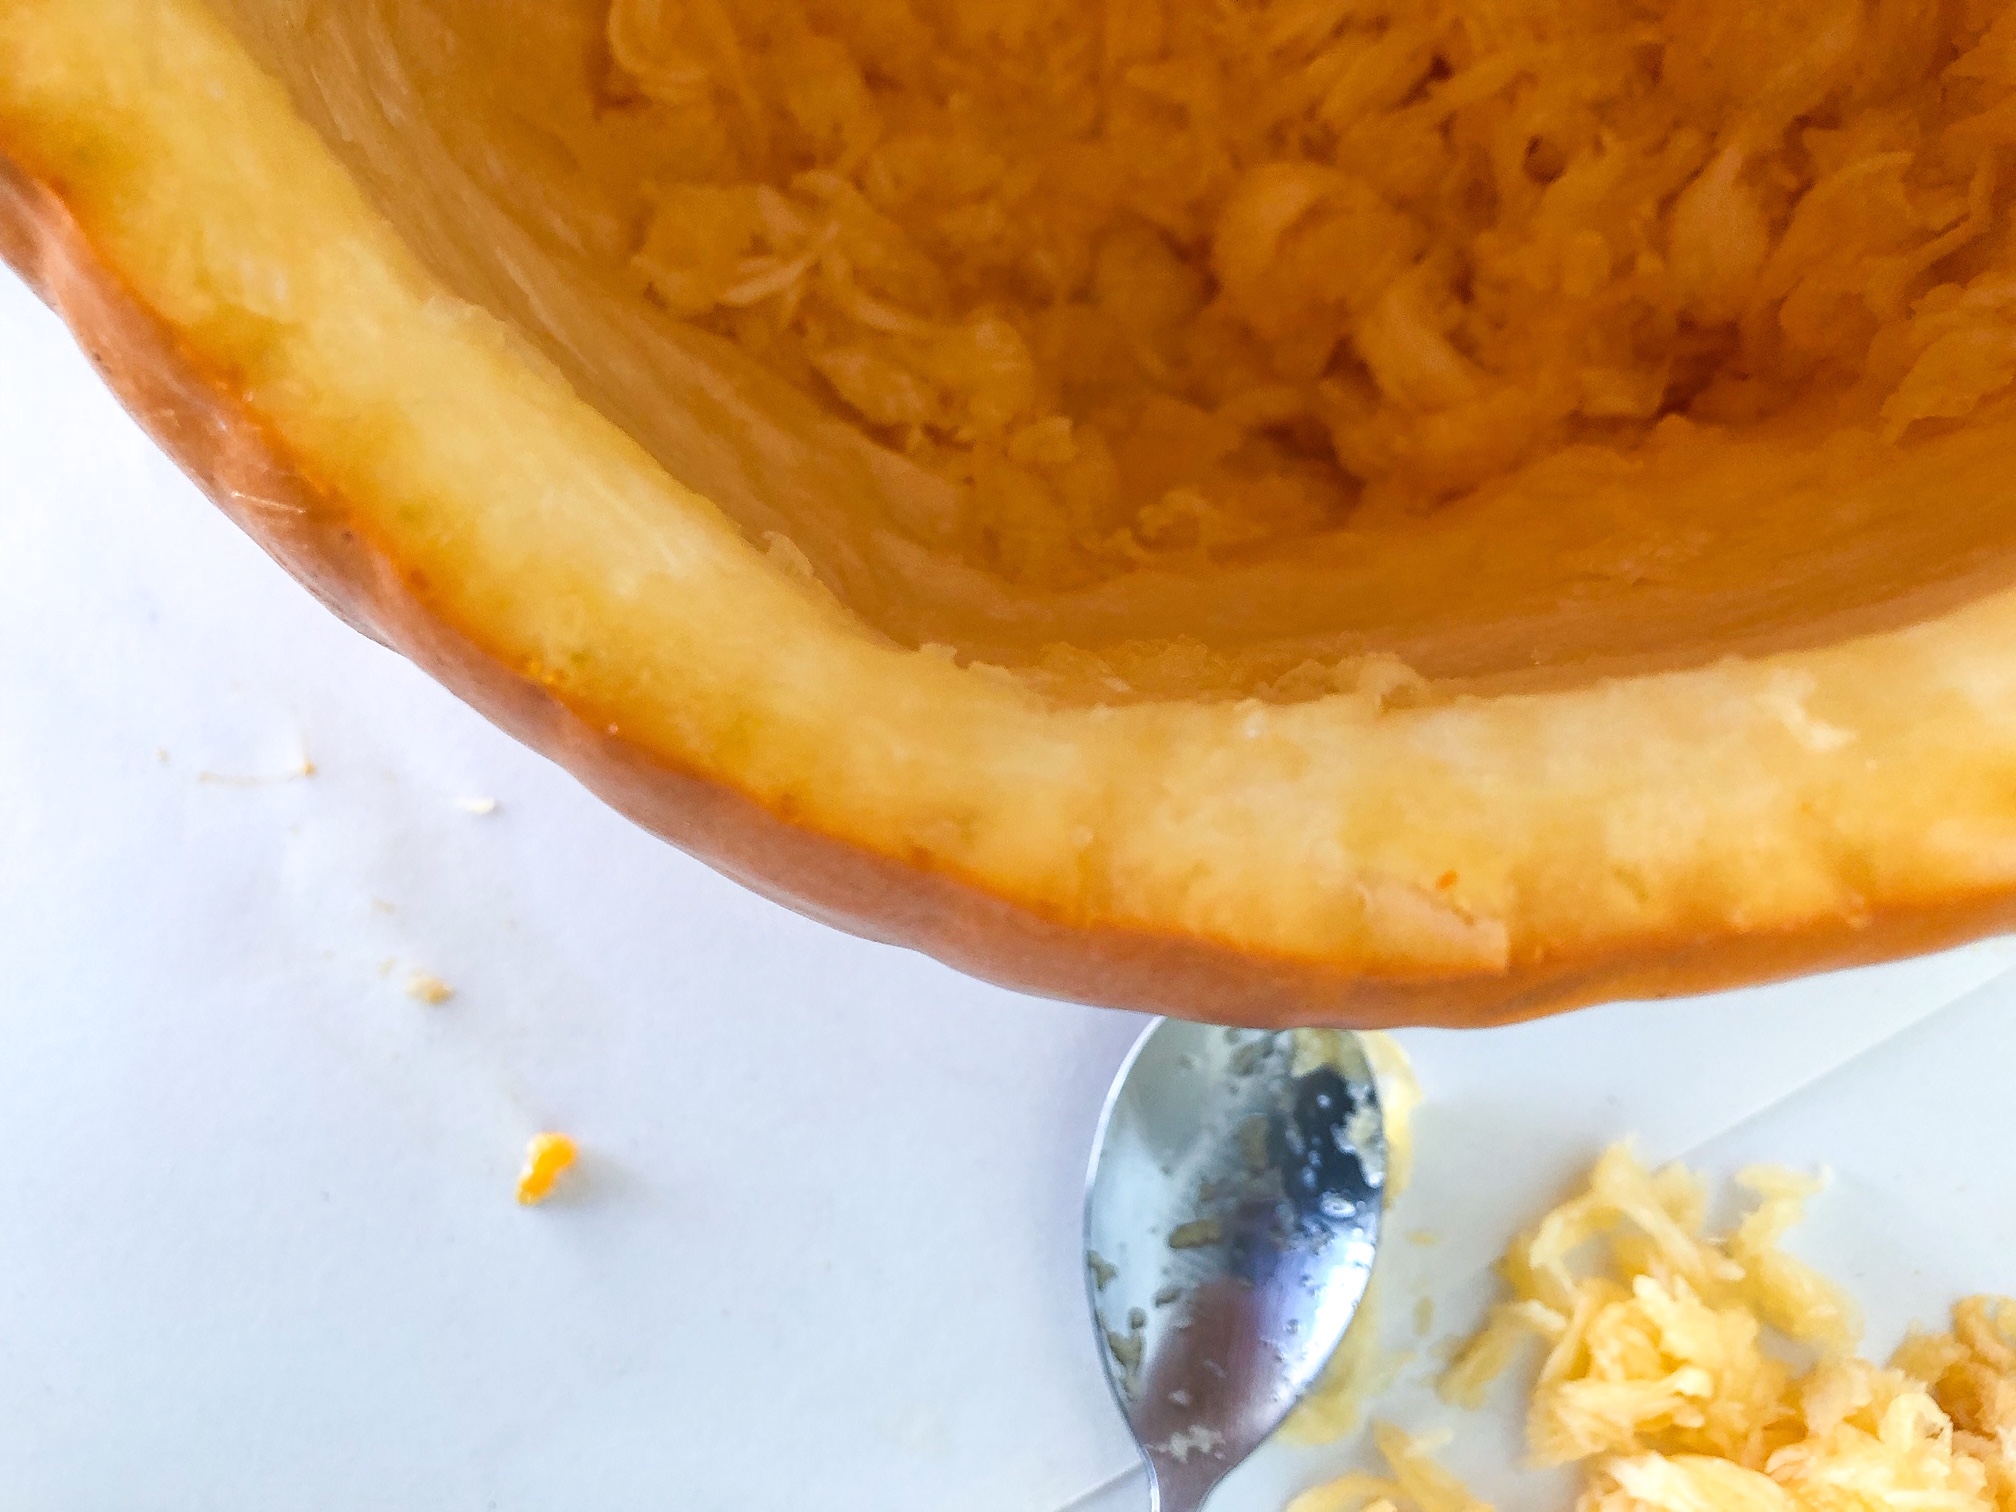
Now the spoon comes in handy!
For this part, we recommend trying to keep the convex part of the spoon upward, so hold it the opposite way you would if you were eating soup:
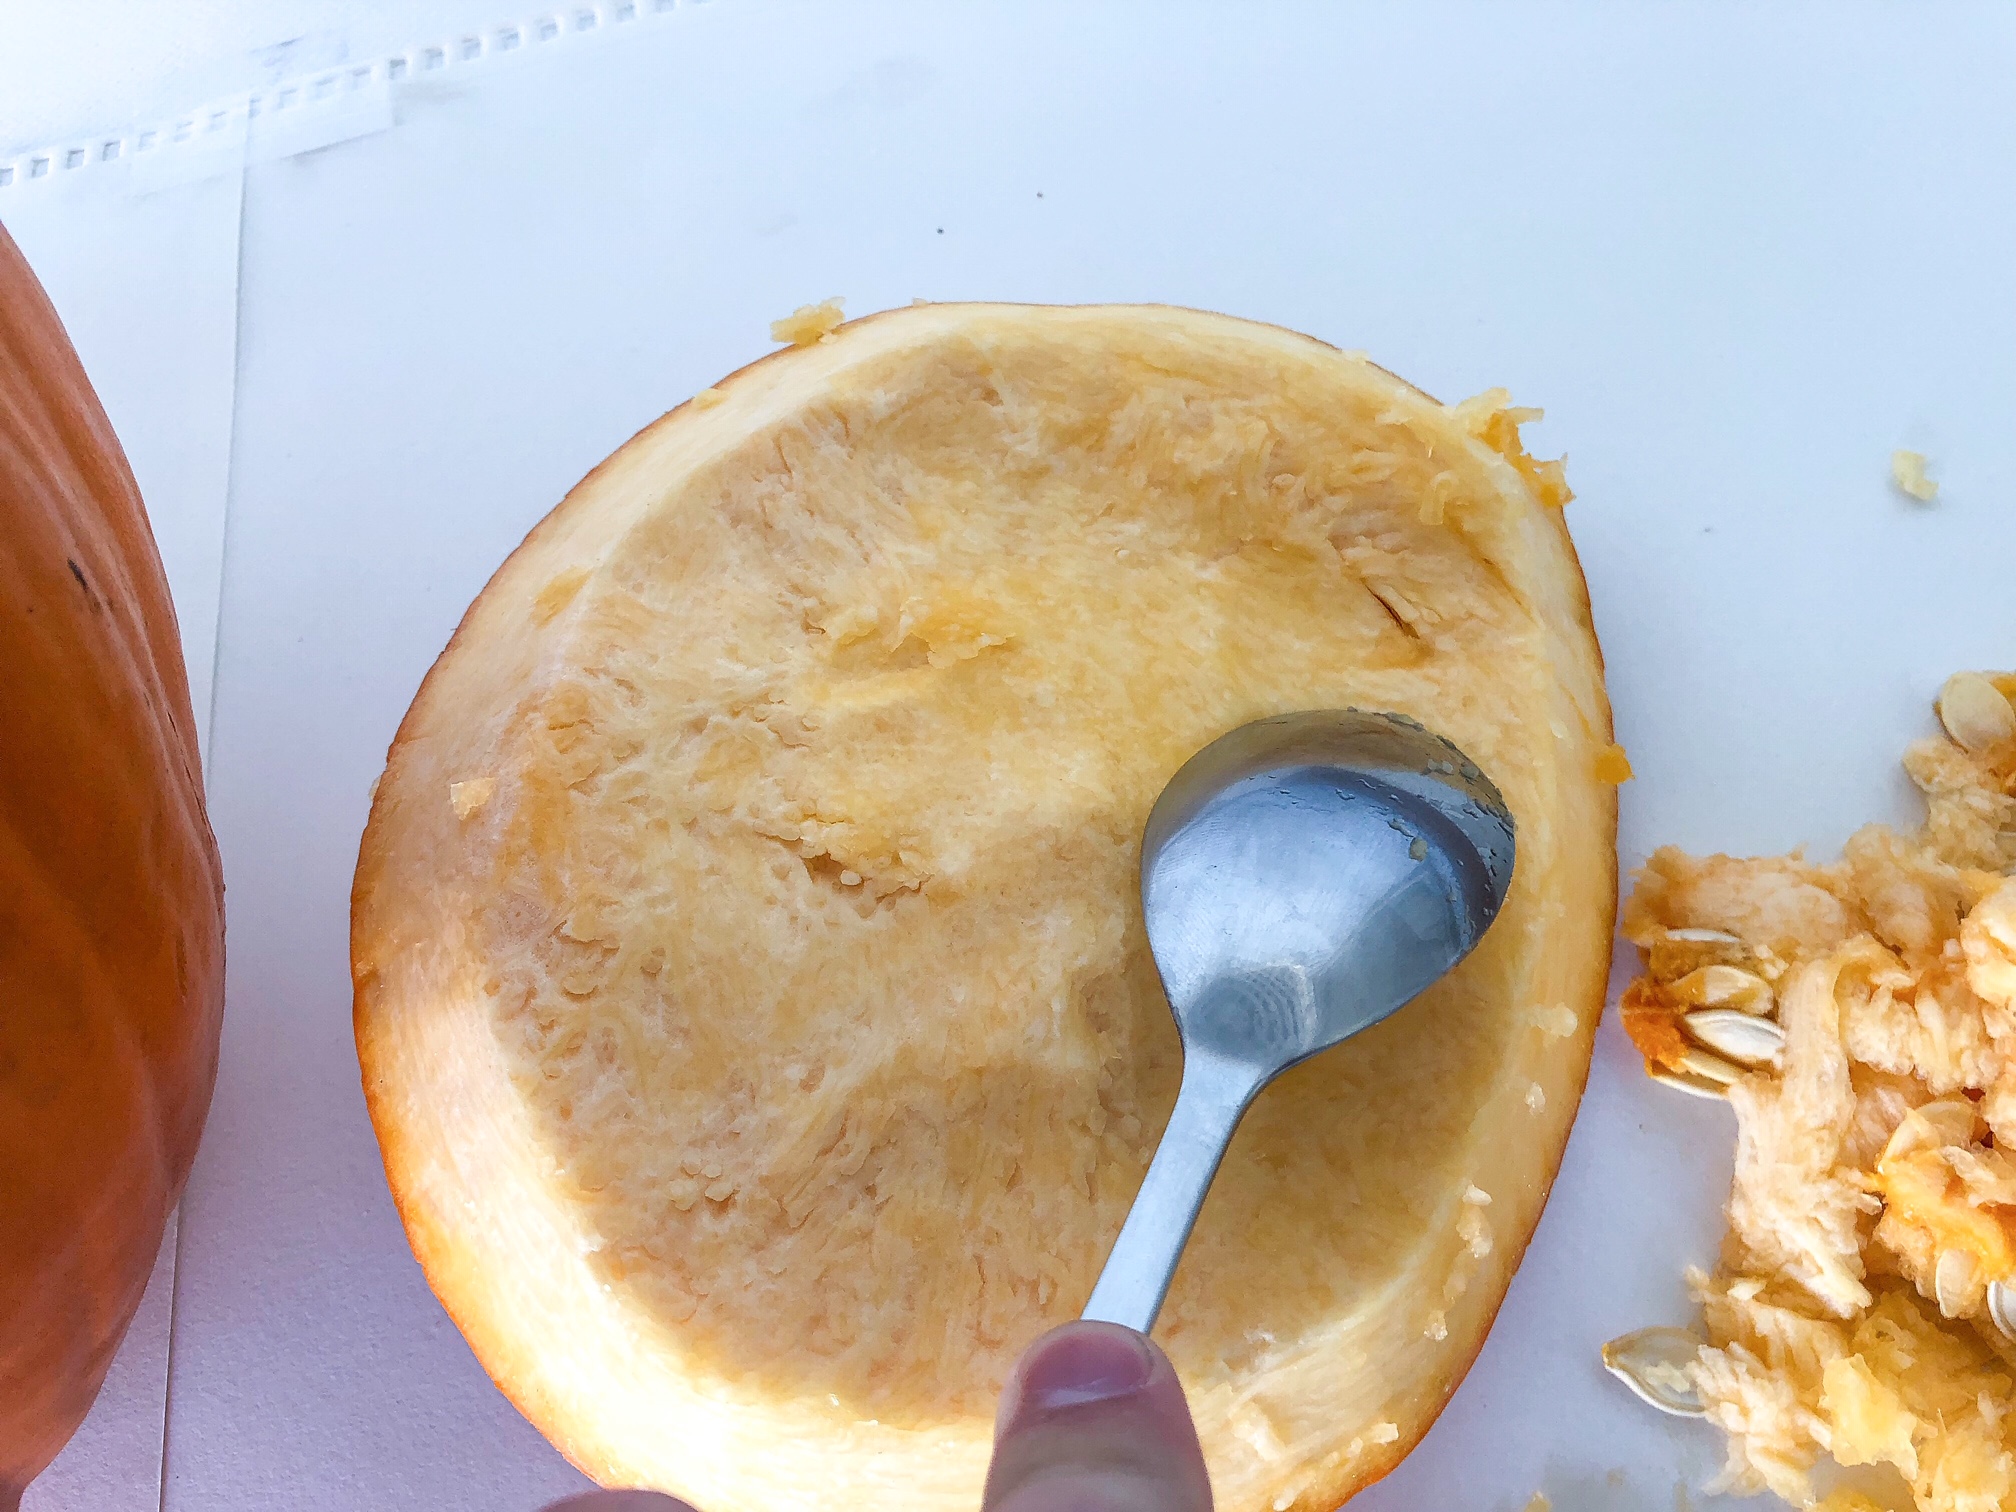
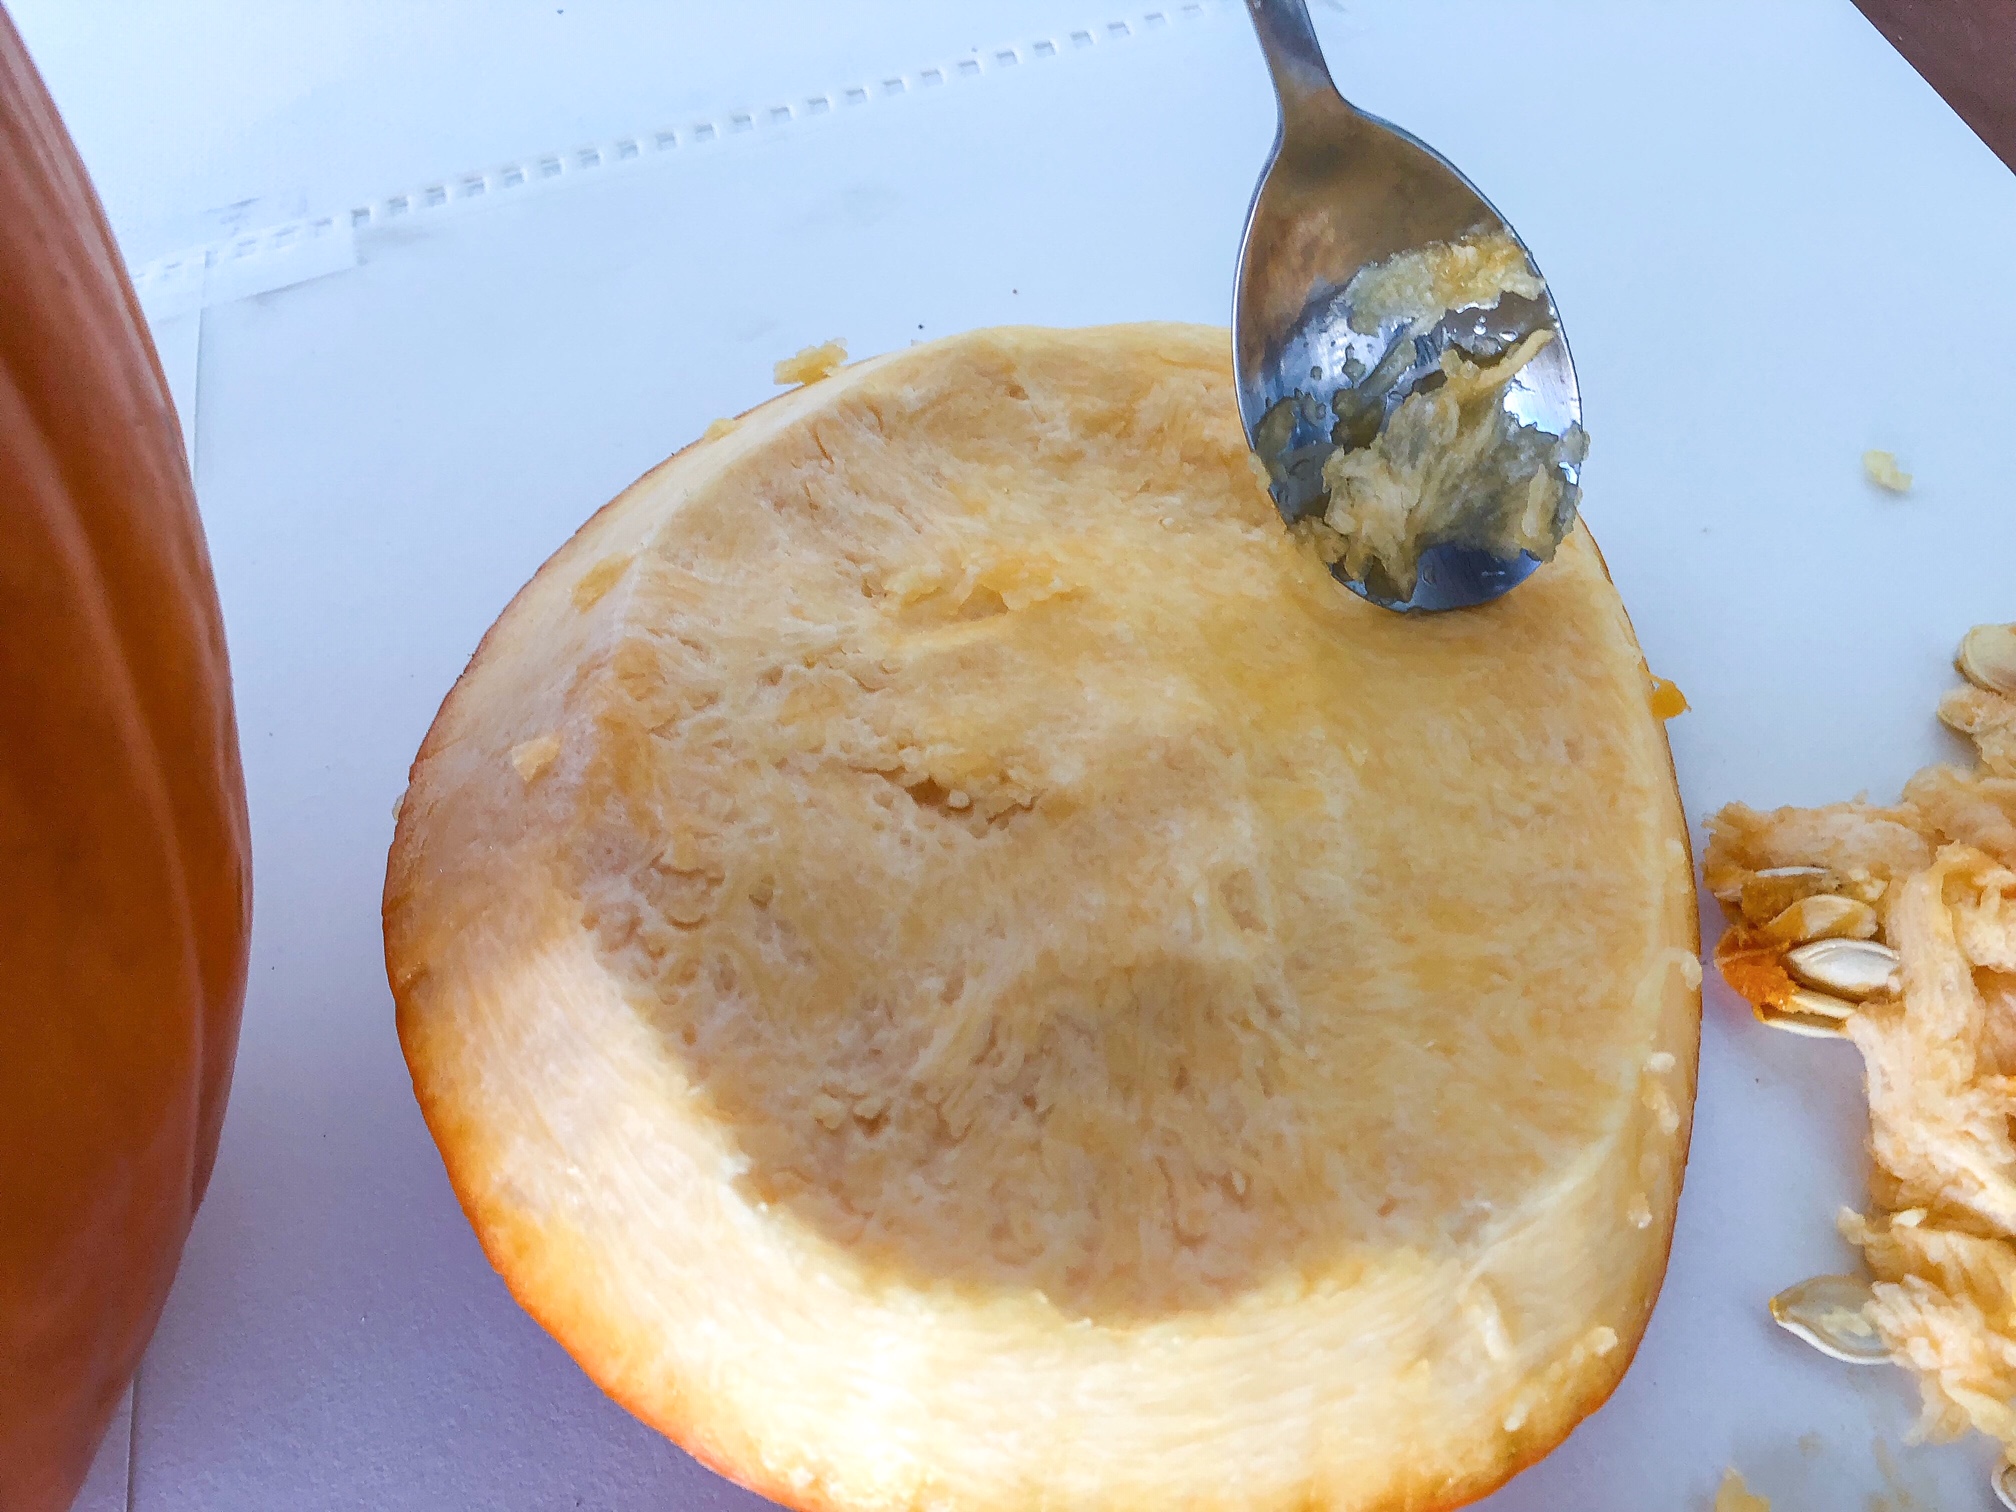
The higher the inner side of the spoon (concave) rises, the more likely it will dig into the soft pumpkin insides, tearing away more pumpkin than expected. That may not sound terrible, but there’s a catch…
We want you to keep scooping and scooping and scooping, even after the guts are gone. Keep up until your pumpkin becomes much, much thinner on the inside!
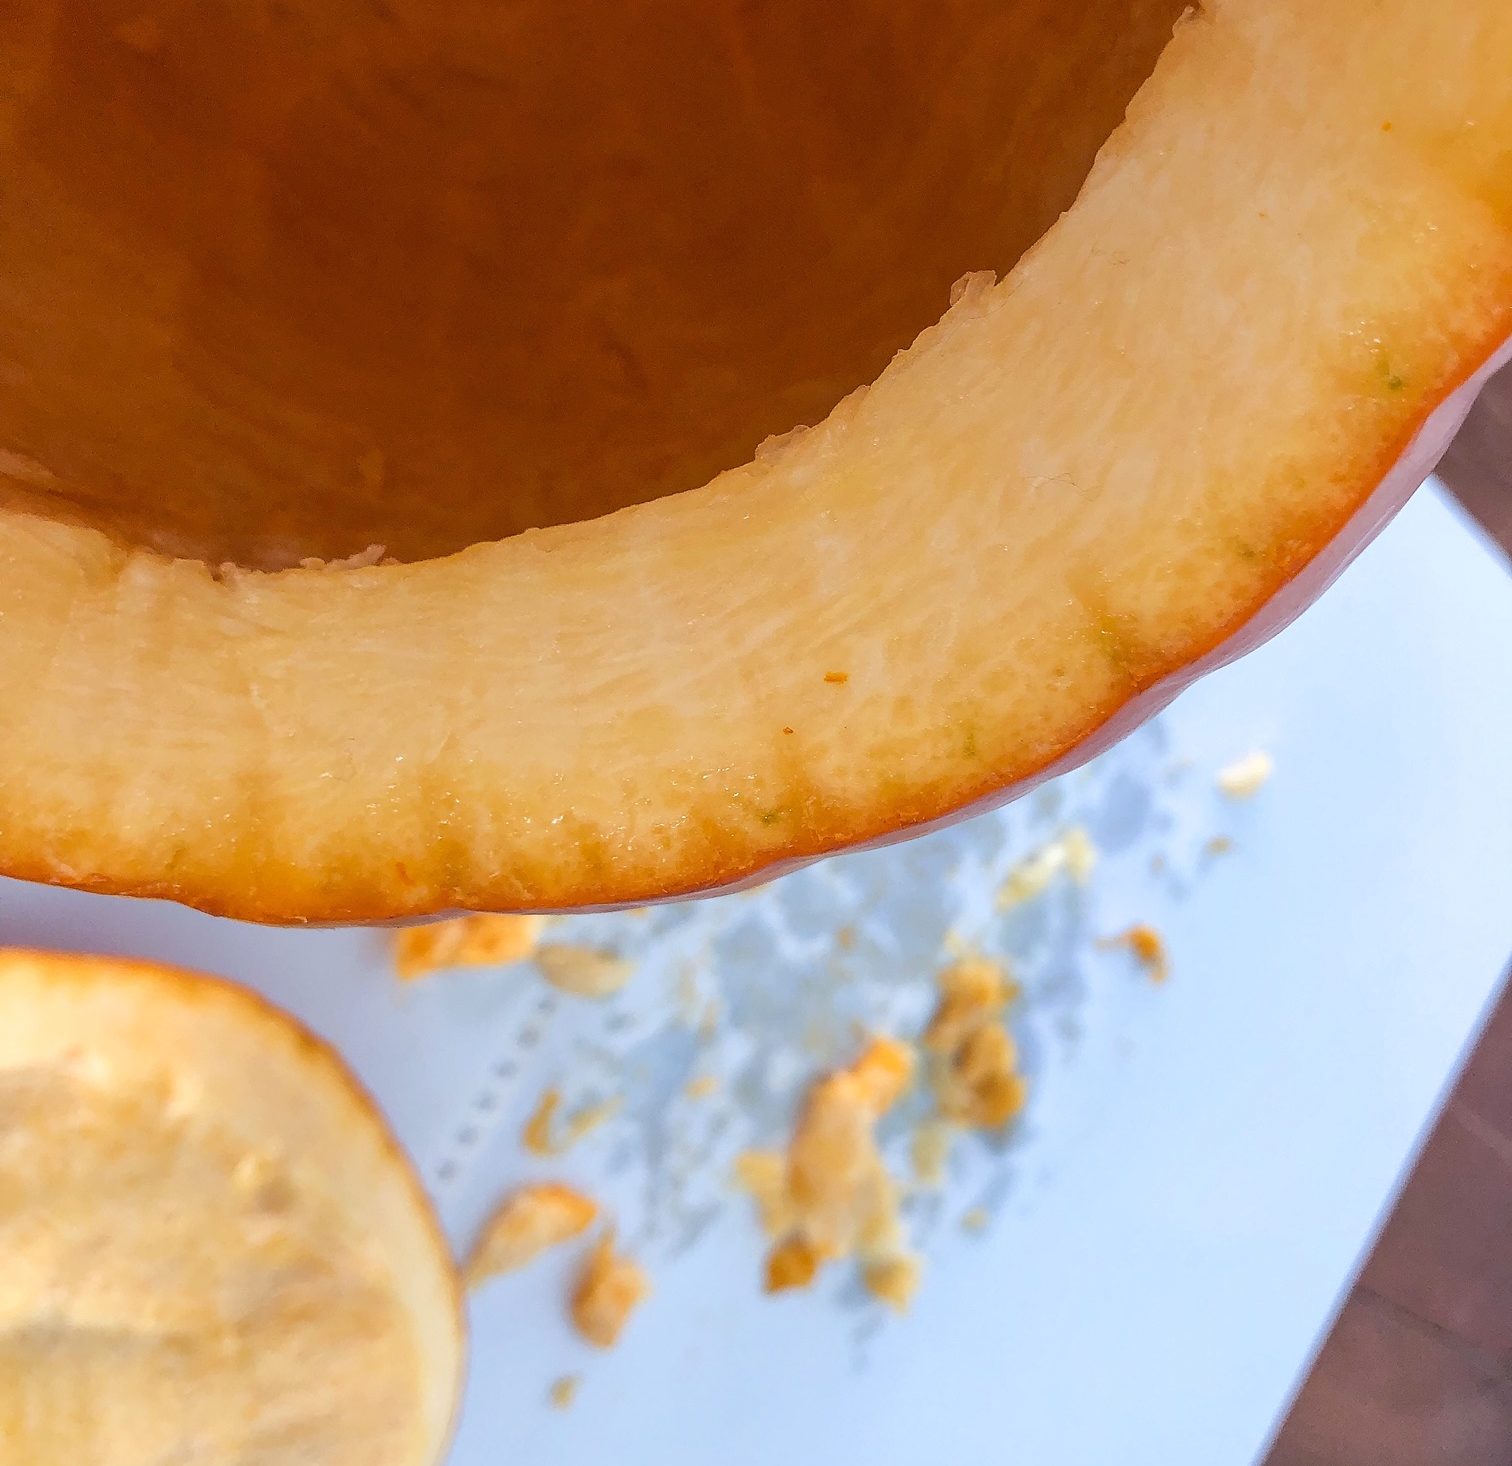
Having a thin pumpkin makes carving easier in the long run, especially if you plan to create more intricate designs.
Creating a Design
If you’re planning to make the perfect pumpkin carving, we cannot recommend finding or creating a design enough! At the very least, type your idea into Google and see what others have created to fuel your imagination and ground it with basic principles of pumpkin physics.
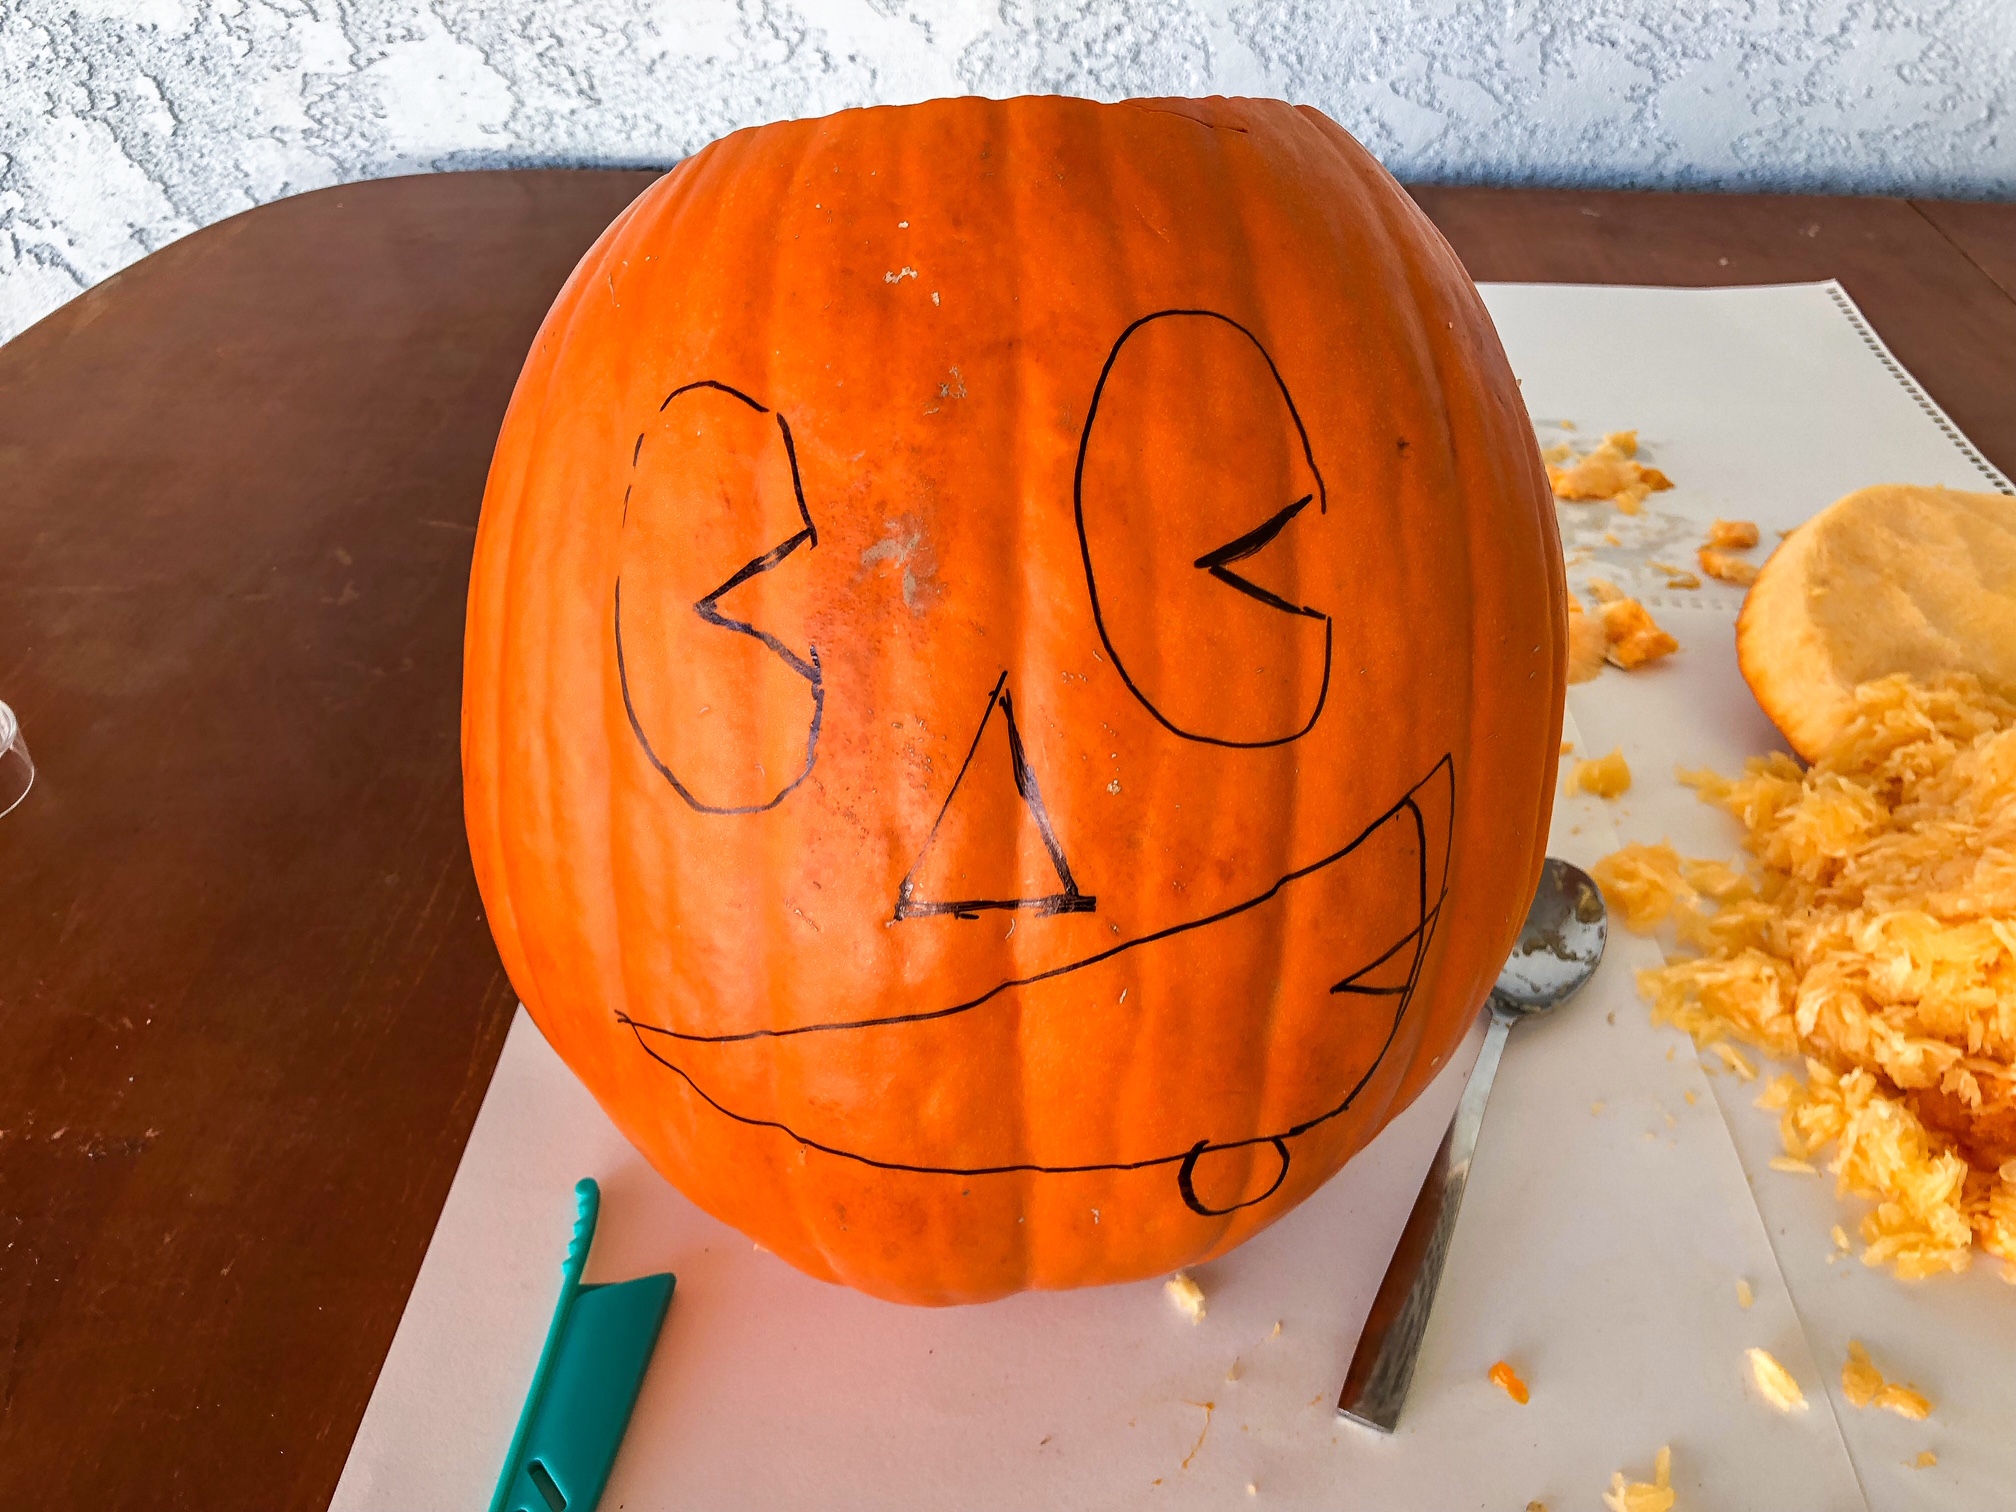
Whether it looks intricate or detailed, have a design! Then draw it on that big orange noggin with a Sharpie.
Carving the Pumpkin
At this point, what else is there to say? You bought the right gourd, set up a usable workspace, and created a design. At this point, most carvers simply need to follow the lines!
Just a few more words of wisdom, however… If you go too far with a cut, you may lose something else that was important. If you use Sharpie, draw inside what you want to carve so the dark marks will be shaved off (ooh, the dark mark from Harry Potter would make a good design). Finally, if you’re going professional and shaving your design to perfection… take it slow!
Thanks for reading!

Final Words
Want to go next-level pumpkin carving? Rather than a candle, put some electroluminescent lights in there! That’ll kick your jack-o-lantern game into 11th gear.

Spice up your Halloween costume with electroluminescent lights
READ NOWHappy Halloween, have a blast!