Attractive Photoshop effects usually take a long time and a bunch of different tools, but sometimes you may also find quick ways around those lengthy tutorials that also do the trick and make your pics look more interesting. One of them is applying a fading effect between two pictures, combining them into an original composition you can then use on a website, a personalized greeting card or just about anywhere you want. Simply follow these simple three steps and you’ll be able you create your own fading effect in no time!
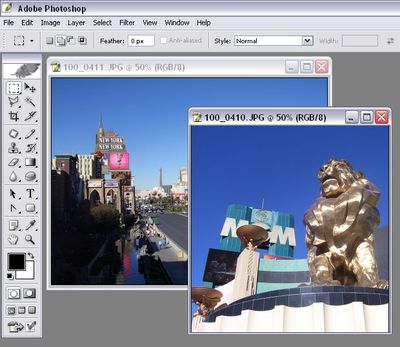
First, open the two photos you want you create the effect with. I’d recommend two pictures where the main subject is on the left and on the right respectively, so that they combine perfectly well.
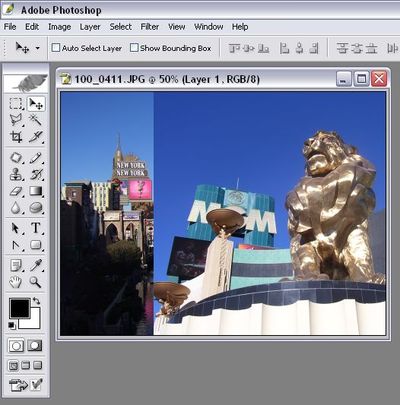
Now select one of the images (Ctrl+A), copy it to the clipboard (Ctrl+C) and paste it onto the other photo (Ctrl+V). You can now close the first image.
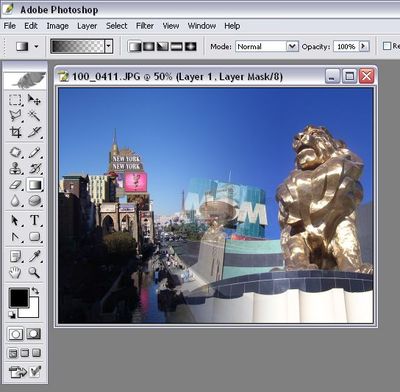
Focusing on the file with the two photos in it, make sure the top layer is active and go to Layer > Add layer mask > Reveal all. Then grab the Gradient tool, click about middle way through the image, drag your mouse a bit to the right and release the mouse button.
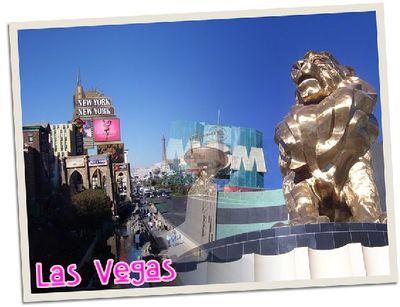
You may want to undo and repeat this last step before obtaining a perfect result. Finally, add some other goodies if you like (in this case I inserted a text layer plus some stroke and shadow effects). There you go!