Photo collages are a nice way to keep memories from special places you’ve been to or the people you love. Traditional collages are usually created with paper, scissors and glue. But there’s also an easy way to create them with Photoshop. Follow these steps and you’ll learn how.
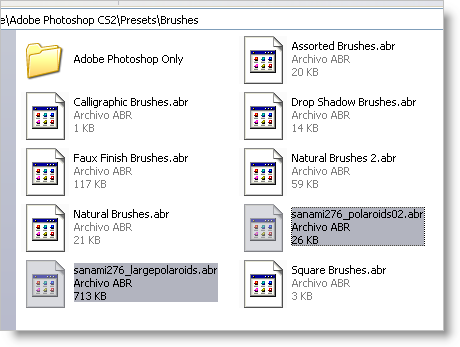
1. First of all, you need to download these two sets of Photoshop Polaroid-style brushes and unzip the ABR files in Program Files\Adobe\Adobe Photoshop CS2\Presets\Brushes. They should appear like this:
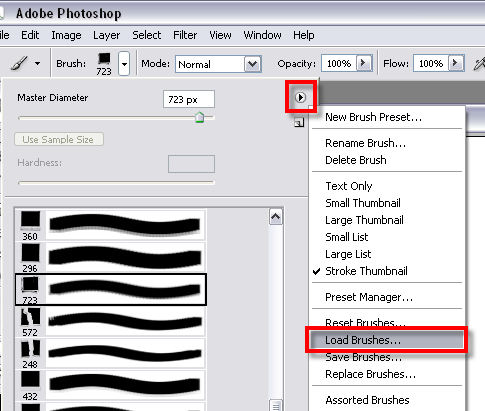
2. Open Photoshop and load the two brush sets you just unzipped. Select the Brush tool, click on the small arrow in the brush preset picker window and click on Load Brushes.
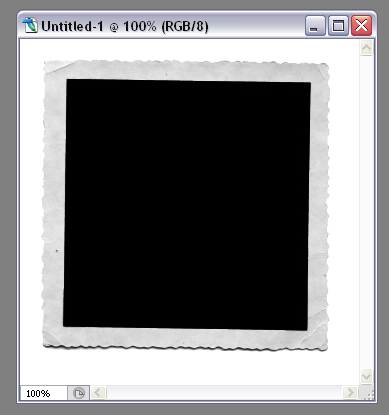
3. Now you can start creating the collage. Open a white background document, select any of the Polaroid brushes and click on it. You’ll get an empty Polaroid.
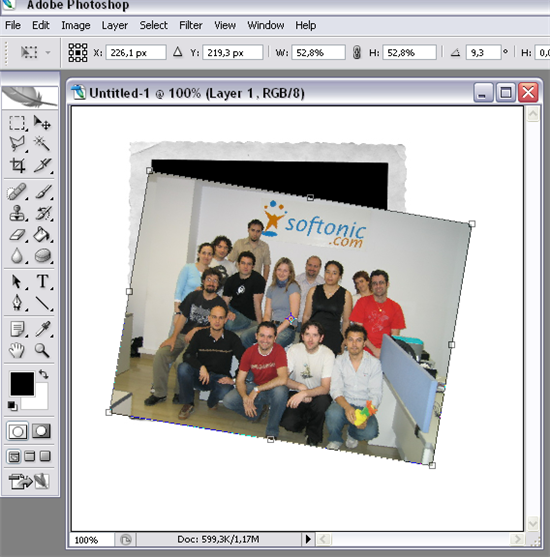
4. Open the first image you want to use in the collage, copy it with Ctrl+C and paste it on the Polaroid document with Ctrl+V. Now use the Transform tool (Ctrl+T) to adapt it to the frame.
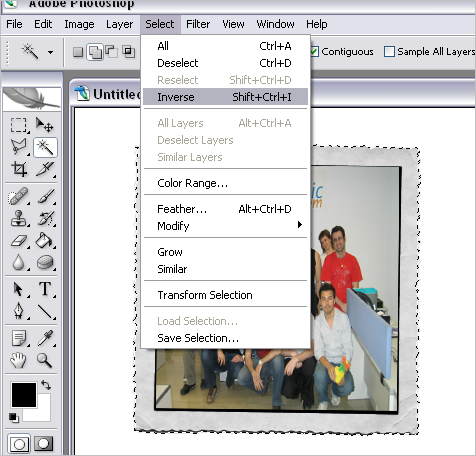
5. Flatten the document’s layers (Layer > Flatten image) and then use the Magic Wand to select the white background. Go to Select > Inverse so that the Polaroid is selected – and not the background.
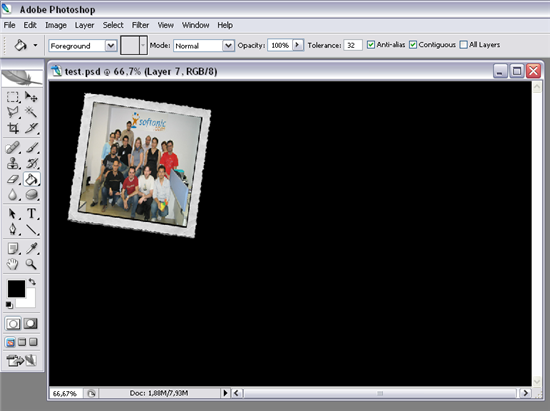
6. Paste this Polaroid on the actual background you’ll use to create your collage.
7. Repeat the whole process from step 3 to 6, trying to use different frames each time and placing them on the background in a nice layout. Use one layer per Polaroid to make the collage easier to manage. When you’re done, apply a shadow effect to all the layers.
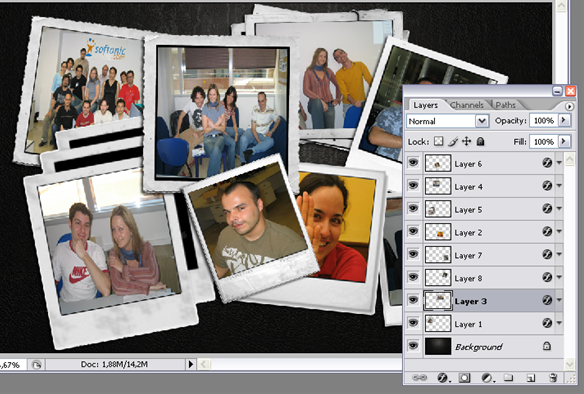
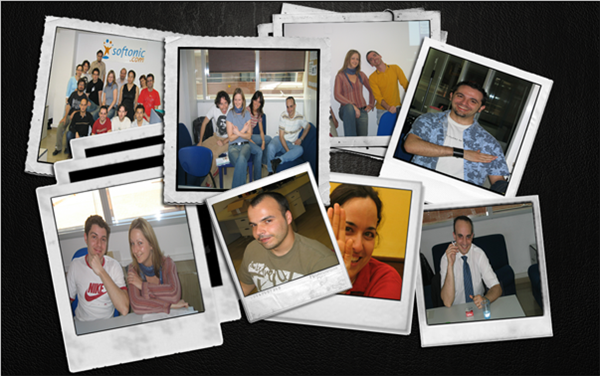
8. You collage is finished! You can now show off your creativity right on the desktop.