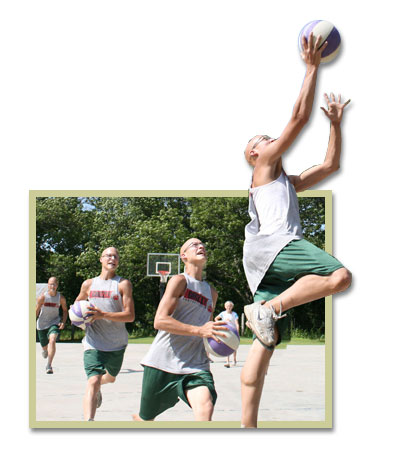
Some photo effects are easier to create than they seem. A good example is this effect, where it looks as if the subject of the image was popping right out of the photo margins themselves. It’s a great effect for photos with a lot of movement (sports, for example) and is really easy to do. Follow these steps and see for yourself!
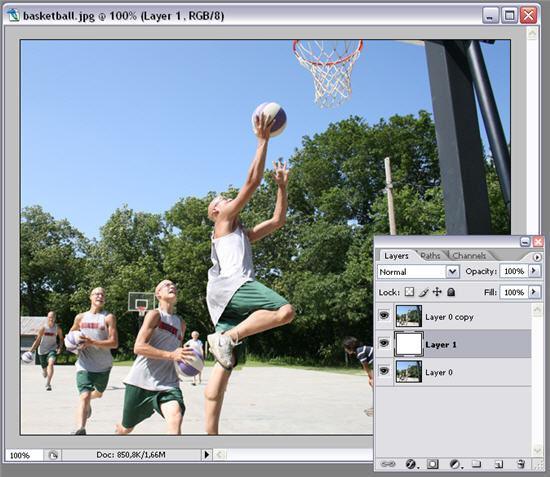
1. Open the photo you want to work with, duplicate the background layer and add another new layer between these two. Fill in this newly created layer with white.
2. Now go back to the background duplicate layer and select the person or object that you want to pop out of the photo’s margins. In my case, this is the basketball player in the foreground. You may use any selection tool in Photoshop. Then copy this selection to a new layer.

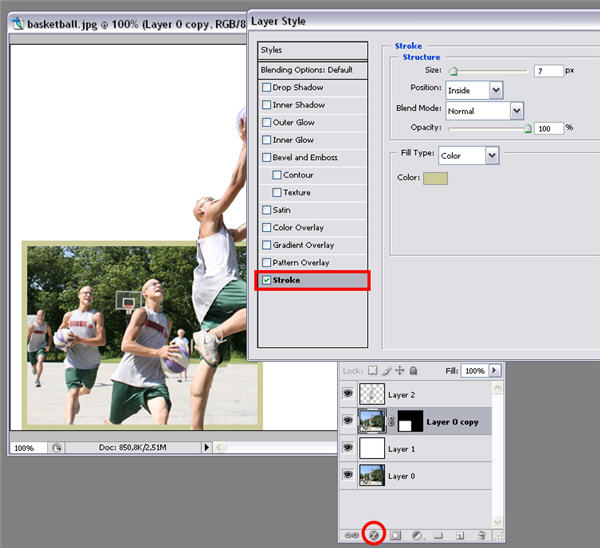
3. On that same layer, use the Rectangular Marquee tool to select an area of the image that will remain as background of the popping effect. Make sure some parts of your selected object are actually out of this cropped background. Then click on the highlighted button to create a layer mask.

4. Still with the same layer selected, click on the Layer style button and add a stroke effect to the background, so that it looks more like an actual photo.
5. Finally, merge the two top layers by selecting both of them with the mouse and pressing Ctrl+E.

6. Add a simple shadow effect with the Layer style button and your effect is done!