We live in the age of video content. Everyone wants to have the next big viral hit. Fortunately, you don’t need an expensive DSLR camera to get capture quality video footage. The camera on your iPhone is more than capable enough. While this gives everyone the opportunity to take video, that doesn’t mean everyone is good at it.
If you want to stand out from the crowd with your video content, check out these tips to start taking great iPhone videos.
How to shoot better video on your iPhone
1. Use a nonstandard camera app
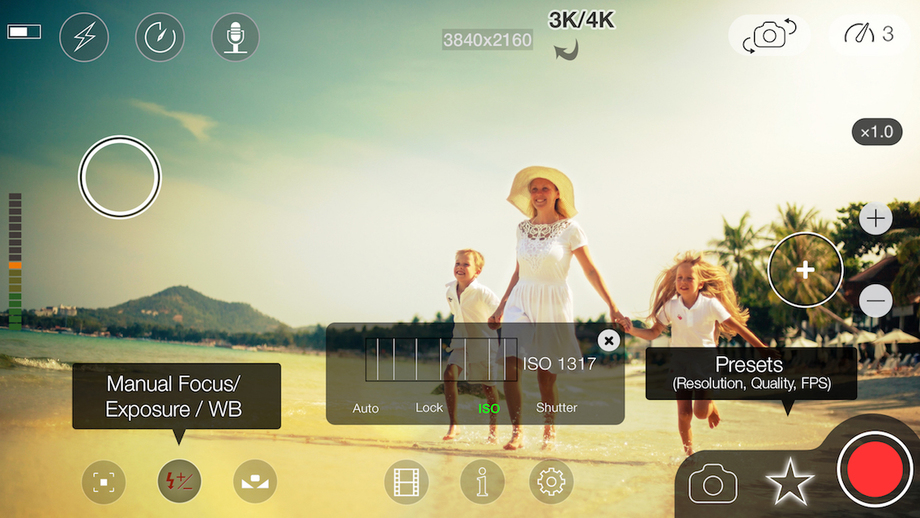
The standard iPhone camera app is all right, but top video editors use third-party software to make their shots the best they can be. Here are some popular camera apps:
- FiLMiC Pro ($14.99)
- MoviePro: Video Recorder ($5.99)
- ProCamera ($4.99)
Source: filmicpro.com
These apps are worth the investment. They offer loads of features you won’t find on the standard camera app:
- Bitrate Adjustment: A higher bitrate means a higher quality video.
- Frame Rate Adjustment: With newer iPhones, you have the option to shoot up to 240 frames per second. Now you can achieve professional looking slow-motion at the touch of a button.
- Noise Reduction: A super nice touch, noise reduction removes those dots that show up on photos that are too underexposed. It makes your darker photos look a little less amateur.
- 4K Resolution: Quite literally double the resolution of the standard camera’s 1080p, these camera apps allow you to shoot in a super sharp 4K. Even your salads look breathtaking with this option.
- Content Management: This is an underrated feature. iOS does a decent job organizing photos automatically, but most third-party apps give you extra search and categorization options.
These are just some of the major changes you’ll see when upgrading to a non-standard camera app. Each top iPhone photographer has their personal favorite. Browse the app store and find which features work best for you.
2. Invest in Accessories
More than anything, purchasing accessories for your phone will give you an edge even the best app can’t bring you. Tripods, external microphones, and proper lighting go a long way toward giving your video content a more professional look.
Tripod
Except in very rare cases, a stable video is miles better than shaky video. Having a tripod to place your phone on gives you so many shot opportunities. You can grab a GorillaPod for hanging your phone in unique positions like tree branches, a lamp, or your ceiling fan. It’s also ideal for outdoor environments – set up on top of the half-pipe for a quick skate shot.

Some tripod choices:
External Microphone
To be fair, standard iPhone microphones aren’t awful. If you’re sitting in your room recording or just capturing some ambient sounds, it should be more than enough. But, if you’re going to be doing content while moving or in a busy environment, an external microphone will help your videos pull people in with their excellent sounding audio. Even in the middle of a crowd, your voice will be loud and clear. Plus, you can even get wireless microphones if you plan on doing content far from your phone.

Here are some good microphone choices:
3. Lighting
An often overlooked part of video making, lighting drastically changes the tone of your shot.
Outdoors you don’t have to worry much due to natural light, but indoor movies like vlogs will suffer greatly without proper visuals. A common mistake made by newer content creators is mixed lighting. They’ll combine their fluorescent ceiling light with an incandescent lamp, and they won’t know why their shot looks off. Investing in even a small lighting kit will put you leagues above other beginner video makers.
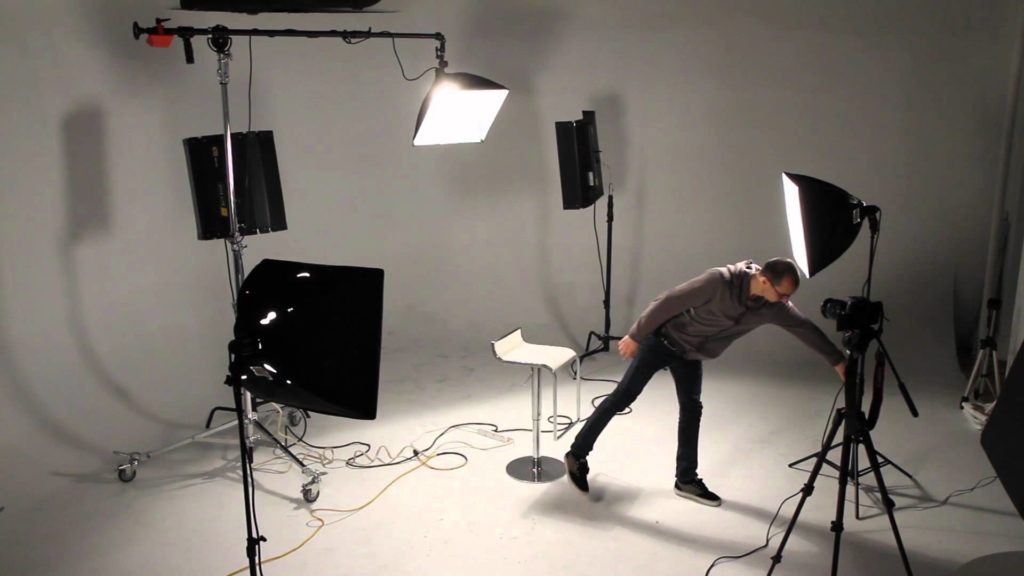
While a bit more extreme than your typical starter kit, good lighting gives your shot that eye-catching sheen amateur videos are missing.
Some lighting kit choices:
4. Learn manual camera features
Whether it’s a lack of knowledge or out of laziness, too many content creators leave their camera settings on automatic. This leaves shots looking painfully average.
Great iPhone videos come from properly customized settings, taking full advantage of lighting and ensuring objects look the best they possibly can. Here are some of the major features you should learn about to guarantee great iPhone video capture.
White Balance
White balance is essential to learn


because it allows your camera to adjust itself to show proper colors based on the lighting it’s picking up. Now, a camera app usually does a decent job automatically setting the white balance for a shot. However, you’ll find your video has a bit more pop if you do some manual tweaking.
You don’t always have to have “proper” white balance, either. If a warmer balance gives you the look you’re going for, use it. Part of being a good videographer is knowing how to adjust for a specific look.
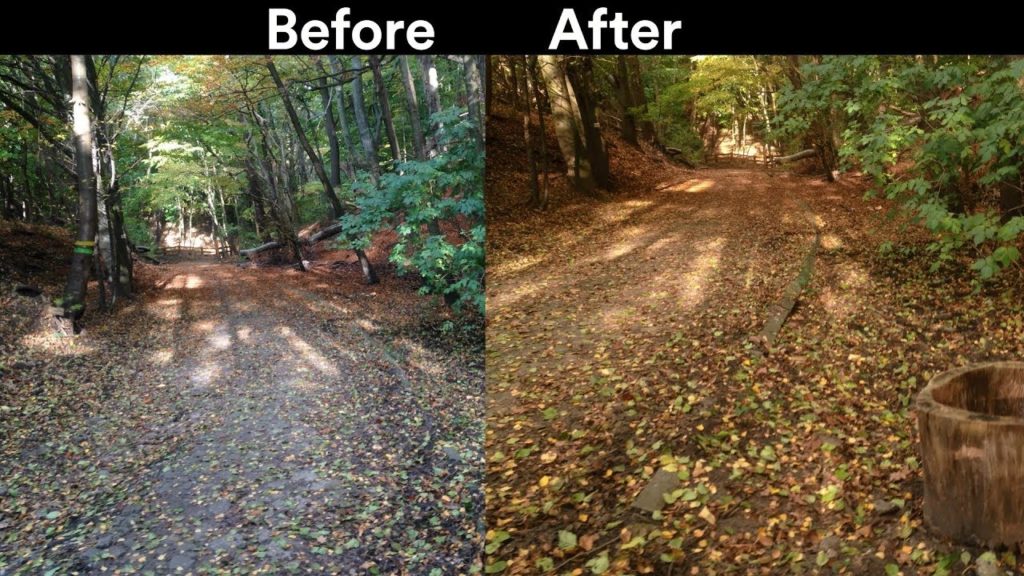
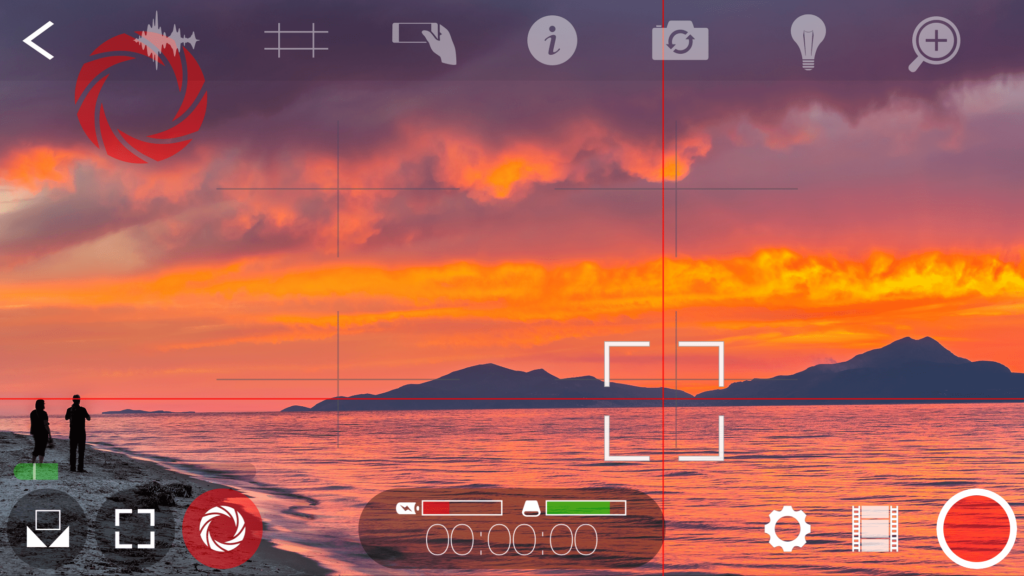
Focus
This is the one feature you can almost always leave on automatic, especially if you’re leaving your phone without someone maintaining the footage. Auto-focus adjusts to whatever subject is prominent in the video, keeping it as clear as possible during recording. However, in some circumstances, manual focus can be used to pull off some crazy good iPhone shots.
For example, say you want the mountains behind your shred session in focus before they pull over to your in-air grab. Learning how to focus manually is a powerful skill that will only lead to more high-quality shots.
Source: 9to5mac.com
Perspective
A great way to develop a personal style, a quality iPhone video is all about perspective. Sure, your front facing shots can look fine on their own, but what if you tried shooting from a lower angle? What about a lower angle and a side view? Seeking out an interesting new viewpoint can change the entire tone of your shot.
Certain perspectives can be used to reveal specific information later on in the video, or even to evoke a feeling of being there. Explore your surroundings and give your audience a new way to see the world.

Some perspectives to consider:
- A Bird’s Eye View: If you can accomplish this, an aerial view of the subject is almost always guarantees an interesting shot. It’s not a natural way humans view things, and that’s what makes it stand out.
- Lower Angle: Are you going for a sense of power with your subject? Try shooting from a lower angle. It will make the viewer more likely to submit to your idea.
- A Slant: Sometimes a simple slant is all you need to bring your shot up a notch. Try tilting your iPhone around before pressing record. The extra effort may result in some added likes when you upload to Instagram later.
The Grid
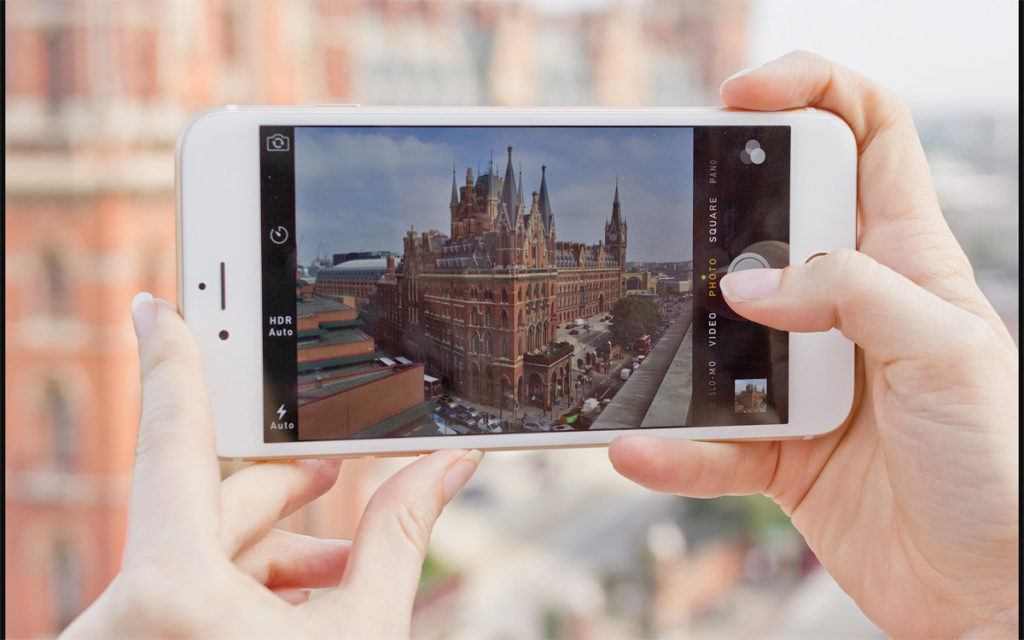
A quality shot video is all about composition. If your subject is weirdly in the center, or off in an odd space on the side, it’s going to ruin the entire shot. Turning on the grid allows you some sense of composition and provides you with a space to line up your shot to make it more visually striking. Not only that, but the grid helps you keep a straight shot going throughout the video. It’s easy to learn and even comes with your standard camera app.
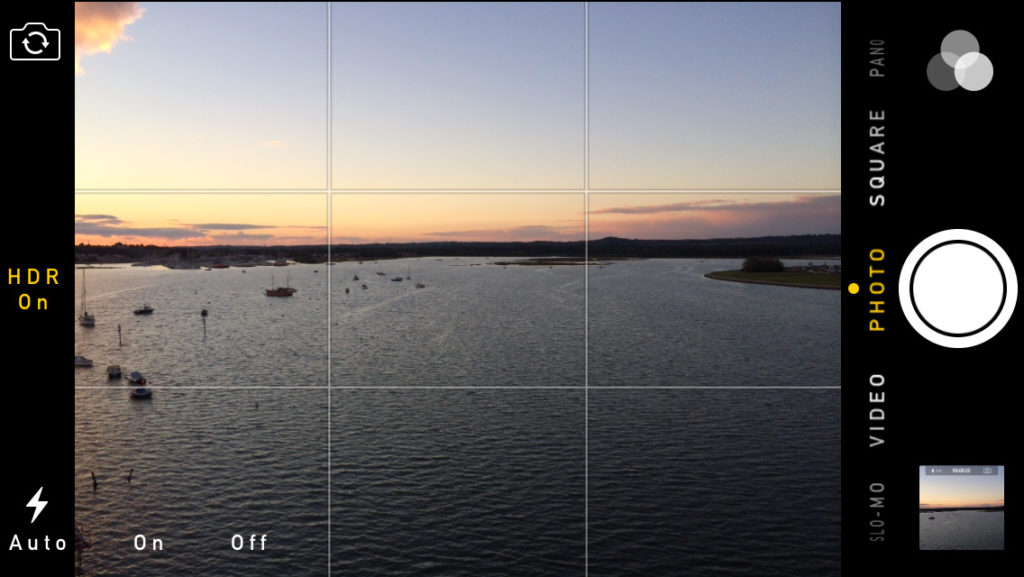
Source: iosguides.net
Filters
Without a doubt, you’ve used filters to edit your photos before. Did you know you can also use them on video?
Throwing a sepia filter on your mountain footage can evoke a nostalgic feeling in your audience. Maybe your video has a lot of contrasting colors – some filters can make those colors incredibly bold and pull the eye of your viewer. Having some favorites in mind before taking a shot can give your footage some extra style.
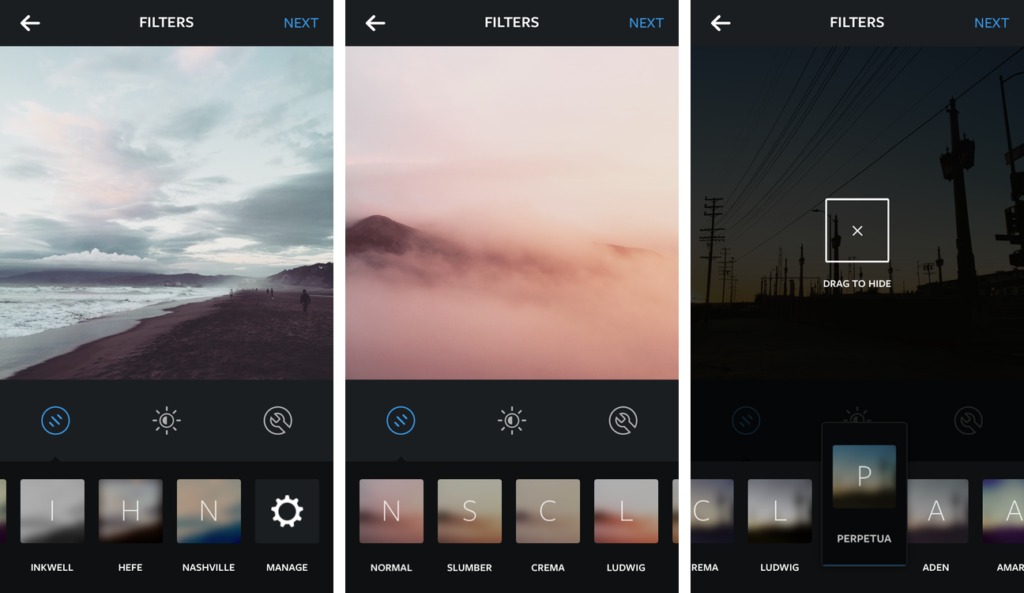
Source: recomhub.com
Orientation
You’ve seen a video shot in portrait mode that totally should have been shot landscape. Don’t make that same mistake. Plan out your shots in advance and know which orientation is best for the subject matter.
Your platform of choice also plays into this. Shooting for Snapchat? Portrait is almost always best. Instagram? Landscape is generally preferred. Regardless, the content should dictate the shooting style, not the other way around.
Source: Tech Advisor
These are just a few ways to improve your iPhone video shots. As you work on mastering these basics, be sure to experiment with different shooting styles and video options. Knowing all the tricks can help you develop your style more quickly, and lead to you shooting the best iPhone video footage possible.