In this first episode of our guide to Instagram, I’m going to explain a few tricks from the professionals so that you can take beautiful pictures, and get lots of likes. Photography is an art form, and is thus free by definition. A single subject can be shot in virtually any way. There are, however, some useful tips things that will help you avoid common mistakes and let you take photos with shared aesthetics. In short, photographs that have appeal.
Here’s our advice on how to gain followers for your Instagram profile.
What’s the subject?
The most common mistake to make is not clearly show the main subject of the photo. Some photos don’t have one at all, while others have more than one. The result is an image that isn’t very interesting, or one that’s difficult for the viewer to focus on.
So it’s important that we make it clear who the protagonist is in photos. This doesn’t mean that it has to be be a person, but it should be a single subject – it could also be a road, the converging lines of a building, a road sign, a herd of zebras, or a crowd in a plaza – it just has to be clearly identifiable. To ensure that the subject is clearly the star of a shot, there are various methods you can use. You could just take the photograph of them against a neutral background, which doesn’t contain any distracting elements.
Or you can fill the entire frame with the subject, as in a close-up shot, which means that there is no opportunity for other distracting elements to be in shot. Equally, you can work on the depth of field, to make sure that only the main character is in focus, and not the rest of the image. We will have a look later on at how to do this. So remember – one subject only. This way, you’re (almost) guaranteed a Like!
The rule of thirds
This is usually the first technique you learn on photography courses, and is fairly simple. You should ideally divide the frame into nine equal parts by drawing two horizontal and two vertical lines, like these
.
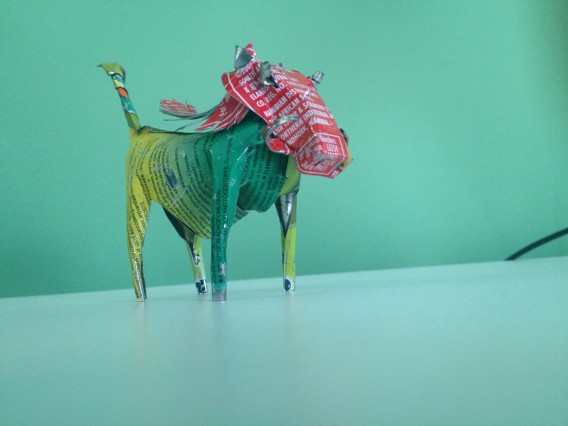
The intersection points of the lines are the places where the eye most focuses its attention. And it’s on these points that you should try to place the main subject of your photo. Here are a few examples using Pindar, my tin warthog, as a model. In this first photo, it’s located in the center of the image. It’s not wrong, but the shot is static and not very interesting.
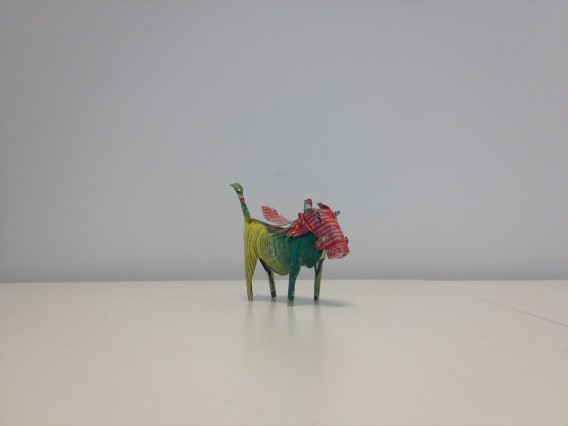
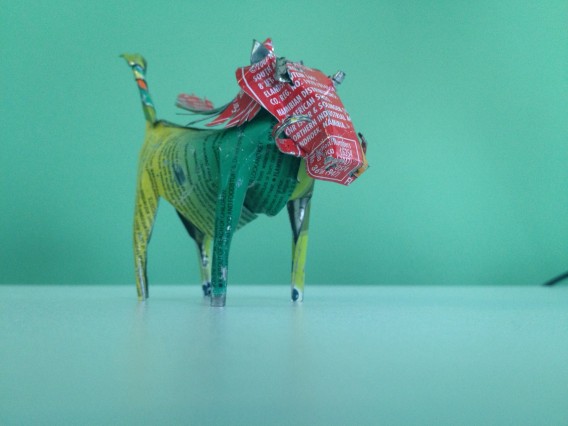
In this second image, however, we placed Pindar a bit more to the left, on one of the intersection points we’ve just been talking about.
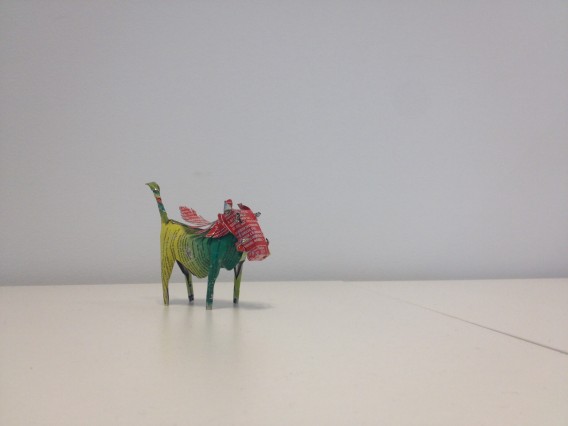
The composition is more interesting, and the space that has been left by virtue of the fact the viewer’s gaze has been directed to the subject, makes the picture much more dynamic. Whether your followers are aware of this or not, the rule still works.
And if you stick to the rules, your photos will improve in quality as well as getting more people to click on them. Of course, like all the rules that relate to photography, they can be broken and this will still result in excellent pictures, but for now, let’s play it safe!
Managing light
Some smartphones do not allow you to adjust the exposure manually, but you can choose the point in the frame that you want to use for calibration. When you focus on a subject, the smartphone might decide to adjust the exposure according to a point that is either too dark or too bright. If it’s too dark, the shaded areas will be properly exposed, but those in the light will be overexposed.
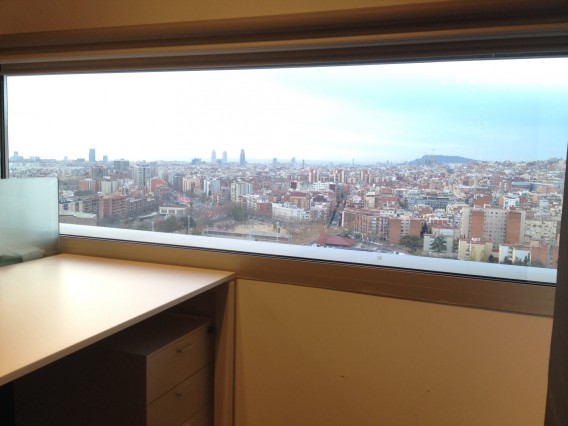
If it’s too bright, the zones in the light will be seen, but the dark areas will be almost black.
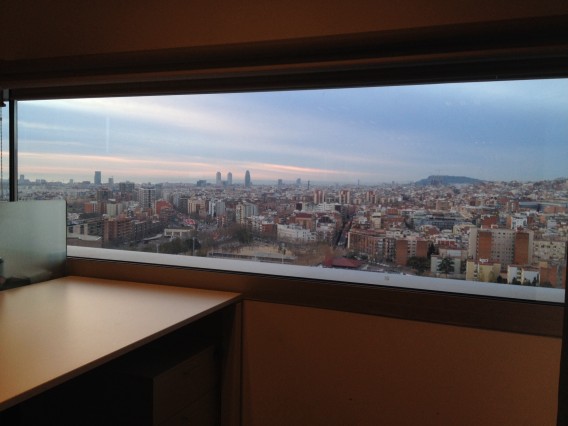
Because you want to see all areas in the photo, you have to use the light meter and show the camera an area that is neither too dark nor too bright. To do this, simply touch the part of the screen you have chosen, and the iPhone and Android will set the exposure.
If you’re not satisfied with the result, tap different points until you find the right one. Even so, always bear in mind the principle that we talked about previously: photography rules are made to be broken! A photo that has clearly overexposed or underexposed parts can be interesting, emotionally intense and creatively remarkable.

Sunset in Swakopmund, in Namibia
One last tip: The flash almost always produces a funeral effect on the photos. If you’re planning to take shots at night or indoors, using the flash, it’s unlikely to be particularly pretty. Alternatively, you can use it when you’re shooting during the day; for instance, it can be used to lightly correct the shadowed areas of a face when you do a portrait, as well as dampening the contrast between parts of a subject that are in both areas of light and shade.
To enable and disable the flash in Instagram, tap the lightning icon next to shutter button when you’re in Normal mode.

Keep it straight, please
This is another rule that seems obvious, but isn’t. Most of the pictures where the subject isn’t facing the professional photographer, are crooked. The feeling that a picture isn’t straight, whether you’re particularly aware of it or not, is annoying, and it’s then hard to give someone a like for it.
Crooked photo
Straight photo
What to photograph and how
Point of view matters a lot in photography. The angle from which a subject is photographed often shows more of the chosen subject. Our advice is to showcase people and things from a point of view that differs from the norm.
One example is children (who always manage to look good in pictures). As adults, we are used to seeing them from above, so if you photograph them from that perspective, you’re only showing something that’s already been seen, and so it will be more difficult to get likes.
But if we photograph them from the ground, looking upwards, you get a whole different perspective, which will easily attract more attention and people will happily ‘like’ the photo. Another trivial example is the image of the keyboard and mouse, below. Seen from above, as we usually see them, the picture doesn’t say much.
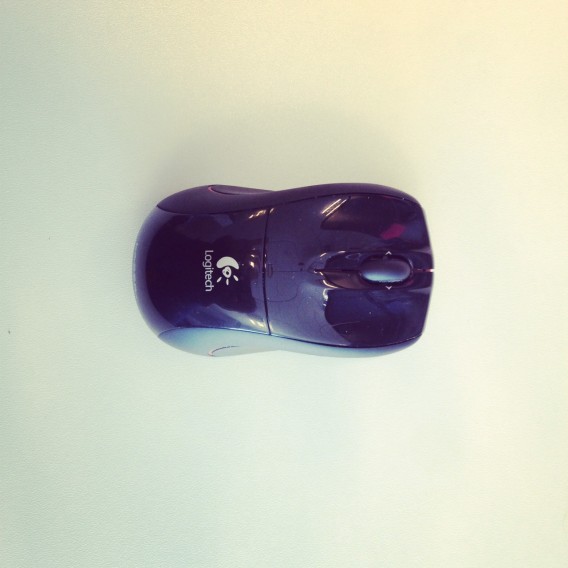
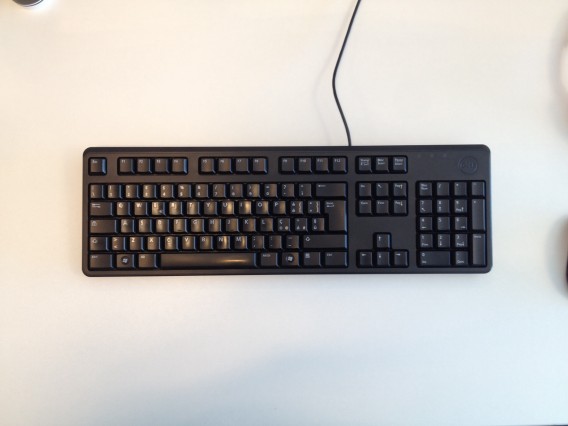
But when viewed from an angle that’s unusual, if not compelling, then it at least looks a little more interesting.


Another interesting topic is the beauty of detail. Again, this is something unfamiliar to us, because we almost never pay attention to it, but that’s why it’s a great photographic subject. The details found in a mundane object can be very interesting indeed, and, with a bit of luck, will also tell a story.
Depth of field
A narrow depth of field is a valuable ally when it comes to giving more prominence to the subject that we’re photographing; in fact, if we can maintain the focus of the subject and blur the rest, then it prevents the person who is looking at the photo from getting distracted.
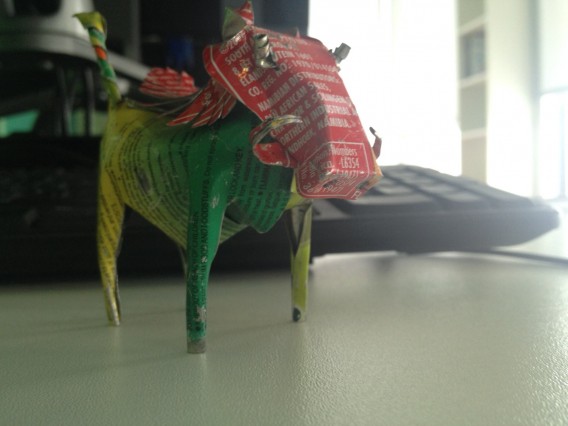
Background elements are less distracting when out of focus
But what is depth of field? Put simply, “it’s the distance in front of and behind the focal subject that appears to be sharp” (Wikipedia). Professional and semi-professional cameras allow you to manually adjust nearly all of the parameters, including shutter speed and aperture, as well as framing several objects, as required.
It is these three elements that affect the depth of field. Lenses with large focal lengths (telephoto lenses, for example) tend to reduce it (but this also depends greatly on the use). Something that has a greater effect on the depth of field, is the aperture opening: the greater it is, the smaller the depth of field. But these parameters, in most smartphones at least, are set automatically.
So, what leeway do we have? If you also take into consideration the fact that the lens on a smartphone is a wide angle, and therefore has a very small focal length (and consequently a large depth of field), how can we try to decrease the area in focus when photographing objects or taking portraits?
Basically, there are two ways: the distance from the subject, along with blurring in post-production, which is something that you can do in Instagram. The closer we are to the person or thing that we are photographing, the smaller the depth of field, and the more of the subject will be in focus along with what is behind or in front of it, while if you increase the distance from the subject, things become progressively more blurred. In this way, you can get physically closer to the subject in order to blur the background and give the subject greater prominence.
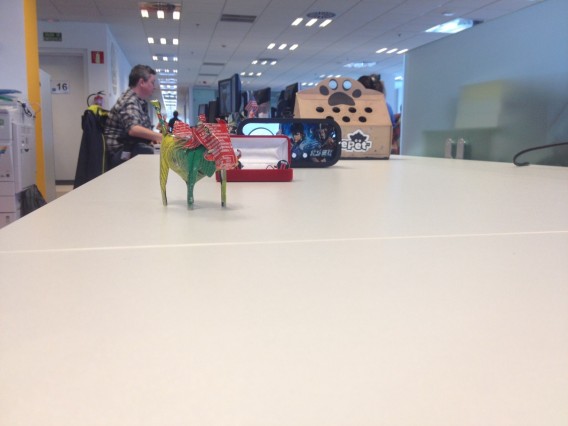
This large depth of field fails to highlight the subject
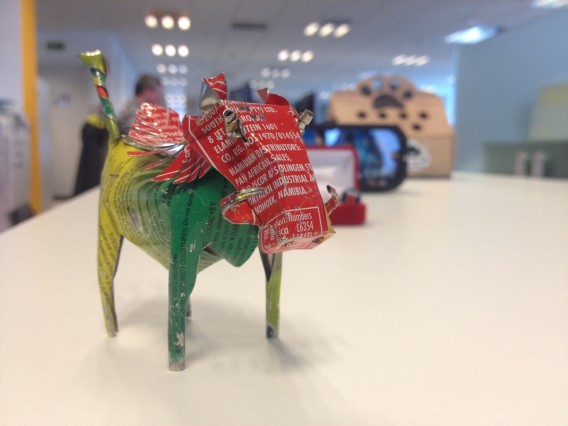
Here, however, the depth of field is smaller, because we have gone in close to the subject
In a great light…
In this article, as we’ve said a couple of times, it wasn’t our intention to make photography into something governed by a series of rules and regulations. Our recommendations are only based on the experience of many photographers, who through experimenting have found that there are certain things that work better than others.
Now, it’s over to you to try things out and see if our recommendations have increased the number of likes you get for your photos!
In the next installment of this guide, we’ll explain how to manage the privacy settings on your Instagram account.


