Style reference in Adobe Illustrator: Maintaining consistent design styles
- February 6, 2025
- Updated: July 1, 2025 at 10:26 PM
Maintaining a consistent style throughout a project is one of the most common headaches among artists and creatives. Creating pieces under the same aesthetic can become complex, especially if we have to work with elements we are not familiar with. Fortunately, Adobe Illustrator can help us a lot in lightening the workload.
Next, we will teach you how to make the most of Adobe Illustrator to maintain a consistent style in the projects we undertake.
Define a style before starting a project
Having a clear idea about how your project will be will make our work much easier. It doesn’t matter if it’s minimalist, has bright colors, or uses bold strokes: defining these guidelines before starting will prevent our designs from appearing directionless.
If you don’t know where to start, you can always get inspired by visiting websites like Behance or Adobe Stock. On Behance, for example, you will find a multitude of projects created by great creatives from the world of advertising, poster design, or illustration, among others. You can use it for free with your Adobe user account and thus get inspired by the creations of other users.
On the other hand, Adobe Stock is an on-demand service where users can download resource files to use in their projects. The licenses for these resources can be purchased with credits, the currency used by Adobe.
Create Your Own Color Palettes
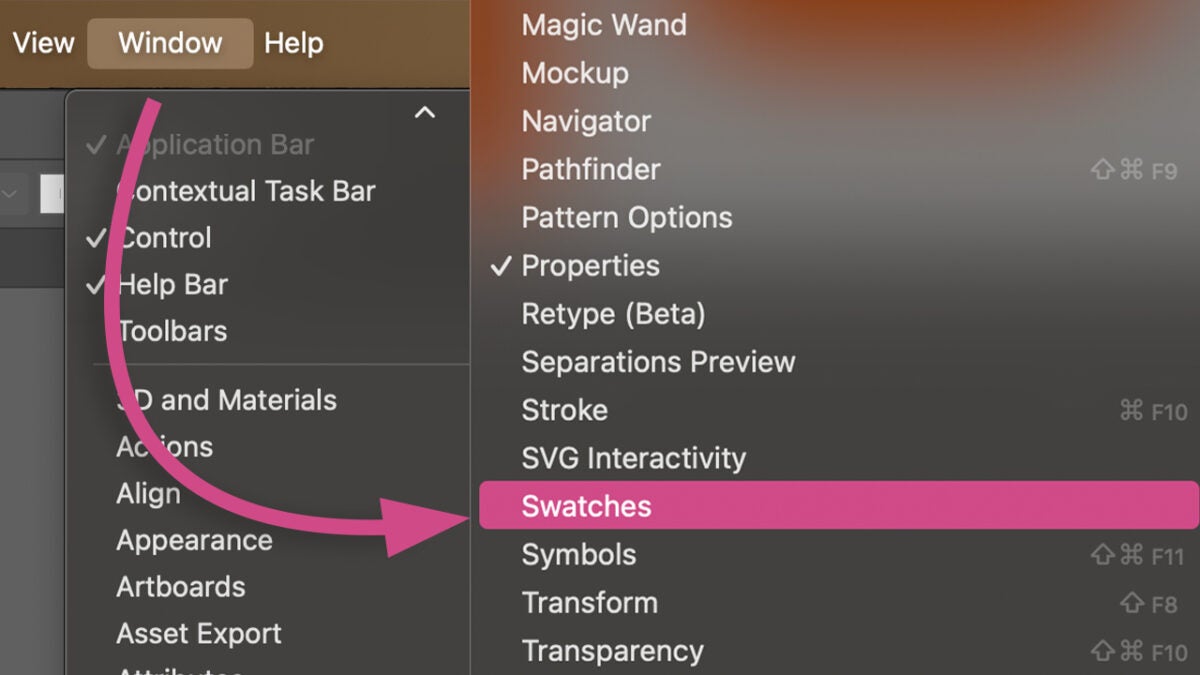
To manage your own colors within Adobe Illustrator and always have them at hand, we will use Swatches. This includes solid colors, gradients, and also patterns.
- First, we will open the Swatches Panel. You will need to go to Window > Swatches.
- By doing this, you will open a new panel where you will see the default colors that Illustrator shows you.
From here, we can create our own folders with the colors we like the most and have several palettes depending on the project we are working on. To add new colors, we will need to do the following:
- Select an object on your canvas with the Selection tool that contains the color you want to save.
- From the Swatches Panel, click on New Swatch.
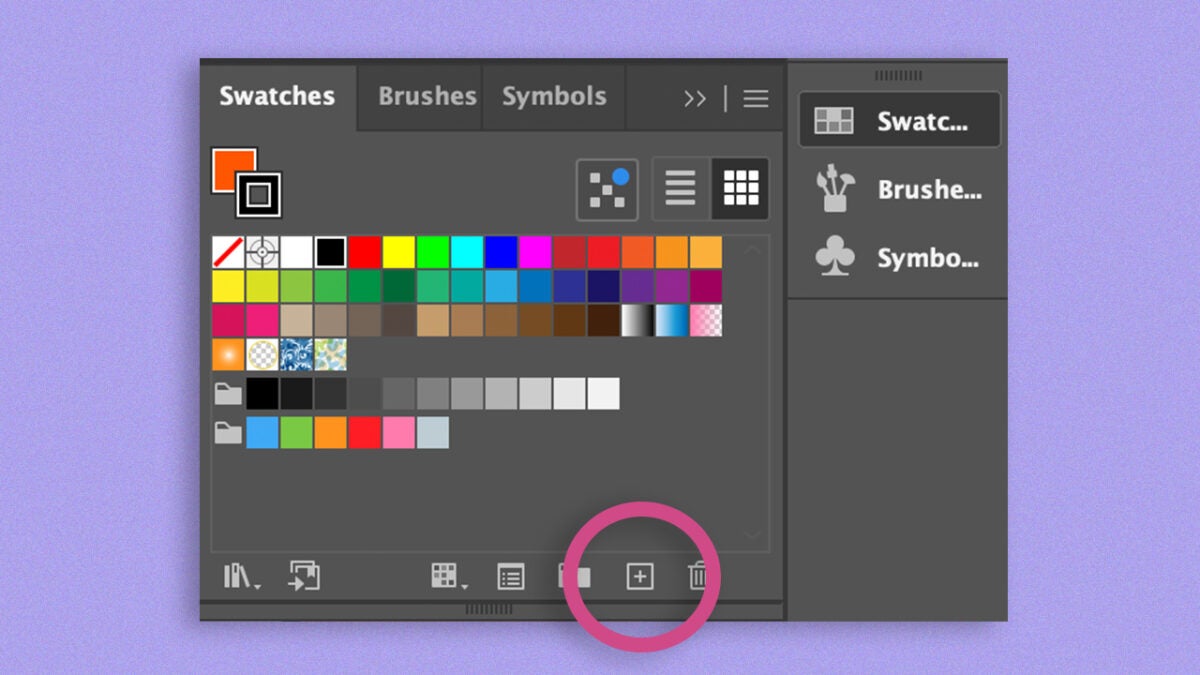
- A new options box will open where you will have to name the color (if you want) and select a Color Mode. You will have the option to choose between RGB, Grayscale, HSB, CMYK, Lab, and Web Safe RGB. In this case, we will keep it in RGB.
- To finish, click on OK. Now, the color will appear in the general swatches.
For now, this will help us save specific colors in the swatches. However, now we will see how to create a custom color palette:
- Select the colors you want to include in your new palette one by one with the Eyedropper tool and add them just as we did before.
- From the Swatches Panel, click on the New Swatch Group icon.
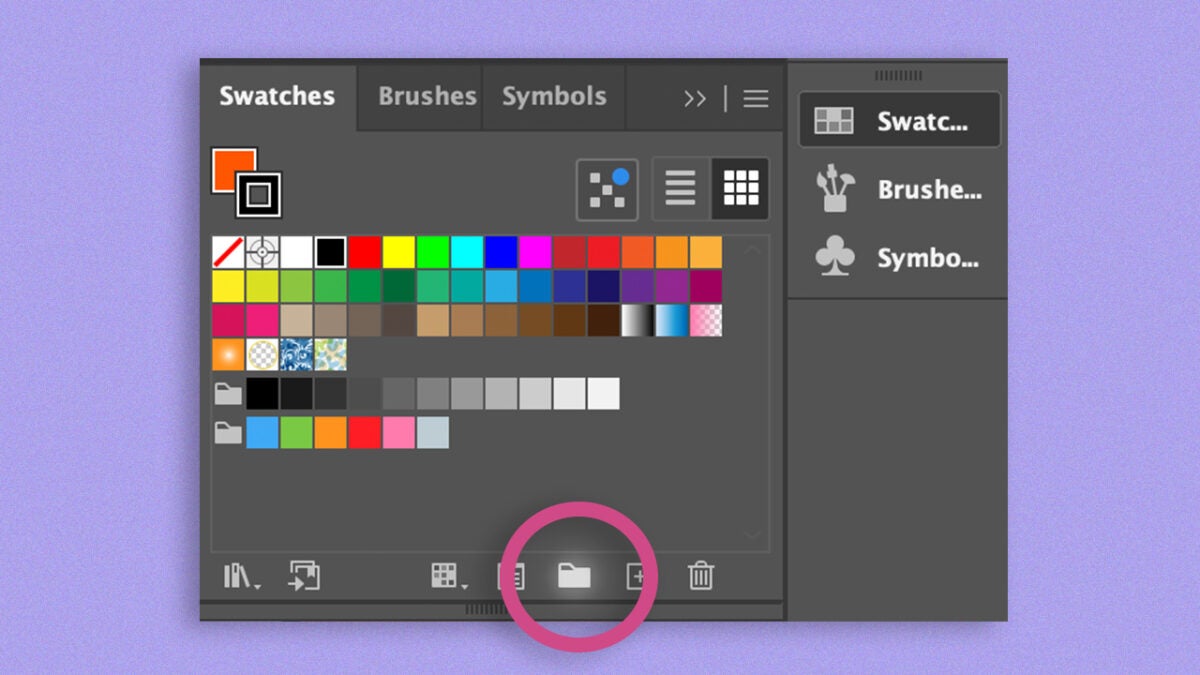
- Drag your samples to the folder you just created.
- Select the colors and save the palette with the option Add Selected Swatches and Swatch Groups to my current library.
You can import the colors as an external file by clicking on the library symbol and selecting Save Swatches. The file will be saved in .ai format, and you can import it into Adobe Illustrator.
Use graphic styles
Knowing how to manage graphic styles in Adobe Illustrator will save you a lot of time when creating cohesive designs. Just like with texts, Illustrator allows us to set graphic styles, a set of attributes that let us quickly change how objects look. When we apply a graphic style to a layer or a group, they change their appearance according to the parameters we have set.
From the Graphic Styles panel, which you can access through Window > Graphic Styles, you can see Illustrator’s default ones and add any you want. To create a graphic style from scratch, we need to do the following:
- Create an object with the characteristics you want your graphic style to have and customize it to your liking: set a fill color, add gradients, effects, etc.
- Use the Selection tool to select your creation. From the Graphic Styles panel, click on New Graphic Style to save the style.
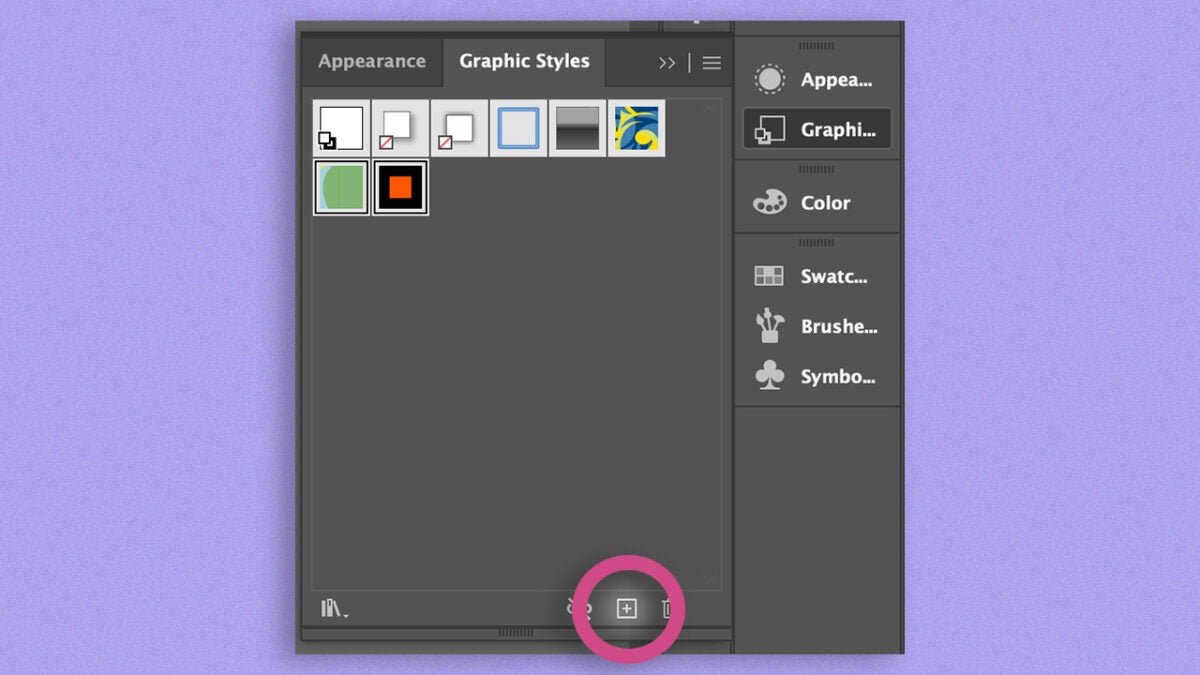
- To apply it to other items, select them and click on the style you saved in the Graphic Styles panel. You will immediately see how the attributes are applied automatically.
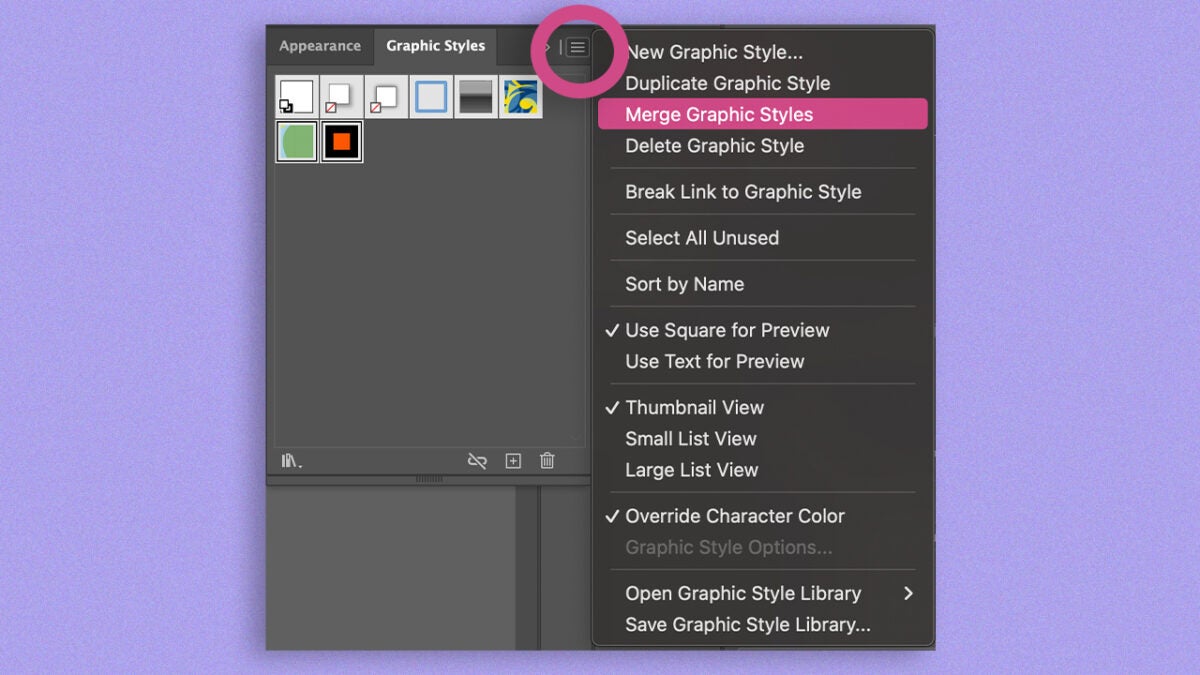
Illustrator also allows you to combine existing graphic styles. To do this, select the Merge Graphic Styles option, which you will find under the symbol of the three horizontal lines.
New Generative AI Features: This is How Text-to-Vector Graphic Works
In recent years, Adobe has integrated new AI-powered features into its creative suite. In Illustrator, for example, we can generate vectors from a description.
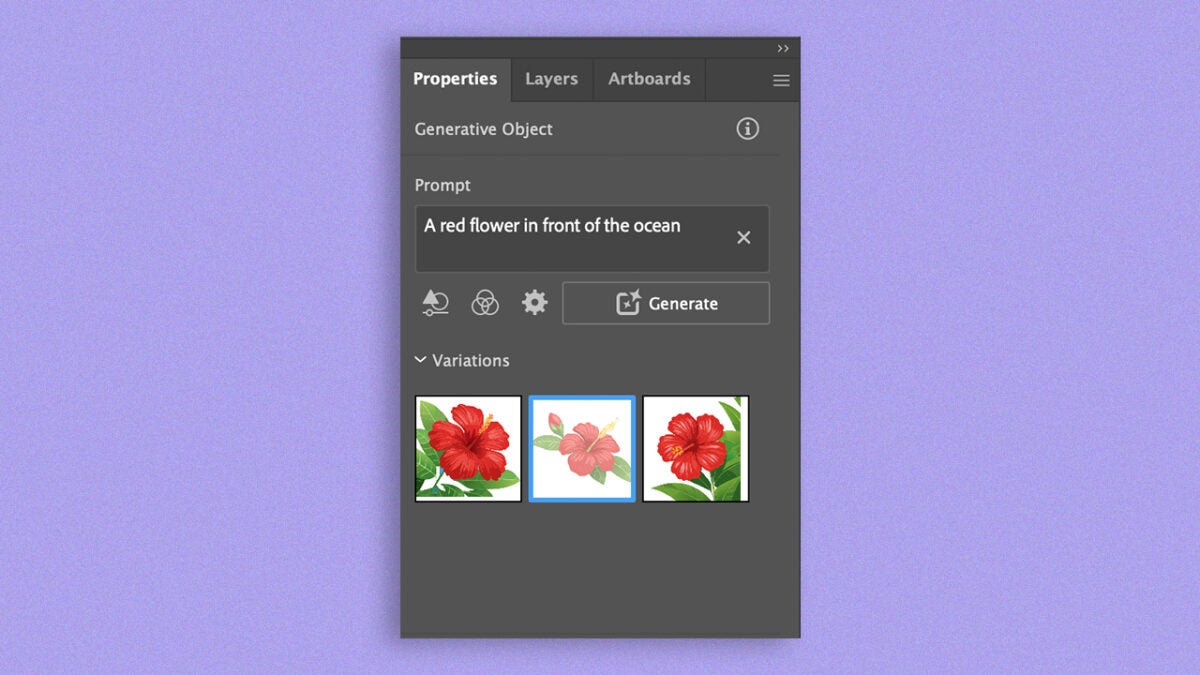
This feature, Text to Vector Graphic, will allow us to create icons, scenes, and complex shapes in a very short time, as you will see below:
- Create a shape and select it.
- By doing so, a contextual bar will appear with the option Generate Vectors. If this bar does not appear, go to Window > Contextual Task Bar.
- Clicking on Generate Vectors will bring up a new box where you will need to describe in writing what type of vector drawing you want.
- Adobe will provide several results based on your request. Choose the one you like the most or continue refining with your description. You will find all this information under the Properties panel.
This type of function can help you follow a style path and apply it to your work.

Artist by vocation and technology lover. I have liked to tinker with all kinds of gadgets for as long as I can remember.
Latest from María López
You may also like
 News
NewsWhat are the three things we are most looking forward to with the iPhone 18 Pro
Read more
 News
NewsFor Amazon Prime Video, this country is the most important in the world after the United States
Read more
 News
NewsThis way you can save a lot of time on your trips every time you use Google Maps
Read more
 News
NewsThis way you can make Crimson Desert look better on your PS5
Read more
 News
NewsNetflix is about to lose one of the best sagas in its entire catalog: hurry before it slips away
Read more
 News
NewsValve has just set the sector on fire with a key change in Counter-Strike 2
Read more