Transform your classroom: Interactive learning materials in Acrobat
- September 29, 2025
- Updated: September 29, 2025 at 6:54 PM

Learning has ceased to be limited to classic textbooks and handwritten notes. Nowadays, both students and teachers have numerous digital tools that help adapt teaching to our needs.
One of these tools is Adobe Acrobat. With this program, any educational material can be transformed into an interactive resource that facilitates understanding, collaboration, and organization both inside and outside the classroom. Because, although we think of Adobe Acrobat as a PDF reader, the truth is that it can be much more.
Text and image united
Many students know it: a boring PDF can waste a lot of your time. However, a well-prepared one can make a difference. Add graphics, include images, or link to videos: this way, even the most complex concepts can make sense. If you want to bring a little more life to your PDFs with multimedia resources, here we teach you step by step.
How to insert an image into a PDF
With Adobe Acrobat, inserting images into a PDF is a very simple and quick process, as you will see below:
- Open your PDF with Adobe Acrobat Pro or Standard. Double-clicking your file will automatically open it in Acrobat, as long as it is your default PDF reader. If not, you can also open it from Acrobat by selecting File > Open.
- From All Tools, the menu on the right, click on Edit a PDF.
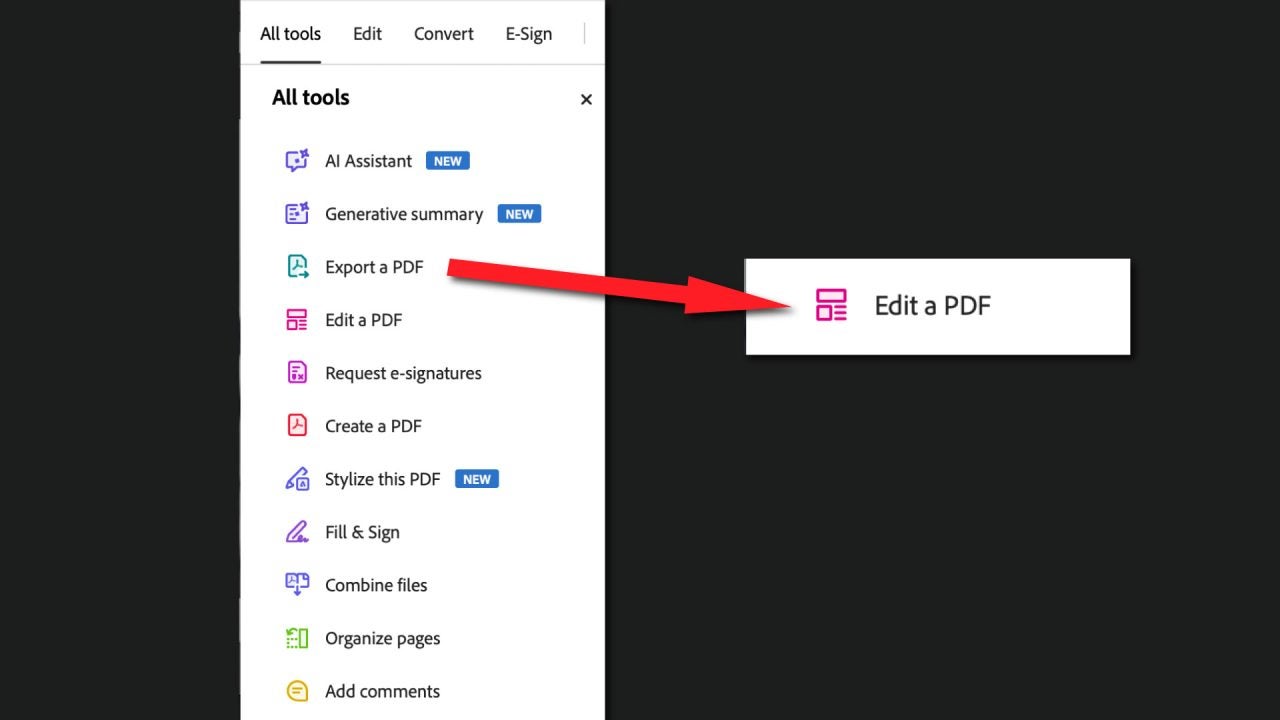
- In the Add Content section, select Image.
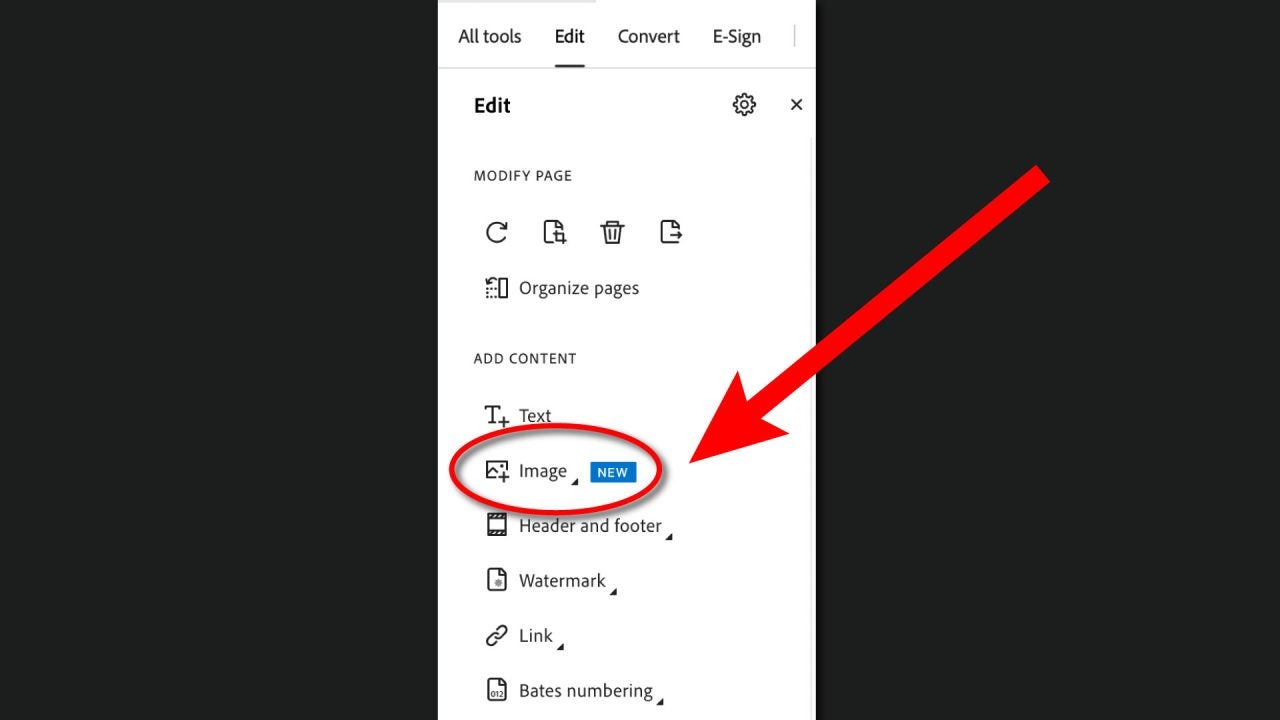
- Here you will have two options, Choose Image or Generate Image. With the first one, we will have to select the photo we want to add from our PC. The second one, as you can imagine, uses artificial intelligence through Adobe Express to generate an image.
- Finally, go to File > Save/Save As to save your edited PDF.
How to add external links
Just like images, links to external websites also serve to expand the information in our PDF. It doesn’t matter if they are links to YouTube or downloadable material, all of them have a place in your documents. Moreover, with Adobe Acrobat, it will be very easy for you to add them:
- Just like before, open your PDF with Adobe Acrobat Pro or Standard.
- Go to All Tools > Edit a PDF.
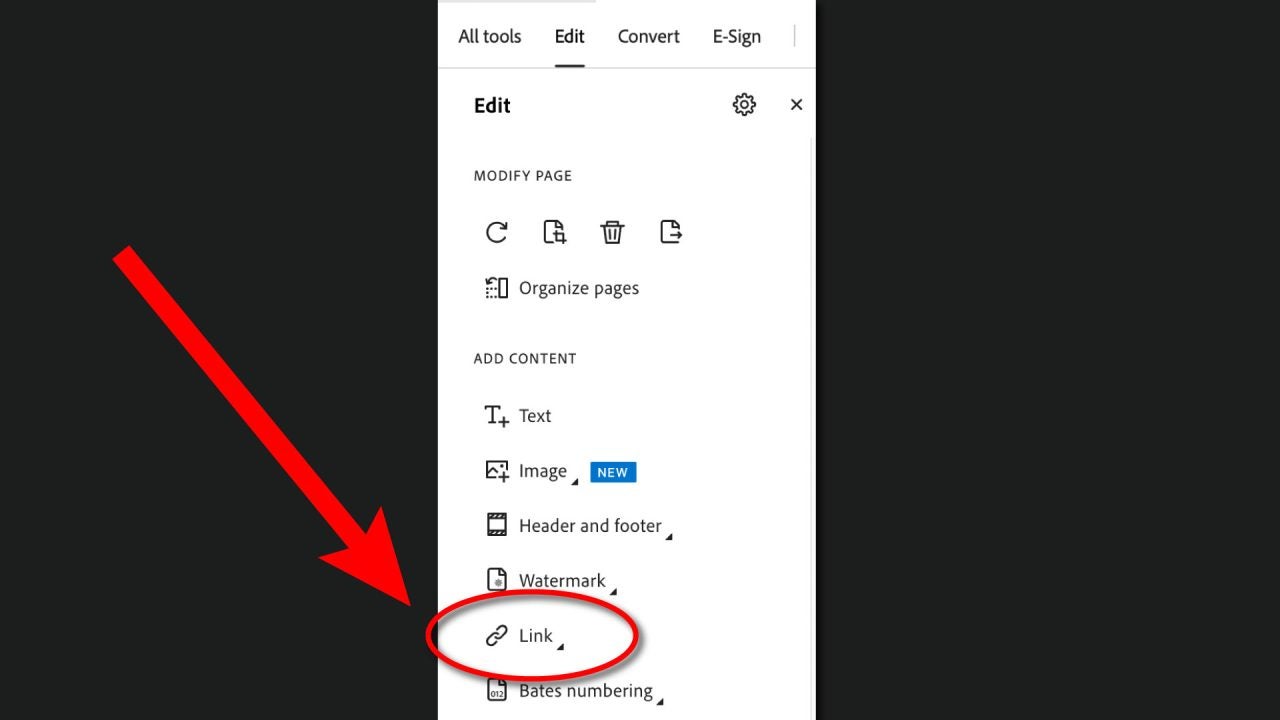
- In the Add Content section, click on More and select Link > Add or edit a link.
- Draw the clickable area. Then, a box will appear where you can configure the appearance of the link and where it will take you from Actions.
- To add a link, from Select Action click on Open a web link and then, Add.
- When you’re done, don’t forget to check that your link works correctly.
Keep in mind that when you click on your links, your PC may display a security warning. Just click on Allow when it appears to use them normally.
Collaboration Tools
Learning improves significantly if, in addition to accessing information, we share ideas. The collaboration tools of Adobe Acrobat allow both students and teachers to work from the same document easily, providing revisions, comments, observations…
- Open your PDF in Adobe Acrobat Standard or Pro.
- Go to All Tools and select the Add comments icon.
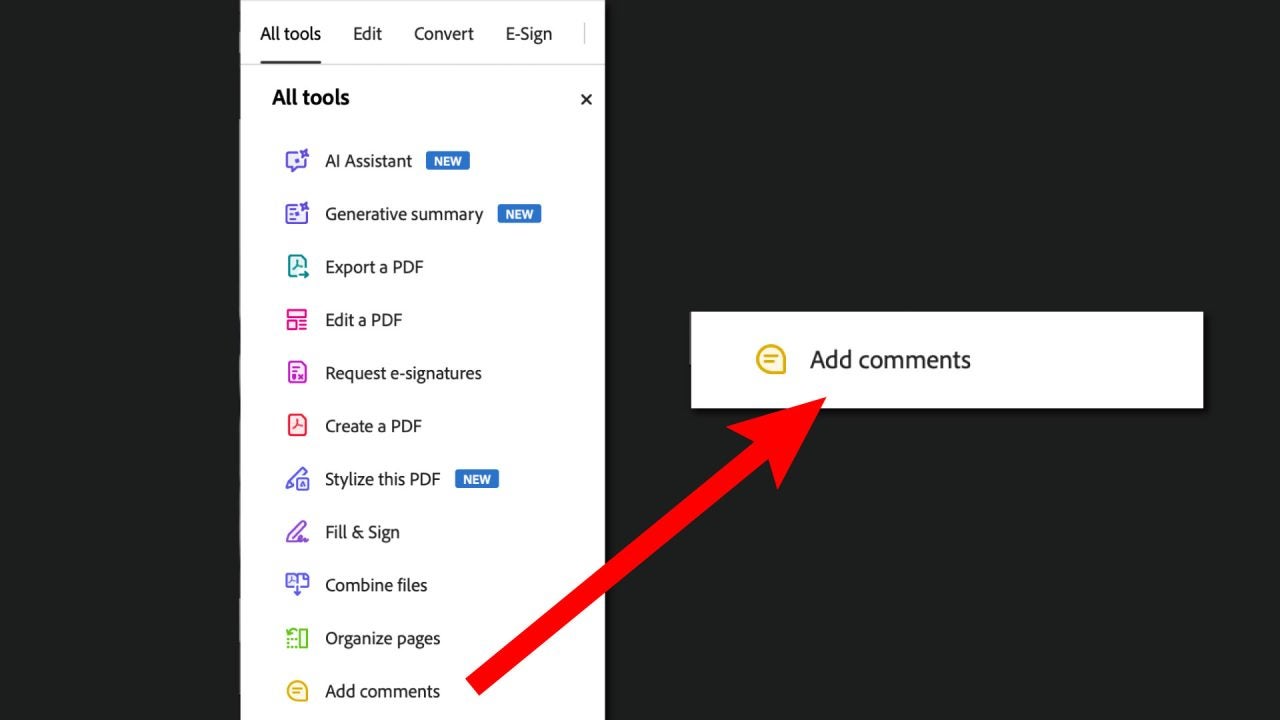
- By clicking on it, you will see several options. Stay on the Add a comment. option.
- Now you just have to click anywhere on the PDF and write the comment you want to add. Within the comment, you can also mention other users to notify them of your notes.
By clicking on your comments, you can change the highlight color or delete them if you need to. Additionally, Acrobat allows you to attach external files along with your comments.
Artist by vocation and technology lover. I have liked to tinker with all kinds of gadgets for as long as I can remember.
Latest from María López
You may also like
 News
NewsCan you guess which streaming service we watch more than Netflix during the day?
Read more
 News
NewsThe Netflix Assassin's Creed already has lead actors
Read more
 News
NewsStranger Things returns for Christmas Eve with the Duffer brothers promising us an LGBTIQ+ resolution for the story
Read more
 News
NewsOne of the games canceled by Microsoft this year might have been closer to completion than we imagined
Read more
 News
NewsThe most acclaimed film by Christopher Nolan was going to be directed by Steven Spielberg
Read more
 News
NewsWorld of Warcraft announces a new open world system
Read more