Article
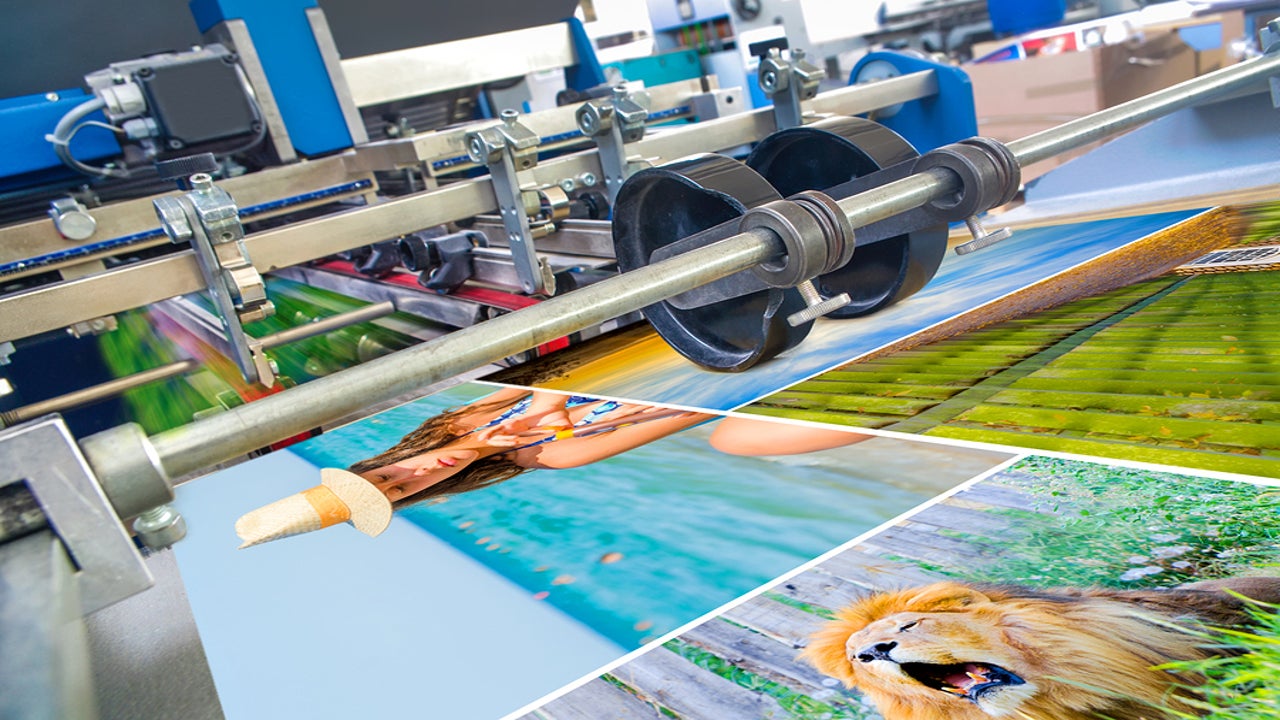
Exploring All That You Can Print in PhotoScape
- April 8, 2016
- Updated: July 2, 2025 at 7:00 AM
Beside all of the cool features, like sharpening tools and special effects, PhotoScape’s print function also gives you some powerful features so that the finished product is exactly what you want. Here are a few of the printing options to make your PhotoScape-printed photos look like professional quality work:
When you select the Print function at the top of the window, it will bring up a menu. There, you can find and select printing options.
Stretch Photos Before Printing
The Stretch feature enlarges your photo by distorting and stretching it as large as it needs to be to fit the paper. Please note, however, that using the Full Paper option does not print any part of the image that exceeds the size of the printed material.
Choose the Printed Photo Size
All of the common photo sizes are there for you, including wallet size, 3×5, and 4×6, but you can also choose your own custom size. Just realize that the software can’t print larger than your printer is capable of handling and that you have to have the right size photo paper. When printing photos, it’s always best to invest in photo-quality paper for the best possible results. Choose between glossy and matte, depending on the effect you would like the images to have.
Choose the Direction of the Photo to be Printed
Here is where you select Portrait (higher vertically) or Landscape (wider horizontally).
Filename Height
This option allows you to print the name of the file you have chosen for the photo image right on the printed copy.
Intervals
Intervals (measured by PhotoScape in millimeters) lets you select how much empty space there will be between the photos you print on a single page.
Draw Outline
As the name entails, this feature lets you set an outline for your photos. Often, an outline makes the photo appear more “finished” and professional than having no outline.
Auto Rotate
This feature allows you to rotate the photo 90 degrees before printing. If you do not want to save the image rotated, but you do want it to print rotated, this feature lets you do that without changing how the image is saved on your computer.
Rows Per Page & Columns Per Page
When printing multiple images on the same page, this feature allows you to establish how many rows and columns to print per page.
You can also create some nifty effects using the print menu, including:
• Gamma
• Grayscale
• Sepia
• More
Don’t forget to check out: Top 10 Tools for a Photo Retouch!

Latest from Softonic Editorial Team
You may also like
 News
NewsThe Sonic game that was such a failure that it disappeared after a year without anyone mourning it
Read more
 News
NewsThe developers of Dead Cells explain why they decided not to make a sequel to their game
Read more
 News
NewsThere is a solution to improve your aim in Battlefield 6 and it doesn't require any mods
Read more
 News
NewsThis board game has raised 4 million dollars on Kickstarter and has encountered a problem: it doesn't know what else to offer
Read more
 News
NewsHollow Knight: Silksong players discover how to destroy their games for fun
Read more
 News
NewsOne of the most iconic series of the 2000s will return with a reboot featuring a female lead and more prison breaks
Read more