Generative Removal: Effortlessly remove unwanted elements in Adobe Lightroom
- February 19, 2025
- Updated: July 1, 2025 at 10:21 PM
Surely, you have thought more than once about how ideal it would be to remove any annoying object from a photograph with just one touch. The truth is that we now have many applications and programs capable of doing this. However, few have the power and versatility of Adobe Lightroom.
It is likely that when talking about Adobe, the first thing that comes to mind is Adobe Photoshop. While Photoshop is one of the best editing programs available today, it can sometimes be too complex. With Lightroom, we can edit our photographs simply and effectively, as you will see below.
What is Generative Remove, and how can I use it?
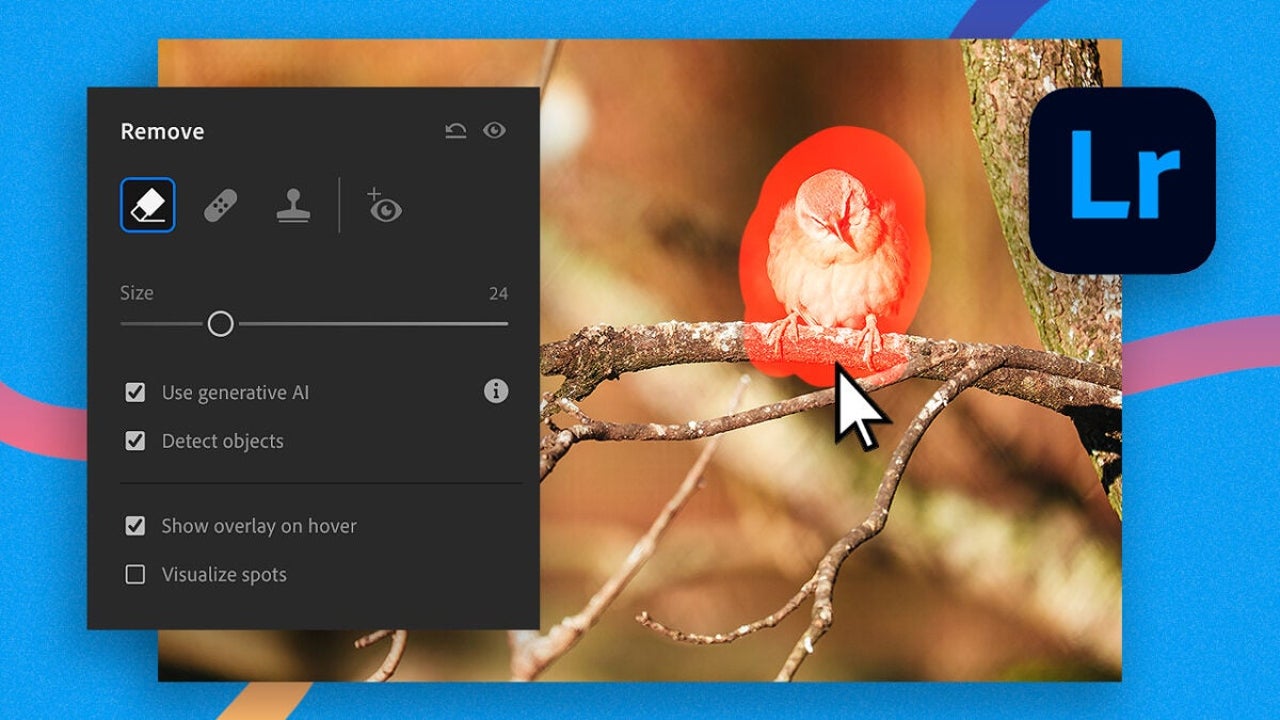
Thanks to Adobe Firefly’s generative artificial intelligence, the Generative Remove feature in Lightroom allows us to remove any unwanted element from an image. Lightroom will leave no trace, no matter how complex your image is or how many objects you want to erase.
If you already have Lightroom installed and your photograph ready, it’s time to get started:
- With Lightroom open, import the photograph you want to edit. Drag it directly into the program and select the Add 1 photo. button.
- Double-click on the image to open it.
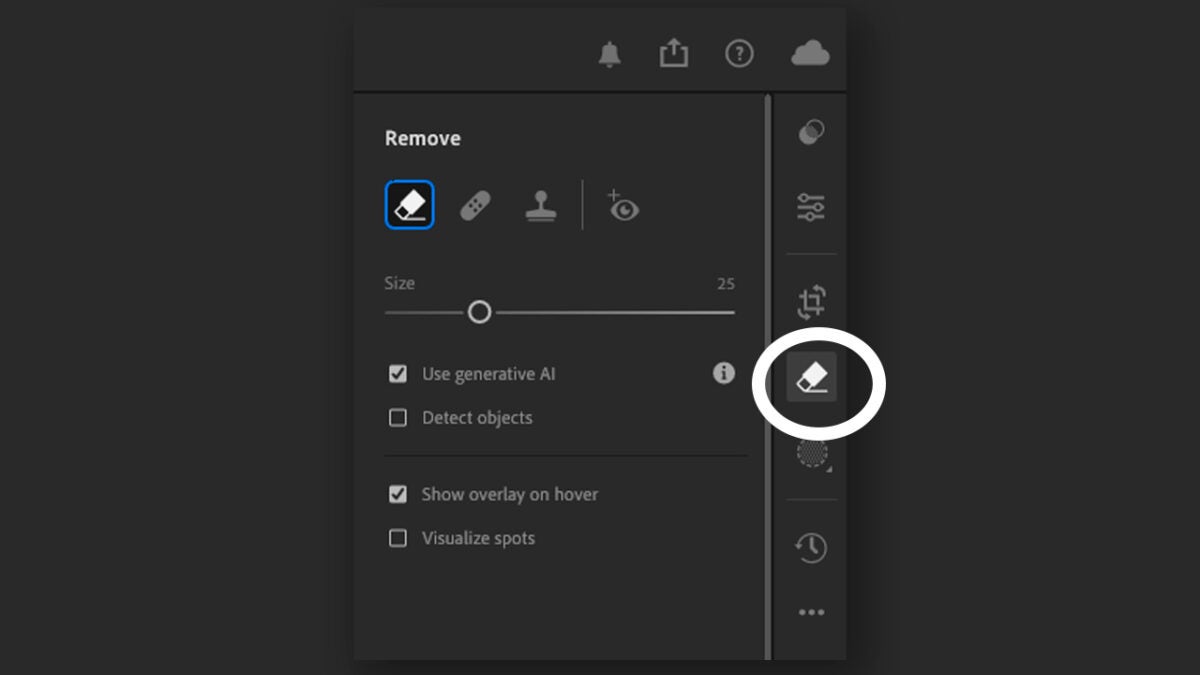
- Go to the right panel and click on Remove the eraser icon. Make sure the Use generative AI checkbox is checked.
- Adjust the brush to cover the area you want to remove.
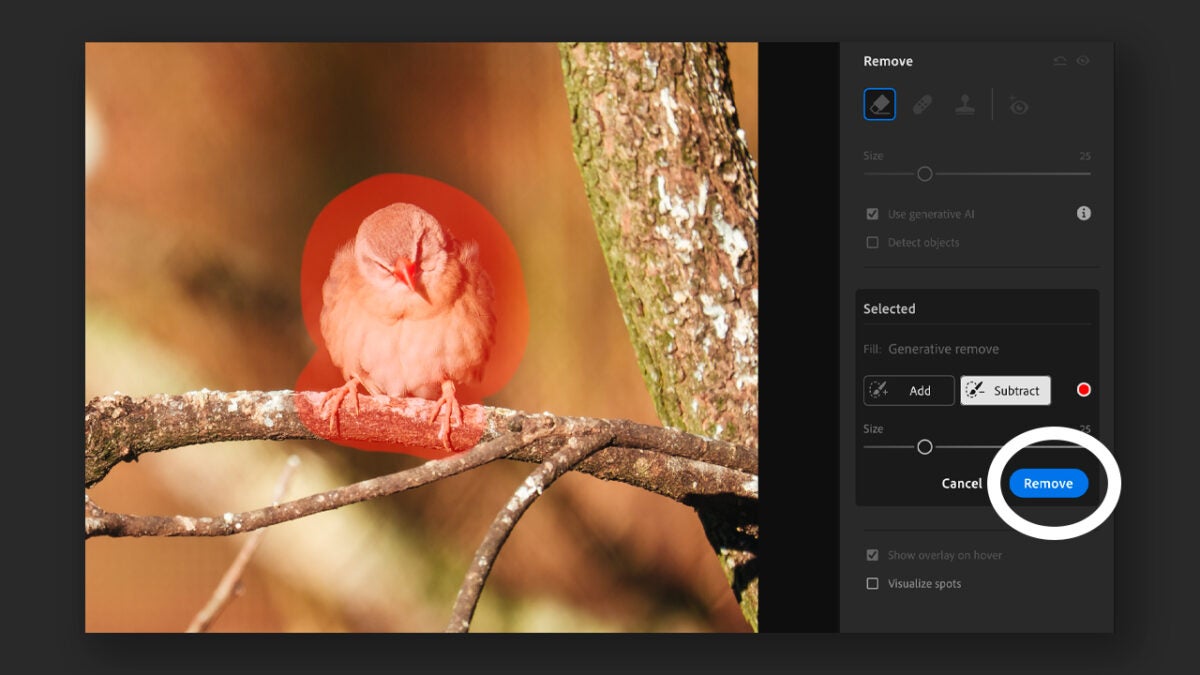
- When you have finished selecting the area, click on Remove and wait for the AI to process the image. In a matter of seconds, you will see the result.
- When finished, Lightroom will offer you other finishes that you can view by sliding over Variations. Check the results and keep the one you like the most.
- If you want to cancel the process, simply select the trash can symbol.
When selecting with the brush, you will see two options, Add and Substract. The first will help you expand your initial selection. The second will do just the opposite, removing parts of the selection. Combine them to properly adjust the elements you want to erase.
Under the Use generative AI checkbox, you will see another one called Detect objects. If you check it, Lightroom will automatically detect the objects to be removed within a large selection. To use it, activate Detect objects and draw over what you want to remove. Lightroom will autonomously apply a mask over the object.
Where is Generative Remove available?
You will find the Generative Remove feature within the Lightroom applications for desktop (Windows and MacOS), mobile (Android and iOS), Lightroom Class, and Adobe Camera Raw.
You must keep in mind that, to use this type of deletion, you have to stay connected to the Internet at all times. This is a function that works thanks to the cloud, so its effectiveness will also depend on the speed of your connection.

Generative Remove on mobile: How does it work?
As we mentioned before, the mobile and tablet versions of Adobe Lightroom also include Generative Remove. Here’s how you can use it on iOS and Android:
- With the app open, choose the photo you want to retouch.
- Click on Remove. You will see it with an eraser in the toolbar below the image.
- Keep the Generative AI option enabled.
- Set the brush size and paint over the object you want to erase.
- Wait for the app to process the image; you will see the result in a short time. If you like it, select the
icon.

With the Refine option, you can further perfect the deletion if needed. Just like in the desktop version, Lightroom will show you three variations with different finishes. You have more options like Opacity, which allows you to control the opacity of the adjustment within that area. Finally, with Restore, you can return to the original image without edits.
If you click on the three dots symbol located at the top right, you can save the image to your device or even copy the settings to apply them to other images.
Other additional features of Adobe Lightroom
In addition to Generative Remove, the integration of generative AI within Lightroom has provided us with new and better tools to correct our images. Some of them are:
- Heal: Improves an area considering the colors and the tone that surrounds it.
- Clone: replicates the pixels from the source in an area.
To use Heal, do the following:
- Click on the Remove icon (the eraser).
- Then, select Heal, which is represented by a Band-Aid.
- Adjust the brush size and paint over the imperfection you want to correct in your photograph. Lightroom will take a sample of the nearby pixels to perform this action.
- With the mouse, move the area from which Lightroom takes the sample to adjust the result.
In the case of Clone, follow these steps:
- From Remove, select the Clone icon.
- Hover the brush over the area you want to edit. The program will copy precisely the pixels from the source area, which you can move at will.
- Adjust it to achieve the finish you desire.

Artist by vocation and technology lover. I have liked to tinker with all kinds of gadgets for as long as I can remember.
Latest from María López
You may also like
 News
News'Catwoman' not only killed DC in cinema for years. It also destroyed a legendary video game studio
Read more
 News
NewsDisney stopped this adaptation of one of its best animated films. Now it has restarted it
Read more
 News
NewsGame Pass announces the first batch of games for October, including two classic RPGs and the most anticipated action game of the year
Read more
 News
NewsDwayne Johnson and Emily Blunt have a special chemistry on screen, and this classic available on Disney+ proves it
Read more
 News
NewsEA alienates its community again with an overpriced cosmetic pack, this time in skate
Read more
 News
NewsSigourney Weaver was about to not appear in one of the Alien movies, but her director prevented it
Read more