How To
How to add visual effects and animations in Windows Live Movie Maker
- April 17, 2012
- Updated: July 2, 2025 at 8:50 AM
 There are plenty of great video editing programs out there for Windows but none can match the price (free) and simplicity of Windows Live Movie Maker. Microsoft has maintained the intuitive timeline dragging, easy to use ribbon interface, and an abundance of good looking effects and animations. In today’s How To, we will teach you how to add visual effects and animations in Windows Live Movie Maker.
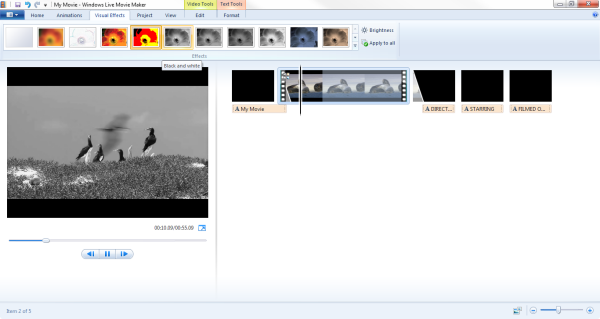
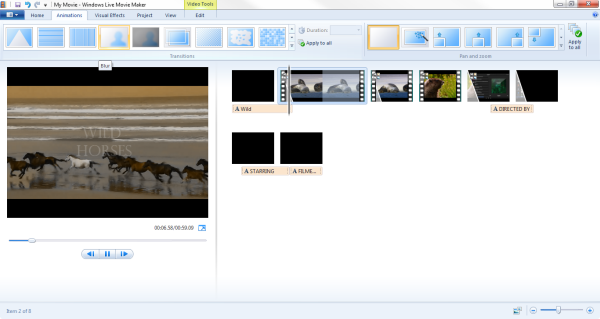
1: Windows Live Movie Maker simplifies its user interface with the ribbon, as introduced to Office in 2007, and now all the animations and visual effects are just a few clicks away. First, import your video and scrub to where you want to want to start an animation or visual effect and press “M,” which splits the video.
2: Now choose an effect or animation you want to use and click on it. That’s it! You’ve not got an animation or visual effect placed in front of the clip you chose. This works for video and photos that you import so you can start experimenting with the look of your video! Windows Live Movie Maker allows you to have a live preview of each effect and animation before you decided to use it. This is useful as it allows you have the video presented as the finished product.
Adding transitions and animations between photos will make a lovely video slide show for your vacation photos. You’ll want to be careful as to how many different types of transitions you want to use as it can be jarring and distracting for the audience. The good thing about Windows Live Movie Maker is that it is simple enough that mistakes can be fixed easily.
Now you know how to polish your video projects with animations and visual effects!
You may also like
 News
NewsThe players of this MMORPG have spontaneously decided that their new god is a crab
Read more
 News
NewsSouth Park is only available on one streaming platform, but it's for the good of the series
Read more
 News
NewsThis Star Wars series is shown to be the favorite among Disney+ viewers
Read more
 News
NewsLiam Neeson turned down the role in one of Spielberg's most prestigious films that won an Oscar for its actor
Read more
 News
NewsDaredevil and Punisher have a new deadly confrontation this coming November
Read more
 News
NewsBioWare says that one of their latest games was approved by EA when it was compared to FIFA
Read more

