How To
How to make amazing Photoshop textures

- September 29, 2022
- Updated: July 2, 2025 at 3:25 AM

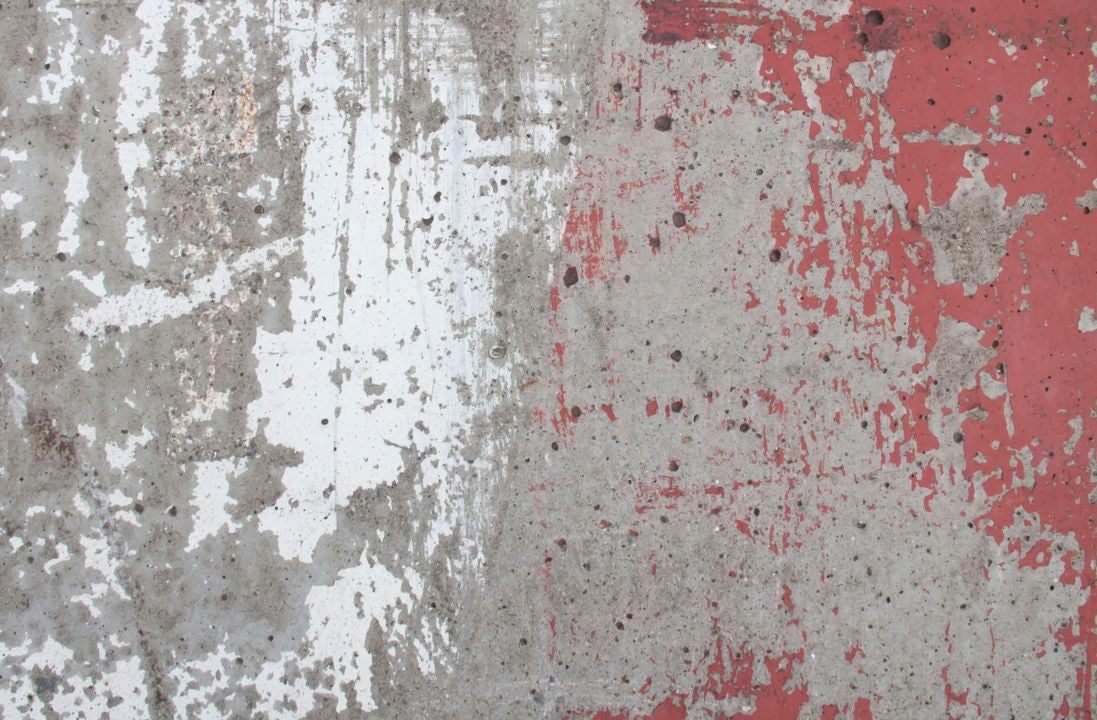
Photoshop textures are digital overlays designed to blend with your images. They make your photos look more like physical objects of art. Unlike elements in a photograph or painting, textures are rarely the subject of an artwork. Instead, Photoshop textures, consisting primarily of a specific motif, give your digital image the impression of being tactile. Photoshop provides several texture overlays that simulate those discoverable in the wider world of fine art production, and you can even create your own.
The application includes several texture templates that make your photos look smooth, rough, blurry, and even fuzzy. But if the right texture isn’t there, adding one in Photoshop is simple. To get started, all that’s required is a digital picture and your preferred texture. If you’re not an Adobe PS subscriber, here’s how to get Photoshop for free. In this step-by-step tutorial, we’ll guide you through exactly how to add a texture to your images in Photoshop.
Import your texture and image into Photoshop

Photoshop textures work best with images that aren’t overly saturated with objects and artifacts. For this exercise, choose a photo with an ample supply of negative space around your main subject.
The primary photograph can be of anything, but the less busy it is, the more your texture will stand out. Regarding how to source a unique texture, you can create your own with a camera or download a unique overlay from the various free or paid sites that offer them.
Once you’ve found a texture and a suitable image you can apply it to, open both your primary image and texture file by right-clicking them. Then select Open in Photoshop or choose File > Open at the top of your monitor and upload it from your device.
Now you’re ready to create a new Photoshop project by setting the two files up as individual layers. If you don’t see the layers panel on your screen press F7 or click on Windows > Layers at the top of your monitor.
To create a blank new layer, which looks like a gray and white checkerboard, select the rectangular icon with the + symbol from the lower toolbar inside the Layers panel or navigate to Layer > New > Layer. For this exercise, you will start with two layers, one for the primary image and a second containing your digital texture. The primary image should be labeled Background.
Name your secondary layer Texture, click OK, and then drag and drop you texture file into this new layer. Once you’ve effectively copied your texture into the second layer, you can start resizing it to match the dimensions of your primary image.
Resize your texture image

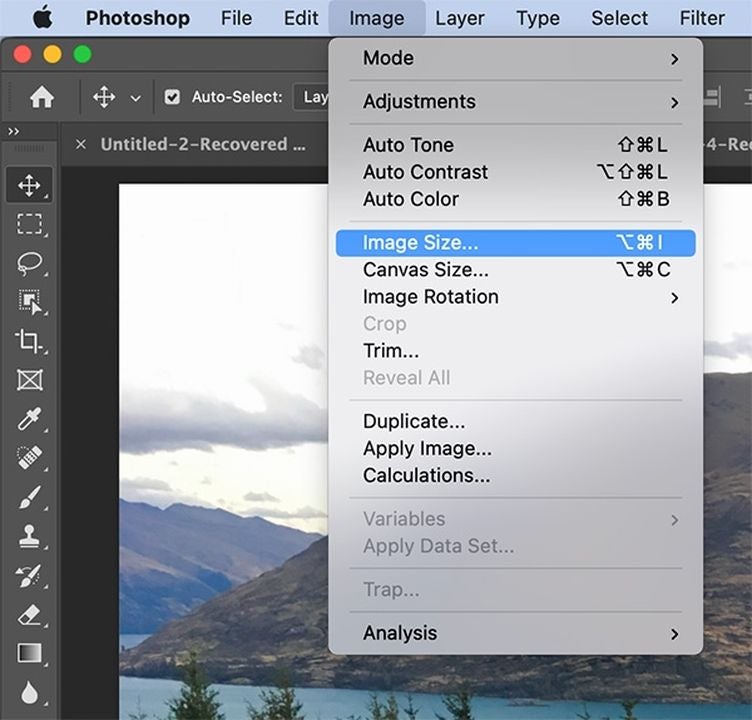
If you prefer your texture layer to overlay your main image entirely, you’ll need to resize the texture layer so that it fits your background layer. Ensure that you’ve selected the texture layer and then find the Edit drop-down list of options. Select Edit > Free Transform or type Ctrl or Cmd + T.
Begin resizing the texture file by dragging the corners until they fully cover the first main image layer. Adjust individual sides of your texture file by holding down Shift and moving them accordingly.
Continue pulling the white squares until they lock into place and cover your primary layer. Once complete press Return or select check mark at the top right of your workspace. For a different look, try rotating your texture image around to find the effect you want.
Blend your two layers

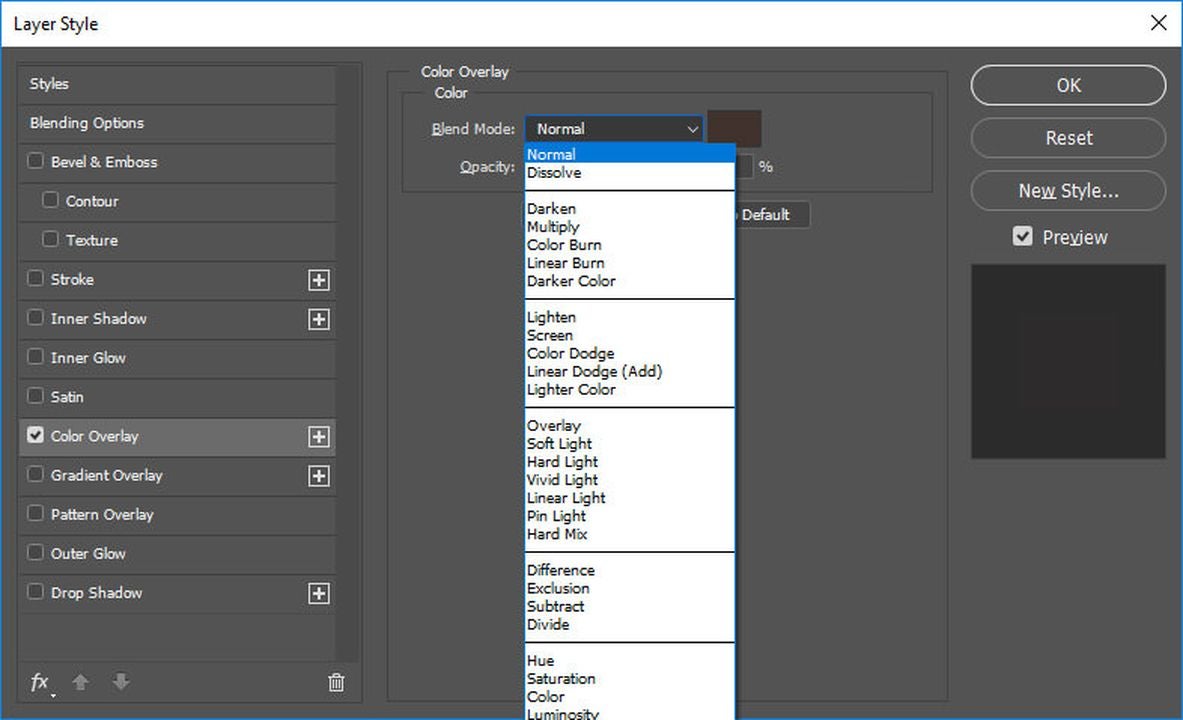
The way layers interact in Photoshops is through its Blending modes. To access this feature, navigate to the top of the Layers panel where you’ll find Photoshop’s various blending options. Adobe sets this tool to normal by default, but how you want to blend the layers is entirely up to you.
There’s no one way of blending layers. The two most commonly used blending features for a project like this are Lighten and Overlay. Feel free to experiment with the different modes to achieve your desired effect.
Refine the texture overlay

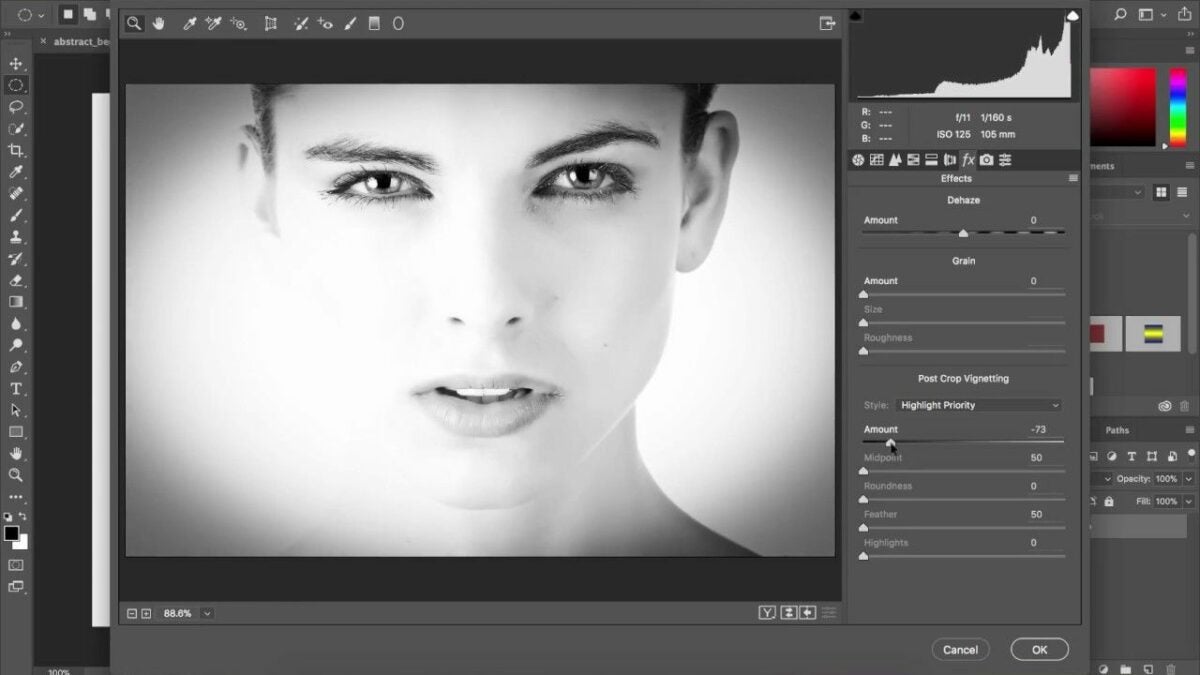
As we previously mentioned, the texture shouldn’t be the main subject of your image. You’ll have to make a few refinements to the layer so that it doesn’t dominate your primary photo. Start by bringing the opacity of your texture layer down to roughly 50% and evaluate how it looks. The opacity setting is your preference, however. Just make sure that the texture layer doesn’t overwhelm the main subject for the best results.
Photoshop lets you lighten portions of the texture, as well. Let’s assume, for example, your subject happens to be a person as opposed to a landscape. Photoshop lets you select the figure in your shot and remove or lighten the texture across the entire body or in specific areas such as the face. To achieve this, you need to create a masking layer.
Find Layer at the top of your screen. Then choose Layer Mask > Reveal All or click on the Layer Mask icon, which is the rectangle containing an interior circle. When the white rectangular object appears, click on this to display the white masking layer.
Now engage the Paintbrush tool and set its color to black. A soft brush will give you more opacity, making it easier to paint over the areas where you wish to remove the texture. The color black presents over the white layer mask, effectively eliminating the texture layer. To reverse your changes or add more texture back into the image, set your paintbrush as white and follow the same steps listed above.
Get the most of Photoshop by adding unique textures
The ability to add textures and generate an original digital creation that might find itself hanging on a museum wall is just one area where Photoshop thrives. The options you have with texture layers in the application are limitless, and they’re a fantastic way to bring more life to your less-than-exciting photographs. For more info on the program, check out our latest Adobe Photoshop review.
You may also like
 News
NewsOmnisend: The ultimate email and marketing platform for e-commerce now cheaper thanks to Black Friday
Read more
 News
NewsAdobe has just acquired Semrush, the leading brand visibility platform
Read more
 News
NewsHe came to solve all our problems with AI, but in the end, it could be the biggest problem of all
Read more
 News
NewsWorking from home? Find out what you need to know to keep your devices safe
Read more
 News
NewsThe new Coca-Cola ad made with AI: Genius or a joke?
Read more
 News
NewsOne of the best science fiction sagas in history will finally have a new series on Amazon
Read more