How To
How to use Command Prompt for a clean Windows 11 install
- February 23, 2022
- Updated: July 2, 2025 at 3:55 AM
When starting from scratch, the best way to install Windows 11 is by using a bootable disk drive. This USB flash drive helps you troubleshoot common issues while ensuring a clean installation across multiple PCs when you’re offline. When your hard drive is empty, booting your computer with Windows 11 USB installation media is the only approach.
You can create a USB flash drive to install Windows 11 through multiple methods. The easiest way to render the installation media is by using Microsoft’s Media Creation Tool. However, Command Prompt presents another strong alternative. In this guide, you’ll learn how to install Windows 11 using Command Prompt.
Getting started: download the Windows 11 disk image (ISO)
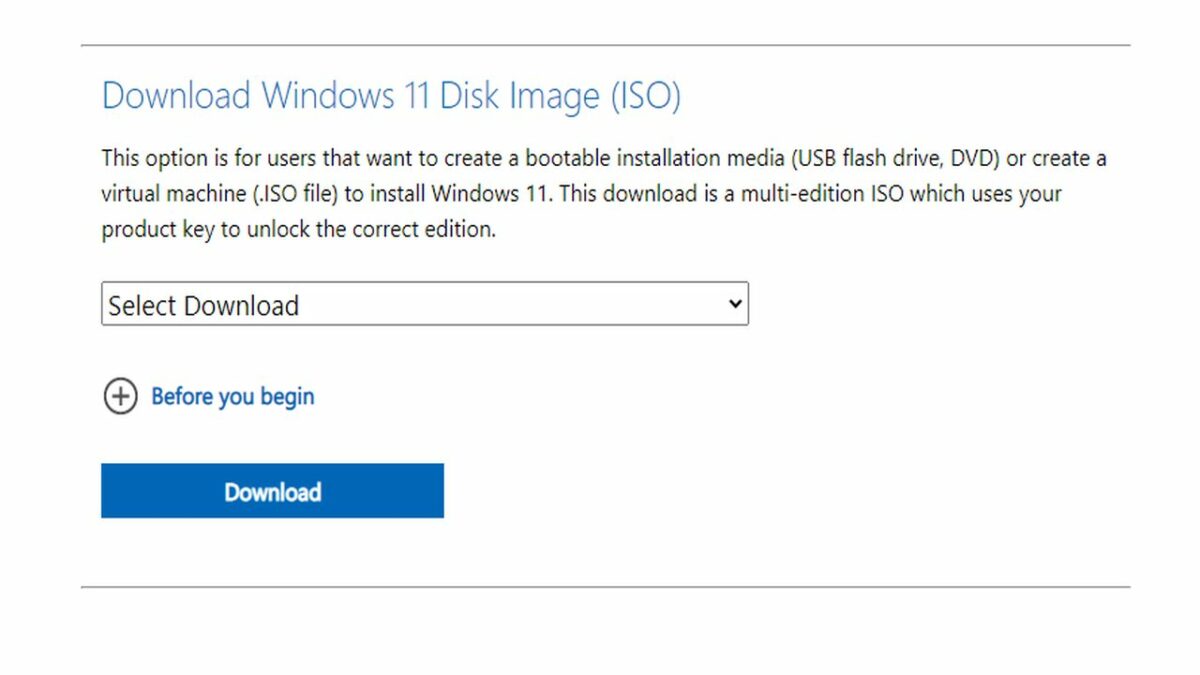
Downloading Windows 11 to a bootable USB drive requires a Windows 11 ISO disk image file. This file type is more commonly known as an ISO image. Before you create your bootable installation file onto a USB flash drive or DVD, you’ll need Microsoft’s multi-edition ISO downloaded to your device. To download the Windows 11 ISO to your PC, follow these steps:
– Download Windows 11 OS.
– Scroll down and locate the section titled Download Windows 11.
– Access the dropdown menu and click on Windows 11.
– Now, click on the Download icon to proceed.
– The page will prompt you to select the product language. Choose your preferred language, and click Confirm to proceed.
– The above step loads the section where you choose the 64-bit download icon.
– Wait for the Windows 11 ISO download to finish.
Installing Windows 11 with Command Prompt
Using Command Prompt to install Windows 11 is the best choice for those who want to avoid the use of a third-party tool to use create a bootable drive. Command Prompt allows you to deploy the Diskpart Utility function to establish the required installation media. Here’s the process:
– Back up all files on your USB drive before connecting it to your device. Remember, you will be wiping your memory when you reinstall the OS.
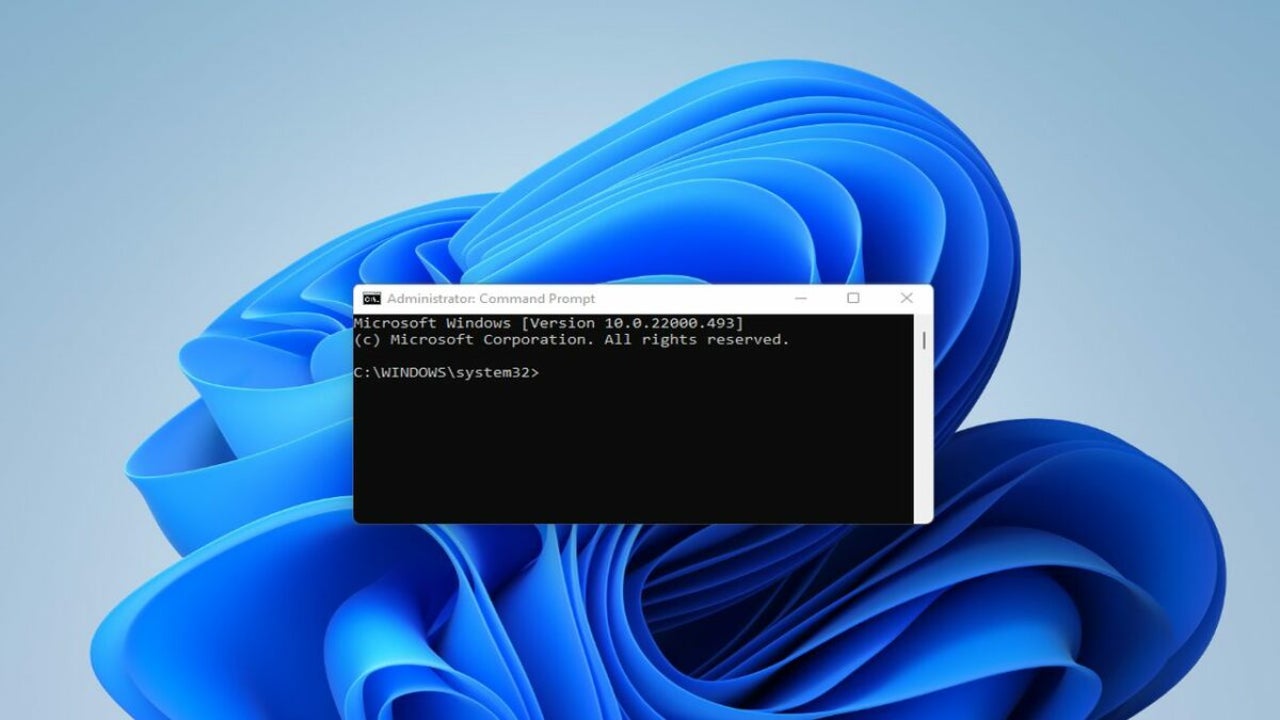
– You’ll need to run Command Prompt. The quickest way to do this is by typing CMD into your Windows search or Start. You’ll then select Run as Administrator to run Command Prompt.
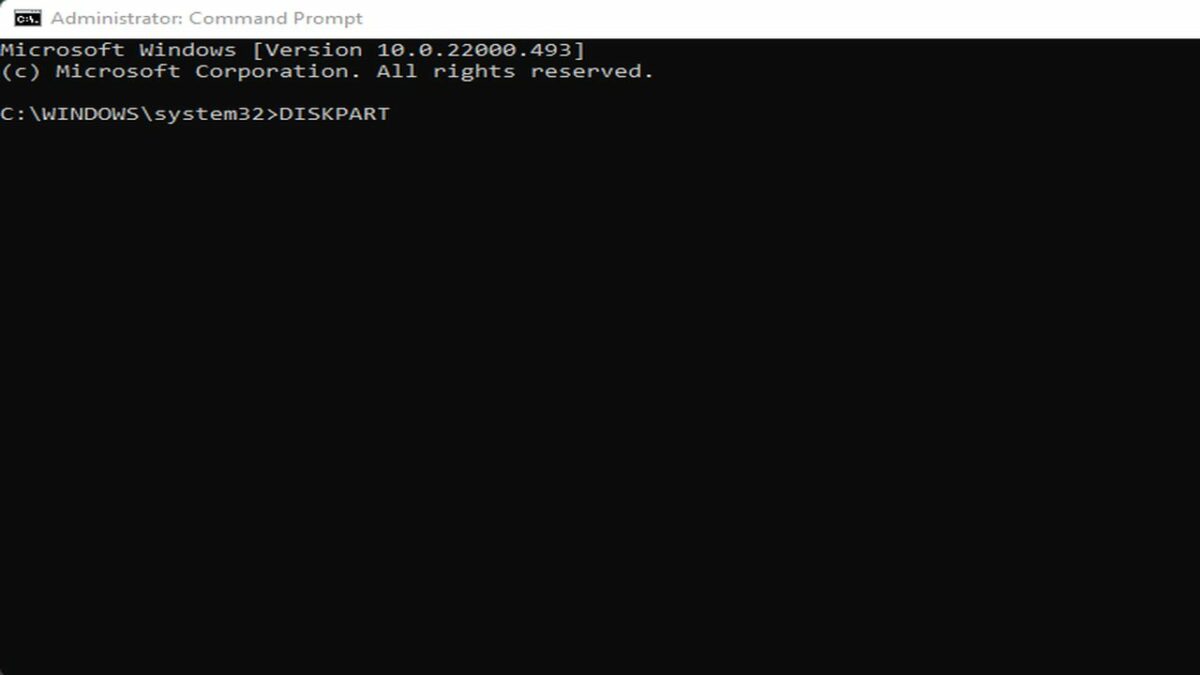
After the Command Prompt window appears, enter the following command: “DISKPART”.
– Now, type “ENTER” to launch Windows Diskpart Utility.
– Type “LIST DISK” in the Disk Utility window. This command displays the available storage devices.
– Find your USB drive among the storage devices listed. If the flash drive is not immediately visible, search under the size column to locate it by identifying the size of your disk.
Let’s assume for illustration purposes that the drive is labeled Disk 2. Type “SEL DISK 2“ into the Disk Utility window. This command selects your drive.
– Now, change the DISK 2 command above with the number corresponding to your USB drive. If you’re running an SSD or SATA set up, your primary drive will display as “DISK 0″. The USB drive appears as “DISK 1″. Choosing the correct drive in this step is vital because the following procedure wipes the selected drive clean.
– After renaming the drives, type “CLEAN” to eliminate all content from the drive.
– Next, enter “CREATE A PARTITION PRIMARY” into the Command Prompt window.
– Now, enter “LIST PAR” to choose your main partition.
– Command Prompt will now detail your USB drive information.
– After this data appears, type “DRIVE” and press enter to activate the partition.
– Now enter: FS=NTFS LABEL=“BootableUSB” QUICK OVERRIDE. This command formats your USB drive in NTFS format to avoid parameter errors.
- After completing this command, type “EXIT” and press enter to take yourself out of Disk Part Utility.
Mounting the ISO image
The final step is to mount the ISO image by transferring its content to your USB drive. To do this, follow these next steps:
– In Diskpart, type: PowerShell Mount-DiskImage -ImagePath “C:\Users\UserName\Downloads\Win11_English_x64v”.
– Now, change the file path above to reflect the location of your Windows ISO.
– After the ISO mounts, enter the following command: “DISKPART”. This launches Diskpart Utility again.
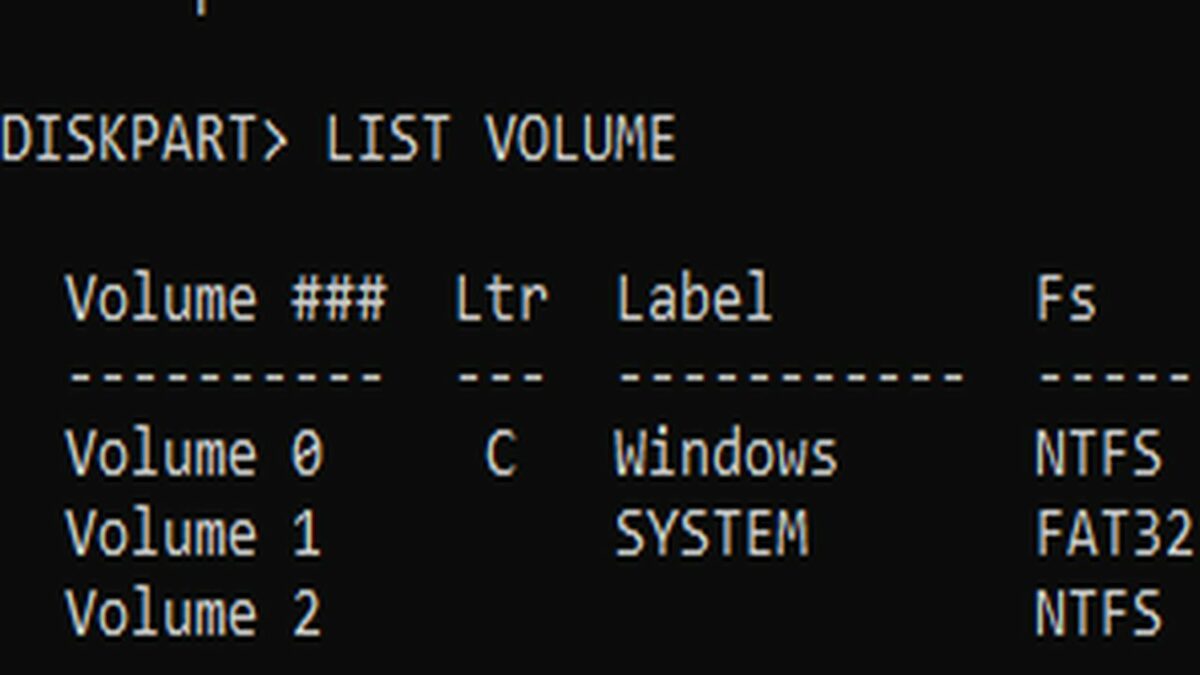
– Type “LIST VOLUME” to display the available volume.
– Listing the volume allows you to determine the Drive Letter for your mounted ISO. It displays as DVD-ROM. Ltr Column provides the letter that corresponds with the appropriate volume. Record the details of the ISO volume so you can move it forward accordingly.
– Next, type “EXIT” to leave Diskpart.
– Enter the Mounted ISO letter associated with the correct list volume. If your ISO volume letter is K, then type K.
– Type “CD BOOT”.
– Enter the following command: “Bootsect /nt60 I:”
– Replace the command above with K (or whichever letter corresponds with your USB flash drive).
– Type “xcopy K:\*.* I:\ /E /F/ H”
- Next, you’ll need to replace K and I in the command you just entered above. Replace letter K with your Mounted ISO Volume and letter I with your USB Drive Letter.
Assuming you’ve entered all of the above commands accurately, you’ll see a message appear that reads “Files Copied“.
Wrapping up
Microsoft provides a seamless installation process for creating installation media through its Media Creation Tool. Command Prompt, however, is another reliable alternative for rendering a Windows 11 Bootable USB drive quickly.
Both the Media Creation Tool and Command Prompt will provide a clean install of Windows 11 on any new PC. They also help troubleshoot common Windows OS issues and several other problems associated with dual-booting Windows 10 with Windows 11.

You may also like
 News
NewsPeak launches a new update with a lot of new content and a mode for clumsy players
Read more
 News
NewsThe most controversial anime of the last decade confirms the date of its return and conclusion with a trilogy of movies
Read more
 News
NewsEpic Games at the center of controversy: they fire an employee with terminal brain cancer and leave him without health care
Read more
 News
NewsApple could destroy its business in China because of AI
Read more
 News
NewsA browser built for SMBs: NordLayer launches NordLayer Browser
Read more
 News
NewsAdobe Premiere Pro Isn’t Scary Anymore: Why Any Team Can Learn to Edit Video in 2025
Read more