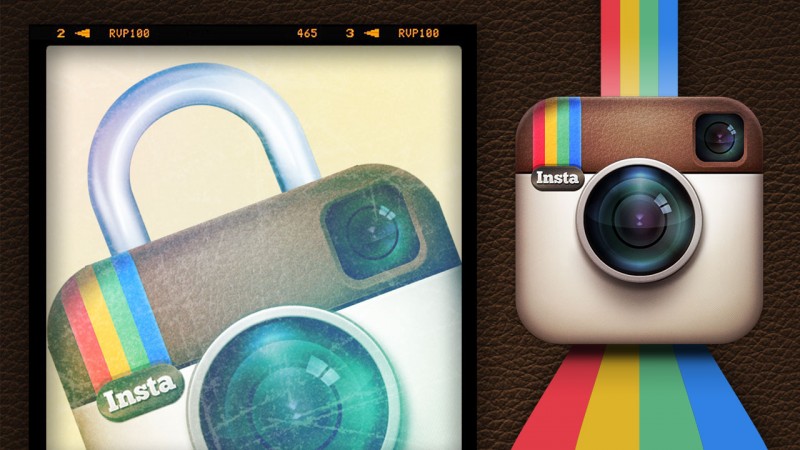
In the second chapter of our complete guide to Instagram, we teach you everything there is to know about your privacy and profile sharing.
Privacy on social networks is always a touchy subject. To protect yourself, you have to be aware of how each social network functions. Who can see what you post? Does every other member of the network have access to your information? How can you block an unwelcome user?
In this installment of our guide, we’ll answer these and other questions to give you the tools you need to keep your privacy under control.
How to set up your personal profile
Whether you already have a profile, or you’re just about to open one, there are some things you’ll want to do to prevent any potentially unpleasant situations in the future.
First of all, the only thing you absolutely have to fill in is a username. The best option is to pick a username that has no reference at all to your real name. This will help you avoid being tagged in any images that might embarrass you or cause damage, like images uploaded by a contact, which will be visible in your photo stream, or images taken by someone who has stolen your phone.
If you’ve already added other details about yourself, you can delete them easily. From the Profile tab, enter Edit your profile, remove the information that you want to delete (for example, a telephone number or your real name), and then tap Done.

At the bottom of the profile editing page is a section with which you can determine if your posts are public, meaning that any Instagram user can find and access them, or private, which means that only contacts who are expressly authorized by you have access to your post (which are your images).
If you want a private profile, which is the recommended choice if you want to be in control of your privacy, you have to move the switch to ON, meaning to the right on iPhone, or tick the relevant box on Android.

Once you’ve done this, you’ll get a request when someone wants to follow you, which will appear in your news feed. You’ll have to authorize the request to give them access to your profile. You can then decide, case by case, whether to approve the request, or ignore it.

One last tip: Use a strong password for your Instagram profile, to make life difficult if anyone tries to access your account. If you’re not sure how to choose a secure password, here’s some advice.
Blocking a user: how to do it and what it involves
If you set your profile as private, only people who you’ve expressly authorized have access to your posts. At any time, however, you can choose, for whatever reason, to revoke this authorization.
First, you have to go to their profile. To do this, go to the Explore menu and search for their username.
")
Next, on iPhone, go to the menu with the arrow in the upper right corner, under the battery charge icon, or the menu with the three vertical dots on Android.
")
From the menu that appears, choose Block User.
")
If, in the future, you decide to unblock access for that contact, you can go back to the same menu and choose Unblock User.
When you block a user, they won’t receive any sort of notification, but they’ll no longer be able to see your photos and videos or access your account. Likes and comments that they left on your posts before being blocked will remain. If you want to remove them, you must do so manually.
How to delete a photo you’ve already published
If you decide to delete a photo you’ve already published, go to your profile and select the photo you want to get rid of. When you open it, tap the menu with the three dots (which you’ll find at the top or bottom, depending on the smartphone you own).
")
From the menu, select Delete.
")
Your Photo Map
When you take a photo, you can decide whether or not you want to add it to your Photo Map. To do this, simply move the Add to Photo Map slider to the right, accessible on the same page where you choose sharing options after you’ve taken and edited a photo.

This map is visible to everyone if you have a public profile, but only to your authorized contacts if you have a private profile.
It can be a nice feature, but it can also reveal too much about you or the people you care about, like where you or your friends live, or places you frequent. In short, this tool could unwittingly cause you a bit of trouble.
If you already have photos on the map that you’ve changed your mind about sharing, you can remove them easily. First, go into your profile, then tap the Photo Map icon.

You’ll see a map with all the geotagged photos you’ve taken. Tap Edit in the top right hand of the screen.

Select the photo you want to delete and click Edit, or zoom in if there are lots of photos in the same location, and choose the one you want to delete.
")
If you select Edit, you’ll see a list of photos and can select which ones you want to stay on the map, noticeable with a green check mark.
")
Tap Done. Instagram will ask you if you really want to remove the tags from the photos that don’t have the location selected. Tap Confirm, and these pictures will no longer appear on the map.
If you block a contact that had access to your map via another friend, they’ll no longer be able to see it from the time you blocked the friend.
How to set preferences for sharing on Facebook
If you want to publish your Instagram photos to Facebook, it’s easy: just click the photo, add the finishing touches and, when you’re sharing it, tap the Facebook icon.

But how do you know who’ll be able to see that photo? To find out, go to the Settings menu of your Facebook account and then select the column on the right, Applications. If you’ve posted on Facebook at least once from Instagram, you’ll find Instagram on the app list.

Find it and click on it. It will expand the panel and from the Application Visibility drop down, you can choose who can see your Instagram posts on Facebook. The visibility options are: Public, Friends of Friends, Friends, Friends except Acquaintances, Only Me and Custom.

Choose the one that suits you, but our advice would be not to share beyond your friends.
Any other suggestions?
With current devices, you’ll have a good level of control over your privacy on Instagram, and you’re unlikely to have any nasty surprises. In addition, we advise you not to accept new followers too easily and, if you welcome ones you don’t know, keep them “under observation” for a while; then, if you feel that they’re not trustworthy, block them.
Also, remember that instead of sharing your photos with all of your followers, you can use the Direct option, which lets you individually choose contacts that you want to share an image with. In this case, remember that users you’re directly sharing with can see respective Likes on your post, even if they aren’t followers of each another.
Check out our complete guide to Instagram for everything you need to know about using the social network.