The 15-Minute Project Setup: Building and Using Custom Project Templates in Premiere Pro

- August 31, 2025
- Updated: September 1, 2025 at 1:12 PM
When it comes to editing a video, one of the most time-consuming aspects is having to prepare and organize that project from scratch. Adobe Premiere Pro gives you the option to create your own project templates, where you can set up sequences, folders, and settings so you don’t have to repeat the same steps continuously.
The result: a much faster workflow where you won’t have to start from scratch. In addition to saving time, using a well-structured template will allow you to give space to your creativity. If you want to know how to create your own templates, keep reading below.
What is a project template in Premiere Pro?
Essentially, a template is nothing more than a project already prepared with the structure and settings you usually use. Instead of starting from scratch, you open your template and just have to add the materials you are going to use.
For example, imagine that you always edit videos for YouTube. You can create a template set up with the type of sequences, the resolution, and the frame rate that you usually use (1080p, vertical format, 24 fps, etc). You can also include folders to place your clips, music, or graphics.
Prepare your project
The key to making your template useful for the future is to prepare it as if it were a complete project, but empty of materials:
- Open Adobe Premiere Pro and select New Project. You know the drill: give your project a name and set its location. Then, click on Create.
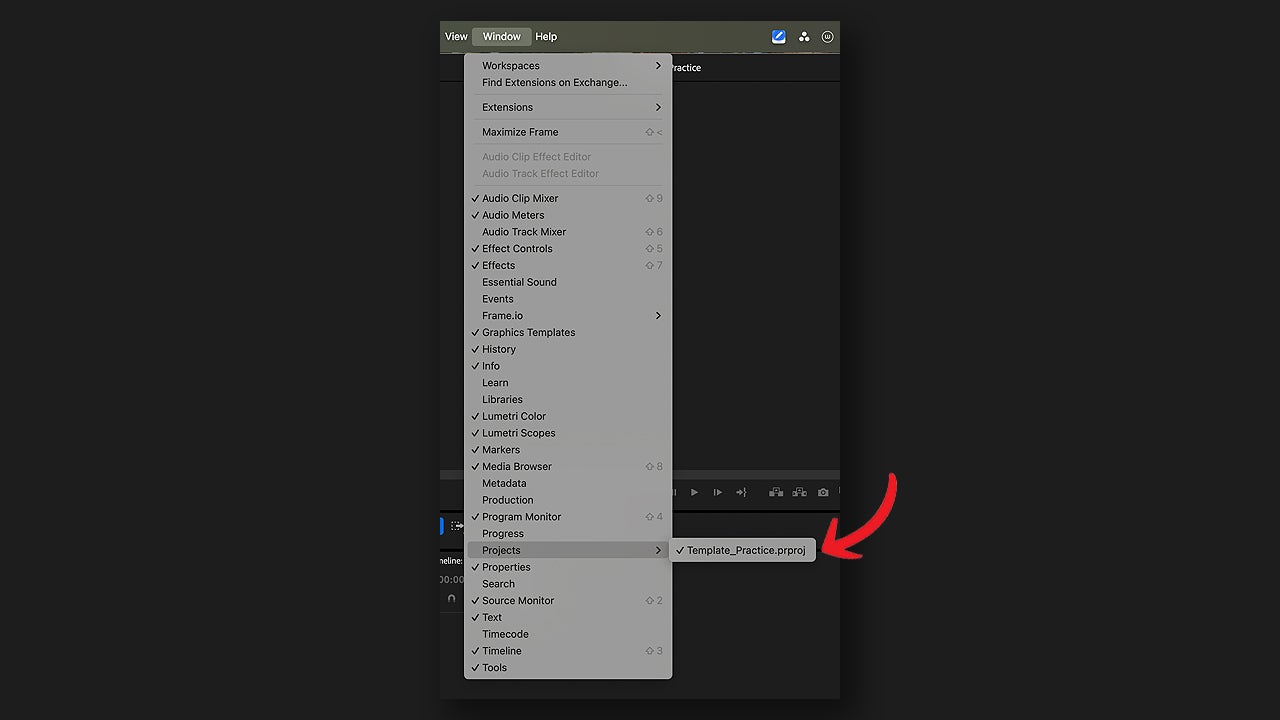
- Go to the Project panel. To see it, you will need to click on Edit, which will give you access to the editing section. This panel is located at the bottom right. If it doesn’t appear, go to Window > Projects > your project name.
- Select the symbol of three horizontal lines and click on List. This will give you the list view and make it easier to sort and rename.
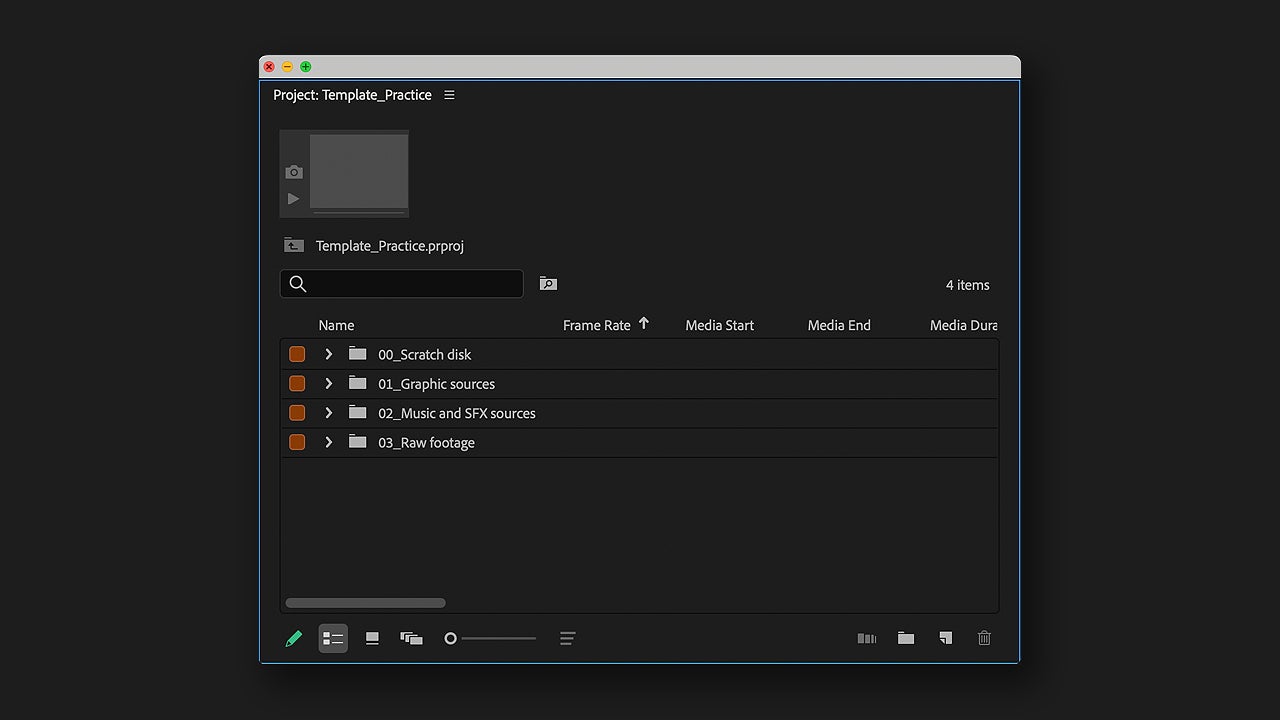
- Create the folders (bins) by right-clicking on the panel. Leave them empty to fill them each time you start a new project. An example of organization could be:
- 00_Scratch disk: to locate previews.
- 01_ Graphic sources: for graphic resources
- 02_Music and SFX sources: for music and sound effects.
- 03_Raw footage: for the clips.
- Create a new sequence. To do this, go to File > New > Sequence. You can also right-click as before and select New Item > Sequence.
- You can include various types of sequences according to your needs (social media, YouTube, projections, etc).
- By default, Premiere gives you the option to choose from several standard presets for your sequence. However, you can customize it down to the millimeter from Settings.
Finally, we will add the most recurring elements of our work to keep them in our template. Think of animated intros, color presets for clips, or empty audio tracks with the equalization you always use.
Save the template for future videos
Once you have your folders and sequences programmed, save the project as a template (not as a standalone sequence). This way, every time you open that template, the sequences will be ready to start working.
- Go to File > Save as Template.
- Name your template and save it wherever you want.
When you go to use the template, do not work directly on it. Open the template from where you saved it and as soon as it loads, save a copy with File > Save As.. with the name of the new project you are going to work on. This way, your template will always remain intact, ready to be reused when necessary.
Animated Chart Templates: How to Use Them
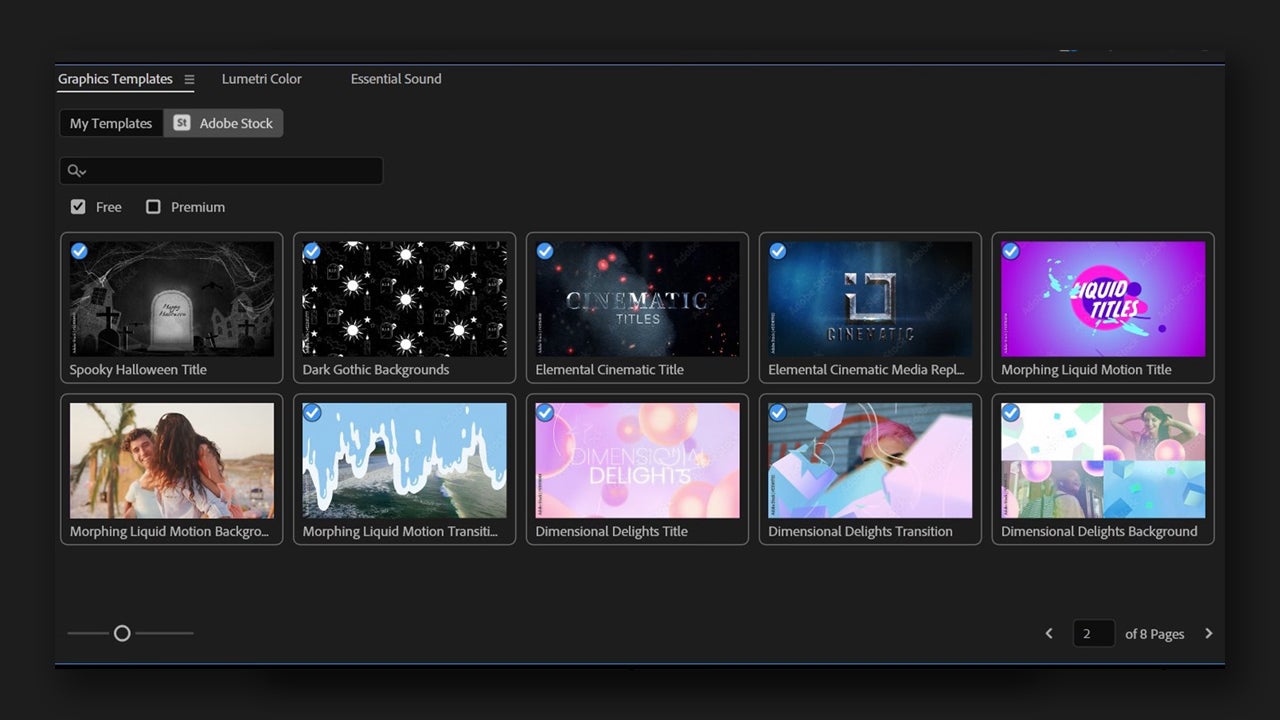
The animated graphic templates (with the .mogrt extension) can be created from Premiere or After Effects and can greatly enhance our videos.
To install them, you can drag them to the Essential Graphics panel to install them in the Local Templates folder. You can also click the install button located in the bottom right corner. Finally, go to the folder where the template you just added is located and click Open. The template will be available in the Essential Graphics panel.

Artist by vocation and technology lover. I have liked to tinker with all kinds of gadgets for as long as I can remember.
Latest from María López
You may also like
 News
NewsThe director of the short film Marathon assures that AI was not involved in the development of his movie
Read more
 News
NewsWhere Winds Meet has revealed to us what the mortal enemy of wuxia heroes is: the goose
Read more
 News
NewsThe Steam Machine might not cost 500 euros or less, after all
Read more
 News
NewsCall of Duty: Black Ops 7 makes its most interesting addition free for a few days
Read more
 News
NewsTroy Baker is not the protagonist of Intergalactic, but he is making suggestions for the game as if he were
Read more
 News
NewsThe creator of Disco Elysium wants to make a video game about the worst part of humanity
Read more