Quickly find any clip: master the new advanced search filters
- July 21, 2025
- Updated: July 29, 2025 at 9:39 AM
If you’ve ever had to deal with large projects in Premiere Pro, you already know how easy it is to lose track of your materials when you need them the most. Fortunately, we won’t have to get dizzy searching anymore thanks to features like Visual Search.
Thanks to the new advanced search filters, finding and sorting clips and other resources within a project has become a much more agile and intuitive task. Through artificial intelligence, we will be able to quickly locate everything in an instant.
New search features in Premiere: this is how Media Intelligence and Visual Search work
- Create a project from scratch or open an existing one to get started. Import the materials you will use.
- Premiere will analyze the contents in the background. In the meantime, you can continue using the program as usual. If you want to see how the progress is going, click on Window and then Progress. You will also have an icon in the top right corner to access this information directly.
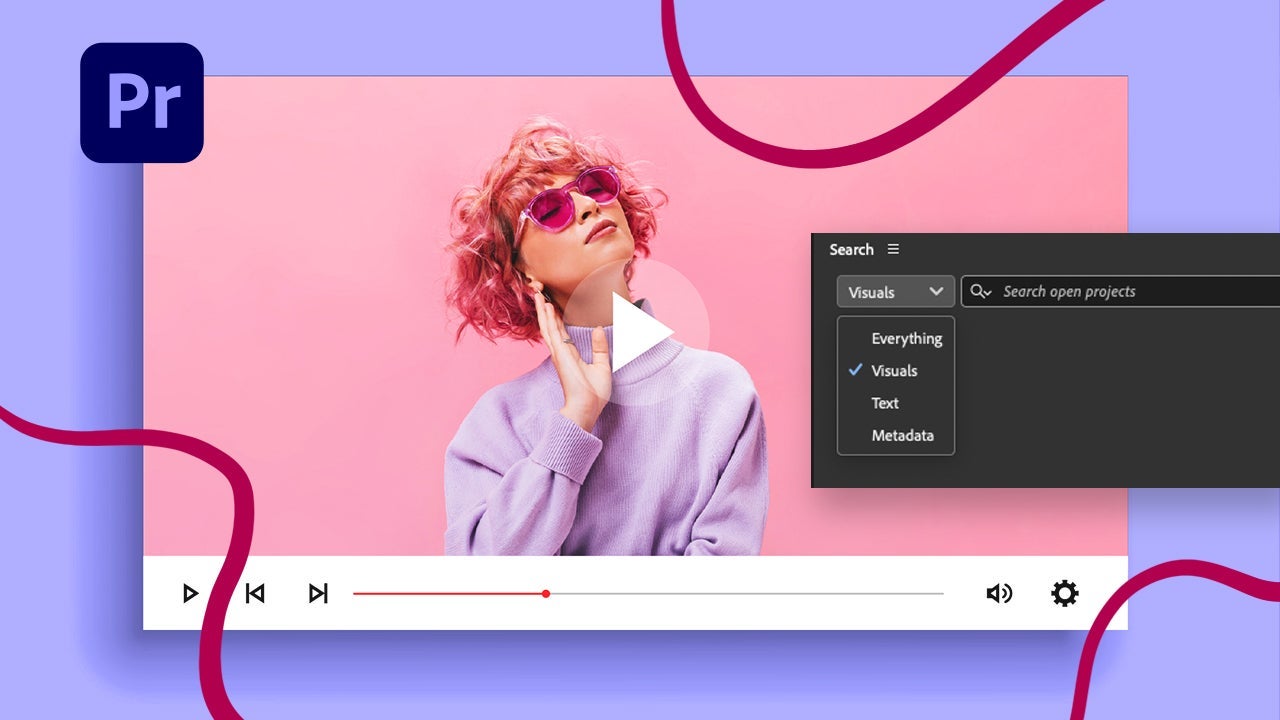
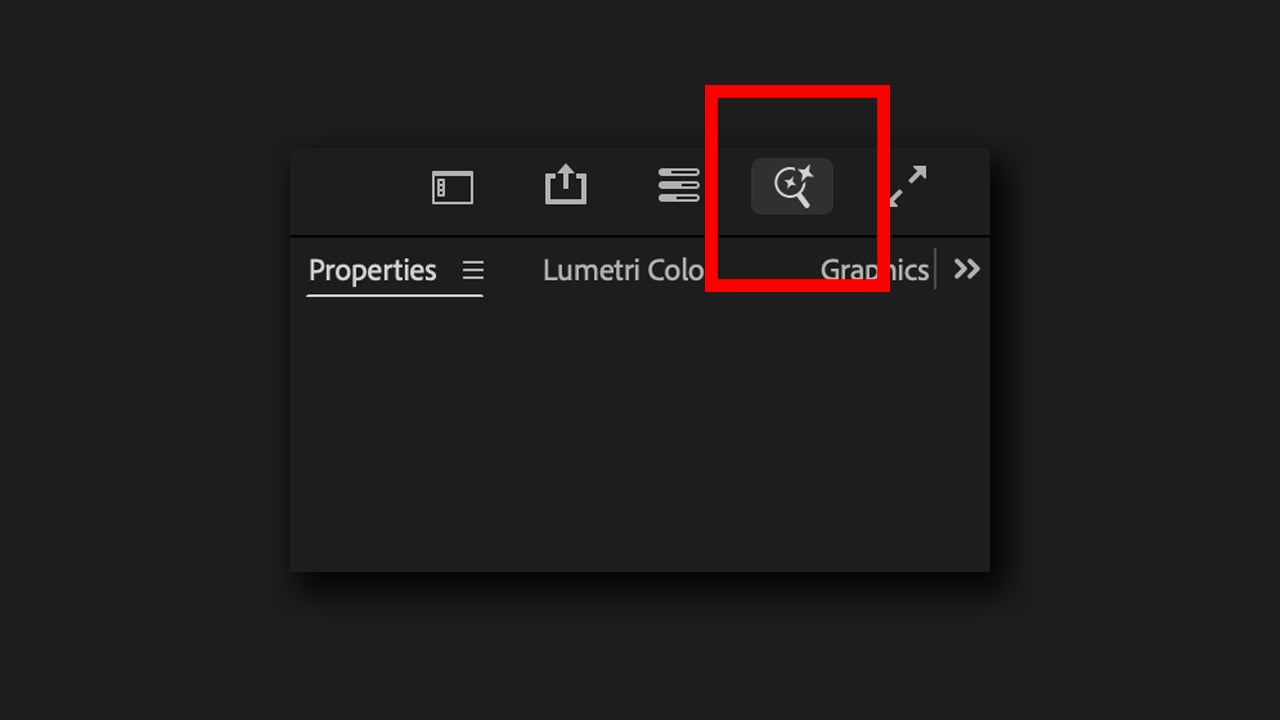
- When it’s finished, click on the magnifying glass icon to access the Search panel.
- Describe what you are looking for. Visual search will work better the more specific you are in your descriptions. However, keep in mind that Premiere analyzes a more “reduced” version of your materials, so it won’t be very good at picking up small details.
You also have an advanced filter available within the Search panel to further refine your searches. As Adobe itself explains, these searches apply metadata-based filters. Very useful for finding specific clips within a large-scale project. To use them, do the following:
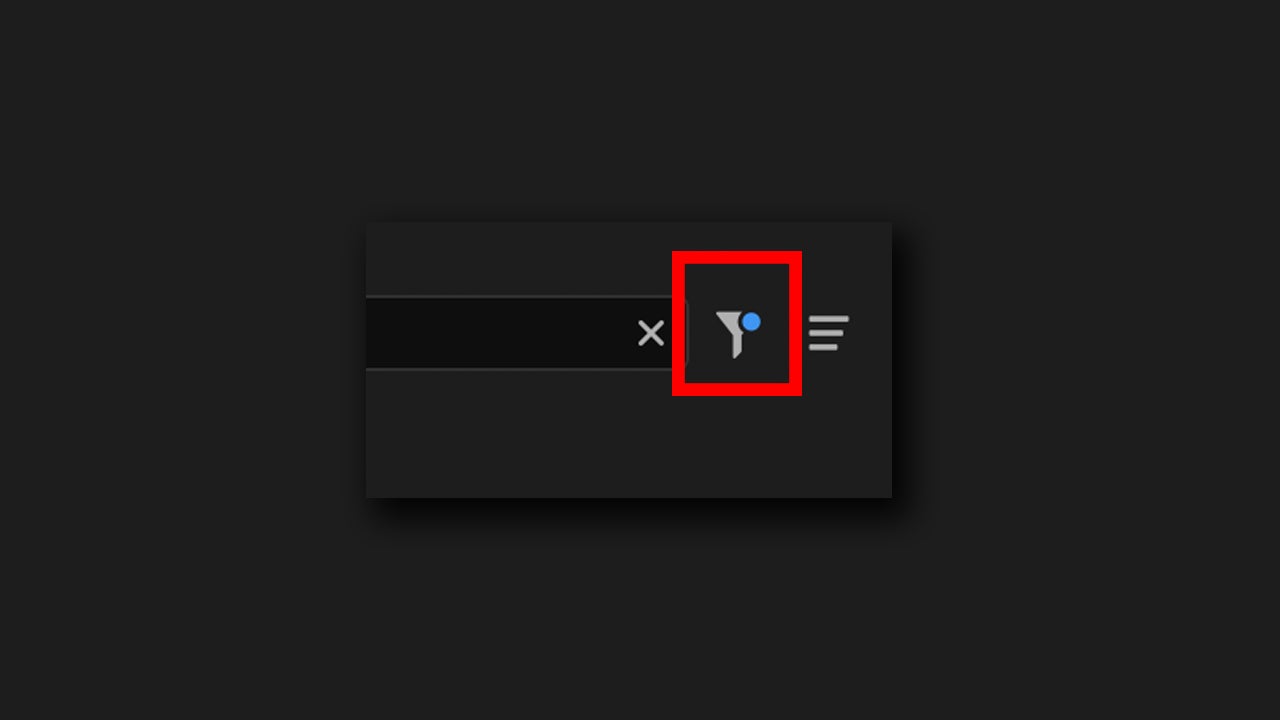
- Open the Search panel again and type what you want to search for.
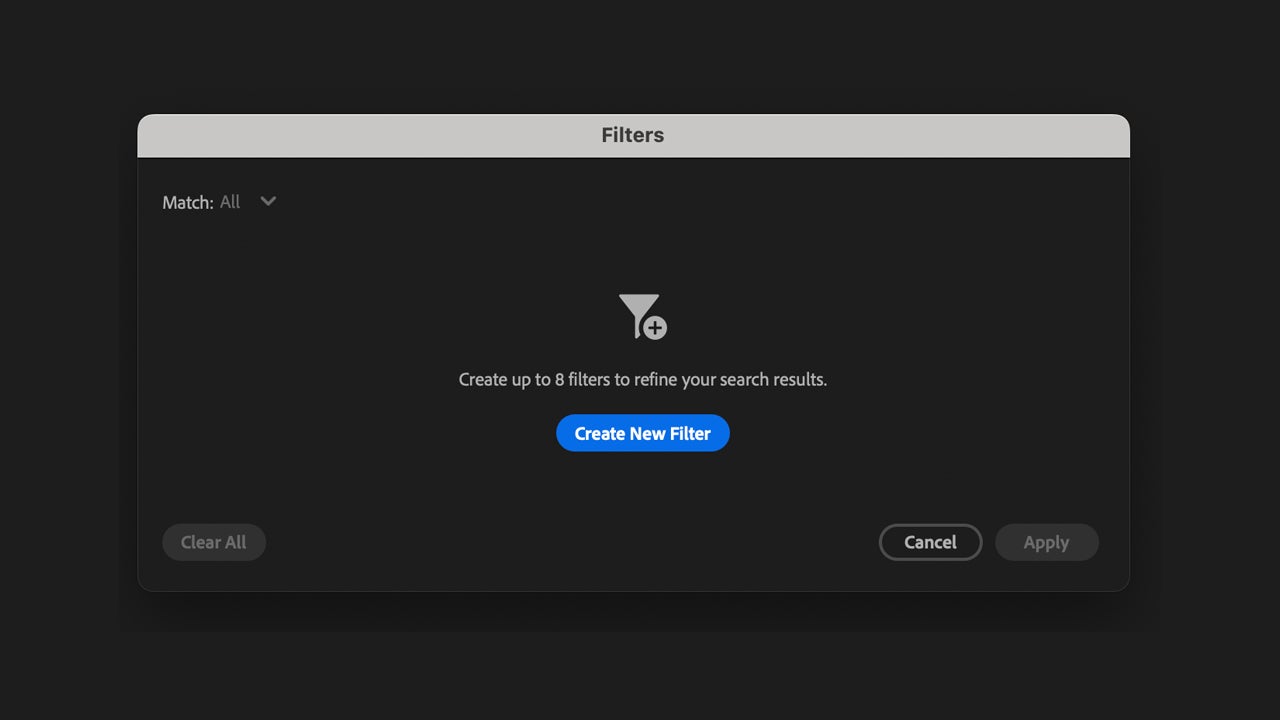
- Select the filter button to open new options. There, select Create New Filter. You can filter by time, frame rate, etc.
- To finish, click on Apply and wait for your search results to update with the changes.
As you can see, the searches within Premiere Pro make the work of any current video editor even easier. However, there are a couple of aspects that you should keep in mind when conducting your searches:
- For now, you will not be able to search for specific texts that appear in the clips.
- The visual search does not identify or tag people. This means you will not be able to search for a specific person; you can only describe them physically to do so.
- Adobe does not train its AI models with your files. All analyses and searches are performed locally from your PC.
Text-based editing and generative extension: other uses of AI within Premiere Pro
In addition to smart searches, Premiere Pro also includes other features that utilize AI, such as text-based editing and generative extension.
Text-based editing is a way to edit video as easy as it sounds. You can copy and paste text to move clips, remove dialogues, and make basic edits to get started. In the case of the generative extension, Premiere Pro allows us to add several extra frames at the beginning or end of any clip.
How do I use the new features of Premiere Pro?
This may be your case (or it may have been): you are editing a great video and you have clips of all kinds, whether they are close-ups, wide shots, photos, etc. You may have already organized them into folders, but Visual Search will help you go even faster.
- Before you start, you will first need to import all the material into Premiere Pro. Let the program analyze them in the background.
- If you want to search for a specific type of shot, click on the magnifying glass to open the Search panel. Describe what you want to search for and wait for the program to provide the results.
- If the result doesn’t convince you, we can always refine the search. Create a new, more specific filter by clicking on the Filter symbol and then Create New Filter. When you’re done, select Apply to make it work.
You will no longer have to spend unnecessary time exploring among your materials aimlessly. In just a few minutes, you will have any file located and ready to drag to the timeline and start editing.

Artist by vocation and technology lover. I have liked to tinker with all kinds of gadgets for as long as I can remember.
Latest from María López
You may also like
 News
NewsAlejandro G Iñárritu only has good words for Tom Cruise
Read more
 News
NewsThis cult classic of immersive sims will stop being sold in digital stores starting October 10th
Read more
 News
NewsIf you have experienced failures trying to connect to your favorite gaming platforms, it's not you: they have suffered a massive DDoS attack
Read more
 News
NewsThere is a killer that 'Monstruos' will never dedicate a season to, and for good reason
Read more
 News
NewsJames Cameron didn't want Arnold Schwarzenegger as the hero for Terminator, but the actor knew how to get the role
Read more
 News
NewsIf you're having trouble playing Riot's fighting game, you're not alone and there are a couple of things you can do
Read more