The infinite canvas: use of Generative Expand for print bleeds and concept exploration
- August 16, 2025
- Updated: August 16, 2025 at 5:52 PM
You are working on a project and suddenly realize that you need more space to keep creating… but without ruining the aesthetics of your design. You know what that means: adjustments, more adjustments, and tweaks everywhere. Fortunately, Adobe Illustrator has the solution so you don’t waste time on tedious tasks.
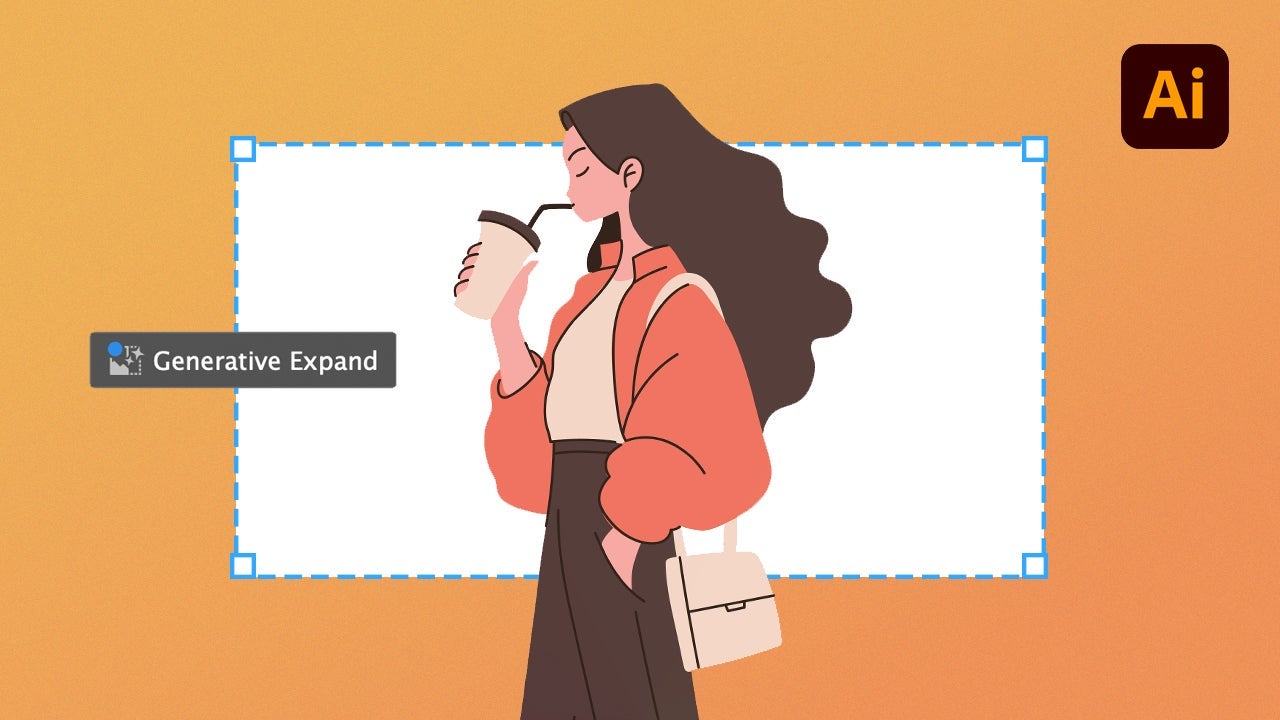
This solution is Generative Expand, an AI-powered tool that will allow us to expand our canvas in a matter of seconds. It not only expands your illustration but does so while respecting colors, shapes, and styles, as if it had always been part of the original composition. If you want to know more, in this article we will teach you what Generative Expand is and how you can use it in your work.
What is Generative Expand?
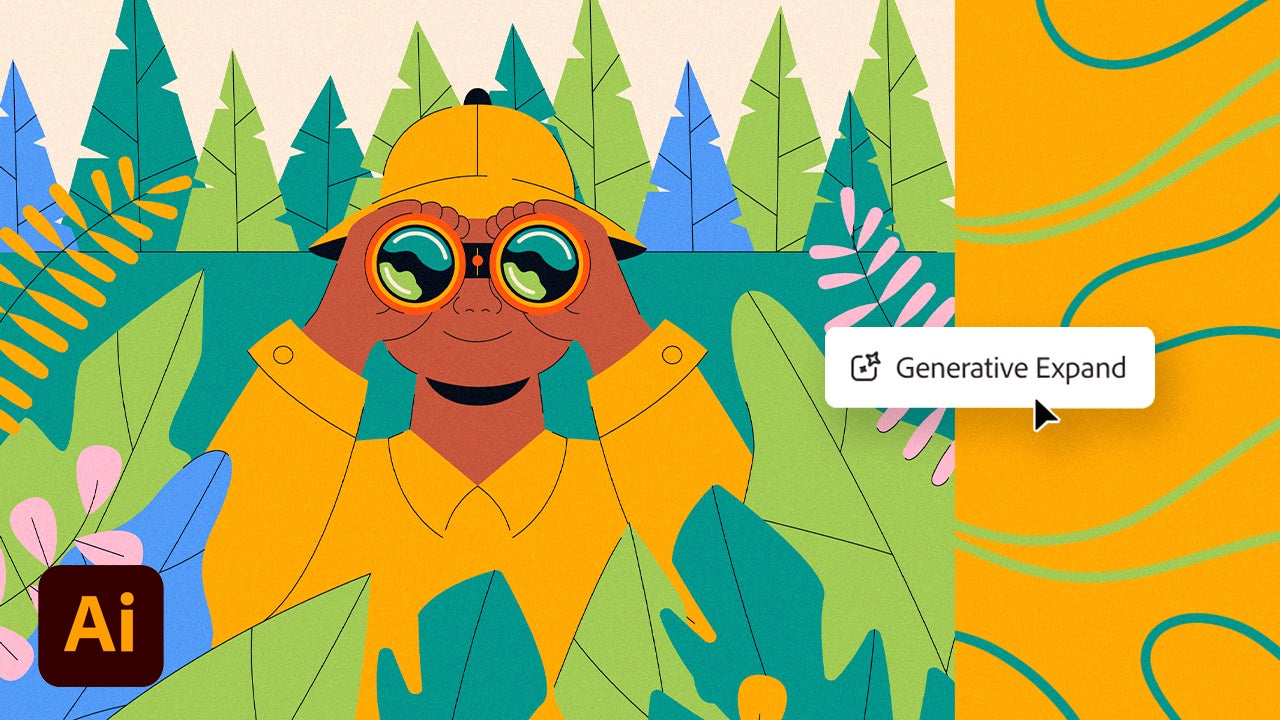
Generative Expand is one of the latest features in Adobe Illustrator. Powered by Adobe Firefly, Adobe’s family of AI models, this feature allows you to generate new vector graphics to extend an illustration beyond its original boundaries. Basically, it adds extra space with natural results that are consistent with the design.
It is also very useful if you want to print your work, as with this function we can fill the bleed area of the print.
How to use Generative Expand in Adobe Illustrator
Before we start, the process will vary depending on what exactly we want to expand:
- If it is about the vectors of your illustration, use the Selection tool to select them first within the canvas. Keep in mind that this selection must contain at least two separate items or a group.
- If you want to expand an artboard, click on the Artboard tool and then select the artboard in question.
Next, you will see that the rest of the steps are very simple:
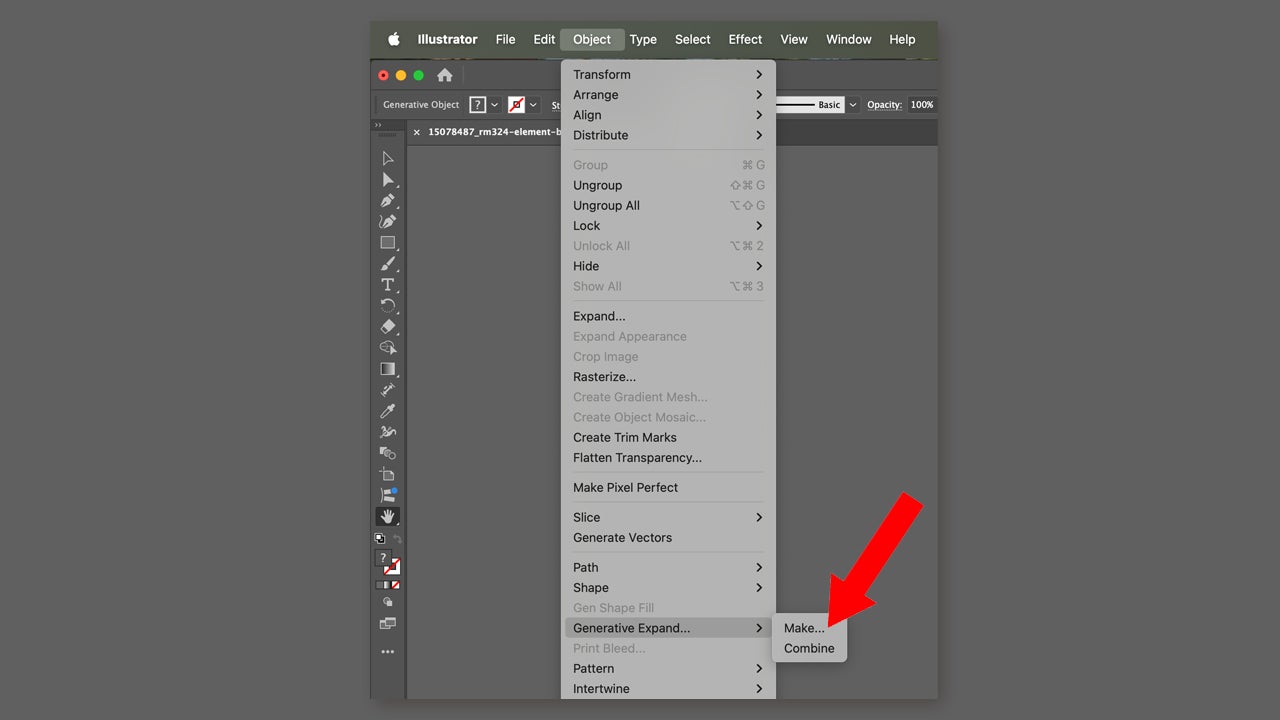
- Click on Generative Expand. You will find the option under Object > Generative Expand > Make. You can also access it from the context menu, for example.
- Drag the edges to where you want to expand the illustration. You can use the shortcut Shift + Alt (Windows) or Shift + Option (macOS) to expand the boundaries proportionally on all sides.
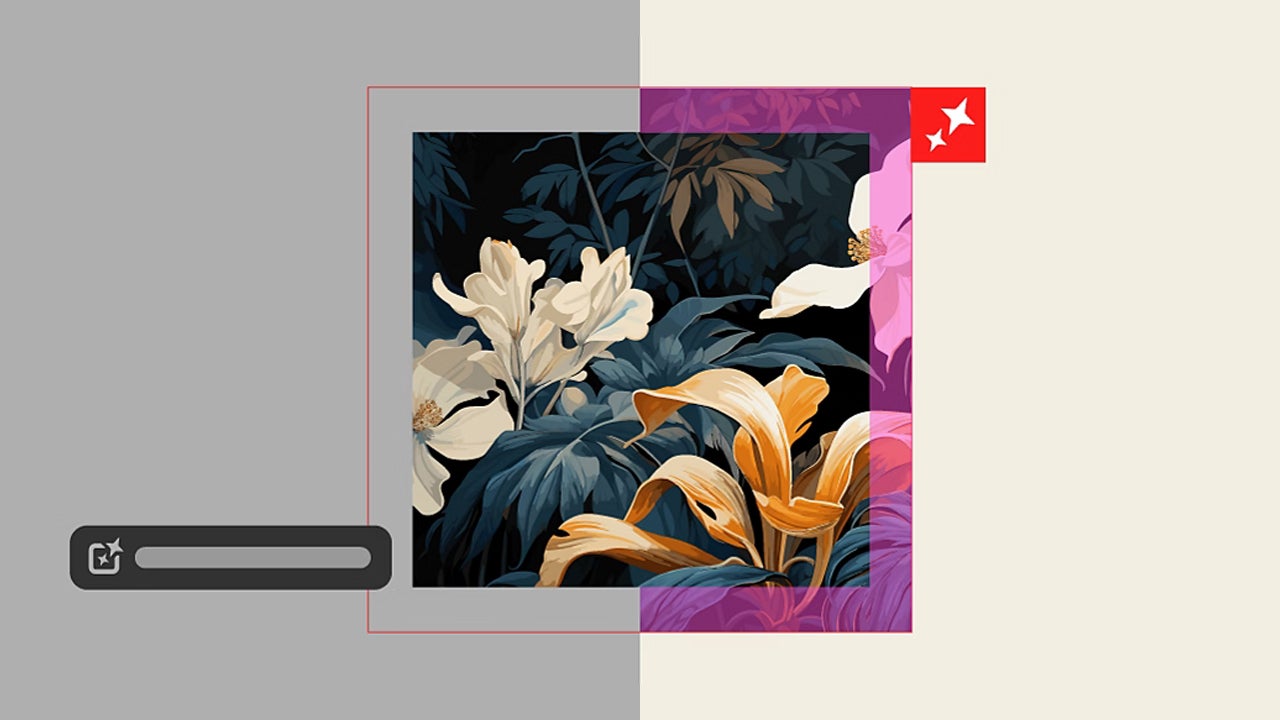
- On the right, you will also see a new panel within Properties. From there, you can optionally describe what you want to expand from the illustration or how it should be done. Click on Generate to finish.
When you finish, you will see that Illustrator provides three different expansion options. The first one will automatically appear on the canvas. If you don’t like it, you can try how the others look by clicking on them.
Select the Combine option, located within Properties, to combine the objects of your original design and the extension.
Add print bleed to your jobs
When it comes to printing, it is necessary to prepare our work so that it comes out exactly as we want. To do this, we will need to add bleed and crop marks.
But, what is bleed exactly? It is an extra margin added to the image because, when cutting the paper, there can always be small variations. If we do not add the bleed, your file may come out with white lines on the edges.
On the other hand, the print marks include cut marks, registration marks, and color bars. This helps the printing house to align, trim, and verify colors accurately.
This is how you can add print marks yourself from Adobe Illustrator:
- Go to File > Print.
- Select Marks & Bleed. You will find it in the left column.
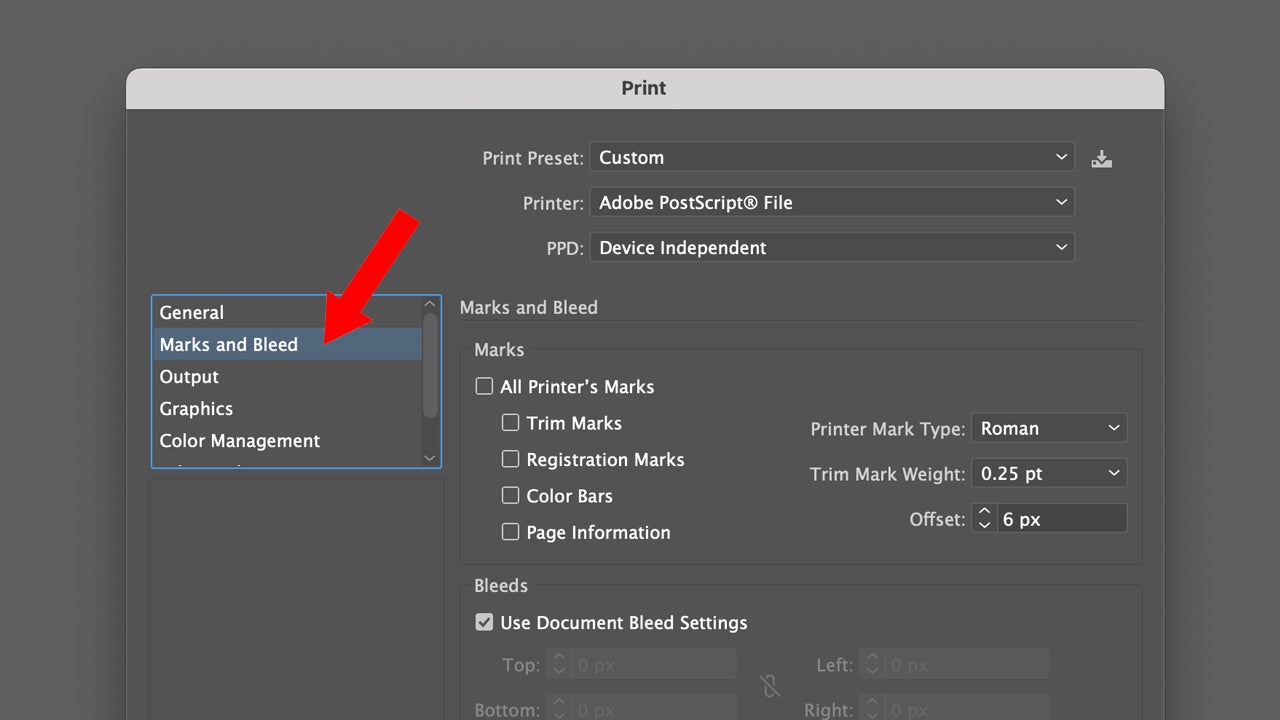
- For the bleed, enter the measurements in the boxes for Top, Left, Bottom, and Right. Select Use Document Bleed to use predefined settings.
- Choose the type of print marks you want to add. You can choose between Latin or Japanese style marks.
If you decide to add Trim Marks, you will need to specify the measurements of the mark lines. To avoid overlap between the marks and the bleed, make sure to set a value higher than the bleed. You also need to keep in mind that the maximum bleed value you can include is 72 points.

Artist by vocation and technology lover. I have liked to tinker with all kinds of gadgets for as long as I can remember.
Latest from María López
- The role of precision editing in high-stakes marketing campaigns
- Reducing risks in creativity: why AI prototyping is the new standard in campaign management
- Creation of a safe working environment for AI intended for interdepartmental projects
- Comparison between manual slide creation and AI-assisted presentation generation
You may also like
 News
NewsWhat comes after 'Super Mario Galaxy'? Five possible projects about the future of Nintendo in film
Read more
- News
Everyone thinks that 'Euphoria' is an original series, but in reality, it is just a remake
Read more
 News
NewsThe new Fable has specialists making the cutscenes: Blizzard Entertainment
Read more
 News
NewsEven a dachshund can play LOL, as long as it's with a magical cat
Read more
 News
NewsThe mayor of New York, Zohran Mamdani, has explained US policy in a way that everyone can understand: with Mario Kart
Read more
 News
NewsThe creators of Stranger Things are leaving Netflix to head to its most direct competitor
Read more