Video editing and timing are essential and useful tools in the world of video making. One such useful program in enabling that is Adobe Premiere Pro. The speed and duration of a video can be edited using Adobe Premiere. This article will assist you in how that can be achieved.
The speed of a video clip is the amount of time at which the video plays back when compared to the amount of time at which it was recorded. The duration of a video clip is the amount of time it takes to play from the start to the end of the video. We’ll show you how to work with both.
Adjusting the timing of your videos in Adobe Premiere
How to change the duration of a video clip using speed/duration command

– Click ctrl to select a group of video clips in the Project panel.
– Choose Clip then Speed/Duration or right-click over a selected clip and choose Speed/Duration
– Click OK
The following can also be achieved:
– Reverse Speed allows you can play the video backward
– Maintaining Audio Pitch allows you to keep the audio at its current pitch.
– Clicking Ripple Edit, Shifting Trailing Clips keeps videos playing as a slideshow.
How to adjust the timing of your video using the rate stretch tool

The Rate Stretch tool is an effective method to change the duration of a clip in the Timeline while simultaneously changing the clip’s speed to fit the duration.
If there is a gap in your sequence of a specific length and the gap must be filled with some speed-altered media rate stretch lets you extend or compress the speed to the percentage required.
– Find the Rate Stretch icon in your main toolbar. The tool can also be selected by pressing the X key on your keyboard.
– The next step is to click on the video clip that you want to stretch or shorten, and drag it in any direction. As the video clip’s length changes, the percentage value will adjust on the clip, this becomes easy to tell how slow or fast it is. Any label reading over 100% will play faster than the original clip. When you are satisfied with the Rate Stretch adjustments you can save the video.
– You can also use Rate Stretch to change speed-up and slow-down sections of a video clip. A few cuts on a longer clip can be achieved with the Razor tool. After that, head to the Rate Stretch tool to lengthen or shorten individual sections if you want to adjust their speed.
How to adjust the timing of your video using time remapping

The speed of the video portion of a clip can be varied, Time Remapping is used to create slow motion and fast motion effects on a single video through the following steps:
– Right-click on the video
– Select Show Clip Keyframes
– Time Remapping
– Speed.
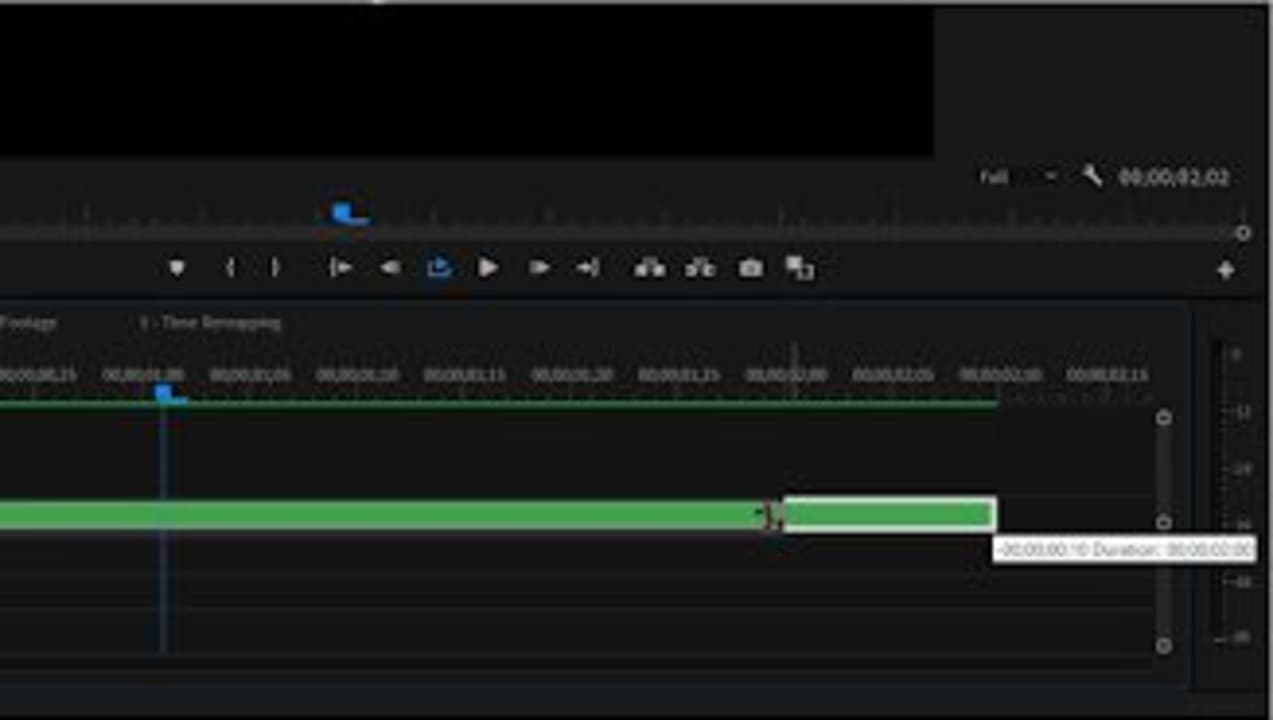
A horizontal rubber band controlling the clips speed appears across the video’s center. A white speed-control track appears in the upper portion of the video, just below the title bar. For more clear visibility zoom out the screen.
Drag the band downward or upwards to decrease or increase the video clip’s speed. A tooltip appears showing the change in speed as a percentage of the original speed. It is important to note that Time Remapping doesn’t change the clip’s audio portion; it remains linked to the video portion.
Get your timing right!
Adobe Premiere is an essential tool that is contributing to the evolution of media production. Anyone can edit a video clip to the desired specifications, preferences, and choices. Now that you know how to work with the timing, you can perfect your masterpiece. You can also learn how to add transitions in Premiere Pro to make your videos stand out even more.


