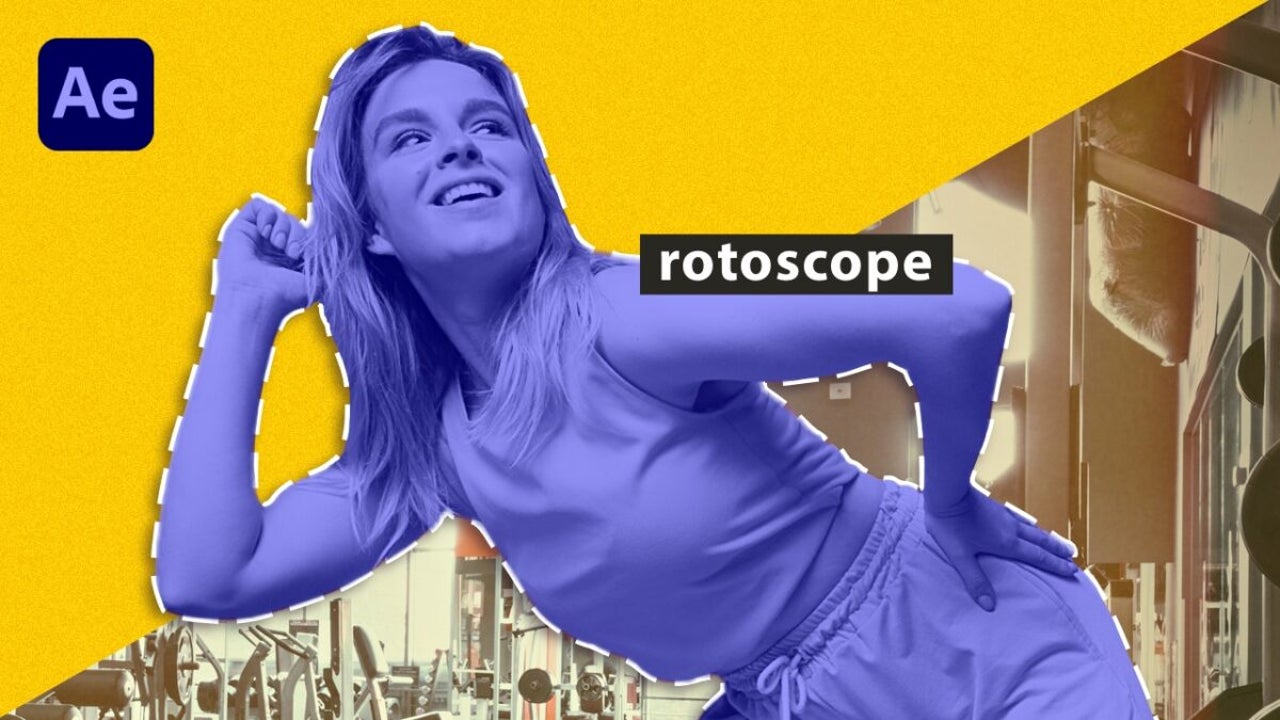
Adobe After Effects: Rotoscope: Extract objects faster and more accurately
The AI-powered Roto Brush tool makes object extraction easier
- July 3, 2024
- Updated: July 1, 2025 at 11:15 PM
Rotoscoping is primarily an animation technique where artists trace over still frames to create realistic animation sequences. This method, which has evolved significantly over time, is now used in digital post-production to separate and isolate objects in videos.
Within After Effects, the rotoscope brush is a tool that allows us to do precisely that. We can draw directly on our projects to accurately separate any element from the background. This technique is especially useful for creating complex visual effects, such as changing the background of a scene, for example.
If you want to learn how to use the rotoscope brush, stay with us and find out in the following paragraphs.
How to Use the Roto Brush
The new Rotoscope Brush is the most advanced variant included in After Effects, thanks to the use of artificial intelligence. It is more precise in identifying and tracking objects, far surpassing the Rotoscope Brush 2.0. It facilitates and speeds up the process of masking complex elements like limbs, hair, and overlapping transparent items. Using it is as easy as selecting 3.0 in the Version tab.
The new Rotoscope Brush is the most advanced variant included in After Effects, thanks to the use of artificial intelligence. It is more precise in identifying and tracking objects, far surpassing the Rotoscope Brush 2.0. It facilitates and speeds up the process of masking complex elements like limbs, hair, and overlapping transparent items. Using it is as easy as selecting 3.0 in the Version tab.
You can also use version 2.0 if you want a faster option (though less precise). Here you can choose the brush quality, with options being Standard and Best.

If you don’t know where the tool is, don’t worry. Go to the toolbar at the top of After Effects and select the Roto Brush. If you can’t find it, you can also use the keyboard shortcut Option/Alt+W.
Can you use Roto Brush 1.0? Technically yes, but it’s ideal for older projects. In fact, if one of your videos uses this function, Roto Brush 1.0 will be set automatically.
Now, hold down Command/Control while clicking and dragging the mouse: this will control the brush size. Then, paint with the Roto Brush over the main subject you want to isolate from the scene.
Although it may seem logical, do not draw the contour or edges. On the contrary, it is important to start by drawing a stroke that cuts through the element. Now, it’s time to adjust the selection. To remove parts of the selection, keep tracing while holding the Alt or Option key.
When we draw over a frame with the Roto Brush, it becomes the base frame. Once you have defined the element in your base frame, we can continue. Now, press the space bar to activate matte propagation to the next frame in your project.
When we talk about matte propagation in After Effects, we refer to how the tool applies the rotoscope effects you define in one frame to the subsequent ones in the video. In short, what you define in one clip will serve as the basis for trimming the following ones.
If you need to adjust the rotoscoping precision to the maximum, you can move frame by frame to check it using Command + left/right arrow (on macOS) or Ctrl + left/right arrow.
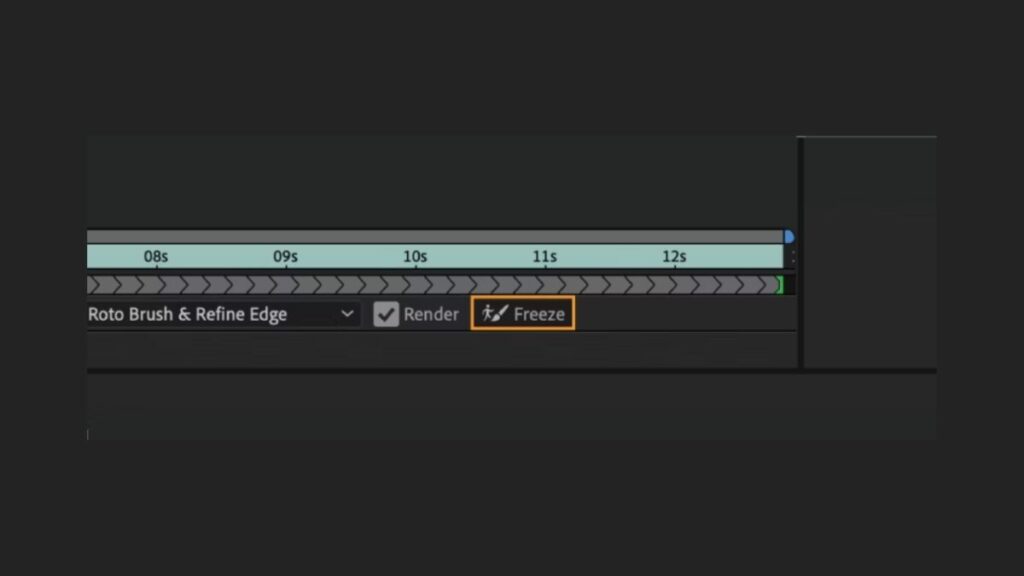
When you want to stop the selection propagation at a specific frame, just click the Freeze button. If you don’t see it, you will find it at the bottom of the Layer panel. The final result can be further refined from the Effect Controls panel, which is usually on the left. If it is not visible, go to the top of After Effects and click Effect > Effect Controls.
In the panel, go to Roto Brush Matte. Adjust the options there according to your needs (Feather, Contrast, Shift Edge, Reduce Chatter). If you want to adjust the selection to very fine details (like hair, for example), you can use the Refine Edge Matte tool.
Tips for Getting the Most Out of the Roto Brush
The Roto Brush integrated into After Effects is a powerful tool capable of achieving incredible results. If you want to get the most out of it, here are some tips to consider in your projects:
- The most important thing is to optimize the material you are going to use. The Roto Brush results will be better if the clips are of the highest possible quality. It is also good to work only with the video segment that will use rotoscoping. This way, After Effects can process the clip faster and your computer will work less.
- Adjust the base frame you use well. After Effects allows you to position yourself in the right frame with great precision.
- When using the Roto Brush, always work in Full resolution. Quick preview modes do not work well with the Roto Brush.
- Be precise when painting with the Roto Brush over the object you want to separate. Take the time you need, and the results will be better.
- When you are happy with the result, use the Freeze function to stop the propagation.
- Use the keyboard shortcuts we taught you earlier to edit faster. You can write them all down in a notepad and refer to them if you have any doubts.
- This might be the most valuable advice on the list: NEVER forget to save your project frequently. After Effects is a very demanding program on our computers, and if we don’t manage it well, it can close unexpectedly. Save frequently to avoid losing any progress.

Artist by vocation and technology lover. I have liked to tinker with all kinds of gadgets for as long as I can remember.
Latest from María López
You may also like
 News
NewsGood news! Generation Z is increasingly going to the movie theaters… unlike the rest of the world
Read more
 News
NewsThe new Tekken champion is Japanese and is 92 years old
Read more
 News
NewsOne of the most successful movies of the year premieres on HBO Max
Read more
 News
NewsNaughty Dog is back at it: they are already crunching for their next game
Read more
 News
NewsPedro Almodovar returns with a new movie that is very Christmas-like
Read more
 News
NewsLarian Studios will hold an AMA to clarify their stance on AI early in the year
Read more