How to use the Photoshop Timeline to create animated GIFs and cinemagraphs
- November 26, 2025
- Updated: November 26, 2025 at 3:47 PM
If you’ve ever thought about adding an animated touch to your designs or illustrations, I have good news for you: you can do it with Adobe Photoshop. The best part? It’s much easier than you think.
Surely you have seen static images with slight animations, as if they were “alive”. Follow all the steps we teach you below to learn how to use the timeline and create GIFs and cinemagraphs.
What is a GIF and a cinemagraph?
GIFs are found everywhere on the Internet and social media. It is a graphic format that displays short, silent animations. In fact, it is very likely that you have used GIFs in your interactions with others online.
On the other hand, cinemagraphs could be described as a blend of a still image and video, where only a very specific part is in continuous motion. Cinemagraphs are also exported as GIFs.
This is how the timeline works in Photoshop
The timeline is what will allow us to adjust and create the animation we want. You have two ways to work with it:
- Frame timeline: It works as if we were preparing “slides.” Each frame represents a different state of the composition. It is an ideal way for simple animations, such as blinking, text changes, etc.
- Video timeline: It is the closest thing to a video editor within Photoshop without actually being one. It allows the use of keyframes to create very smooth transitions and is ideal for creating cinemagraphs.
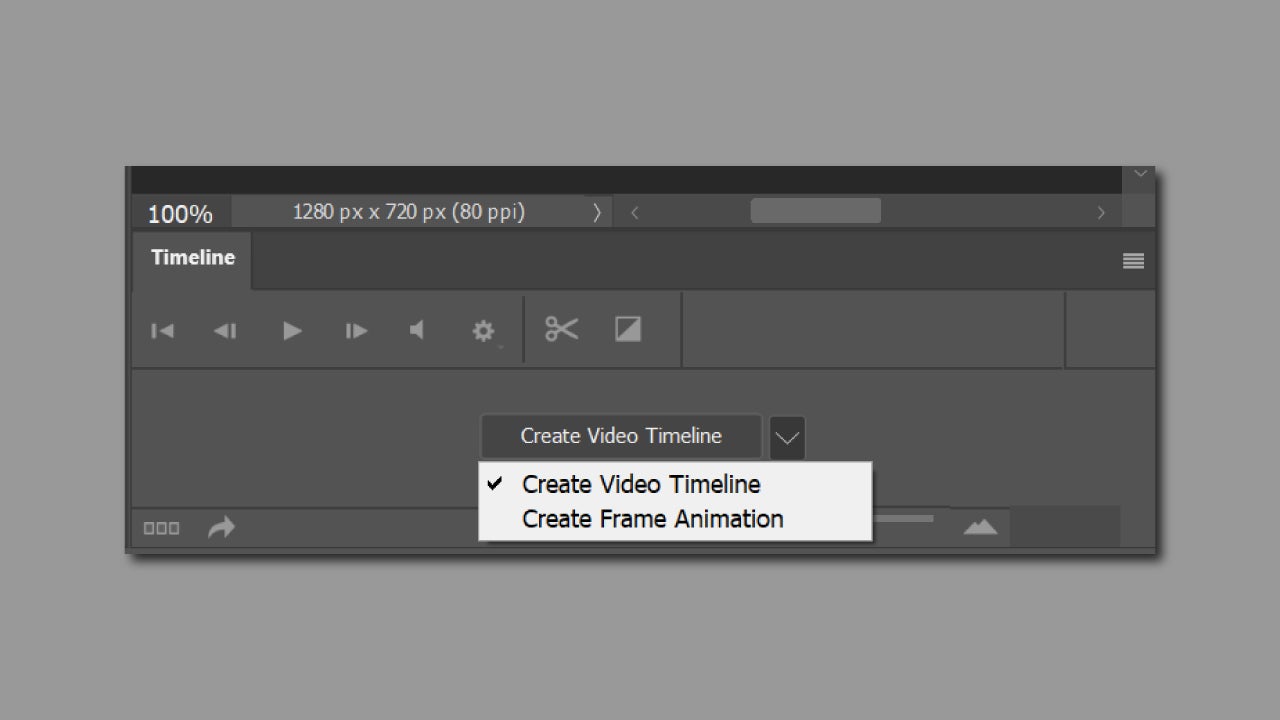
To activate the timeline within Photoshop, go to Window > Timeline. Once you do this, you will be able to choose between Create Video Timeline or Create Frame Animation.
Prepare your file for animation
Before starting with the animation itself, prepare your document to make the task easier. To accomplish this, it is essential that you place each element you want to animate in different layers.
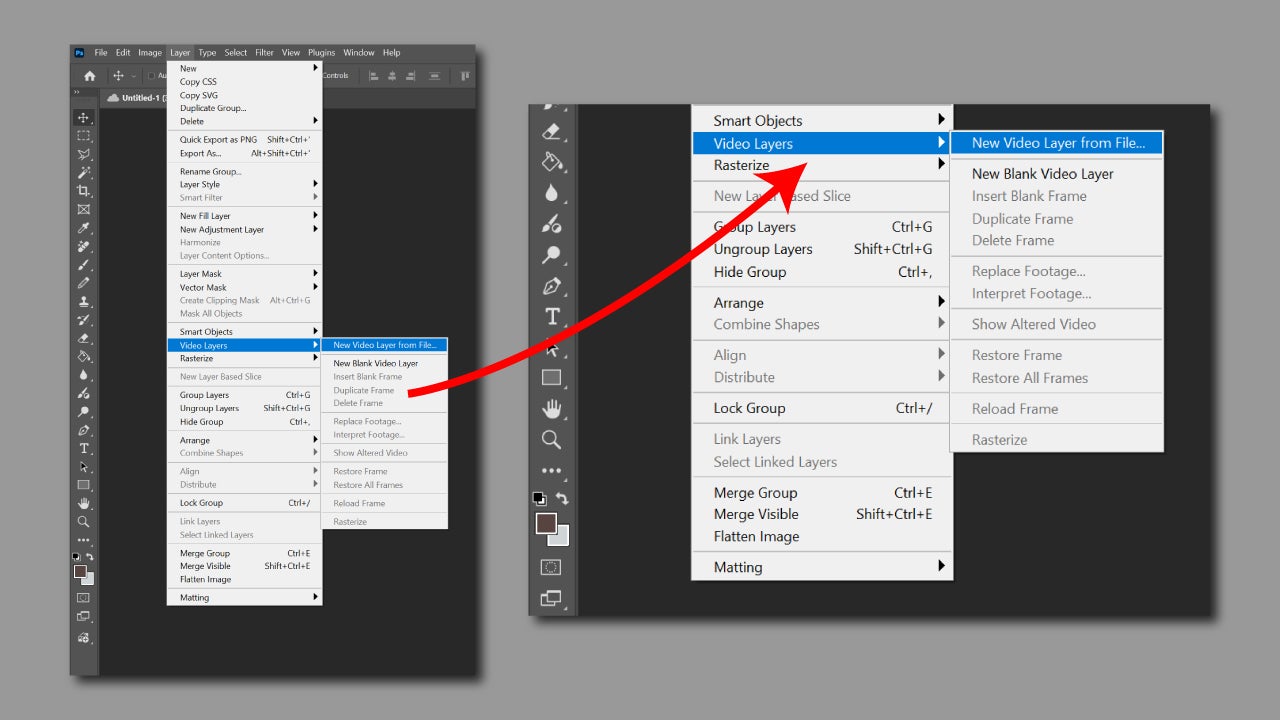
For cinemagraphs, you can directly import a video from Layer > Video Layers > New Video Layer from File. You can also export videos from File > Import > Video Frames to Layers. This last option is very useful if you are going to work with videos frame by frame.
Create a GIF animation from your images
When you have your file ready, we can get started:
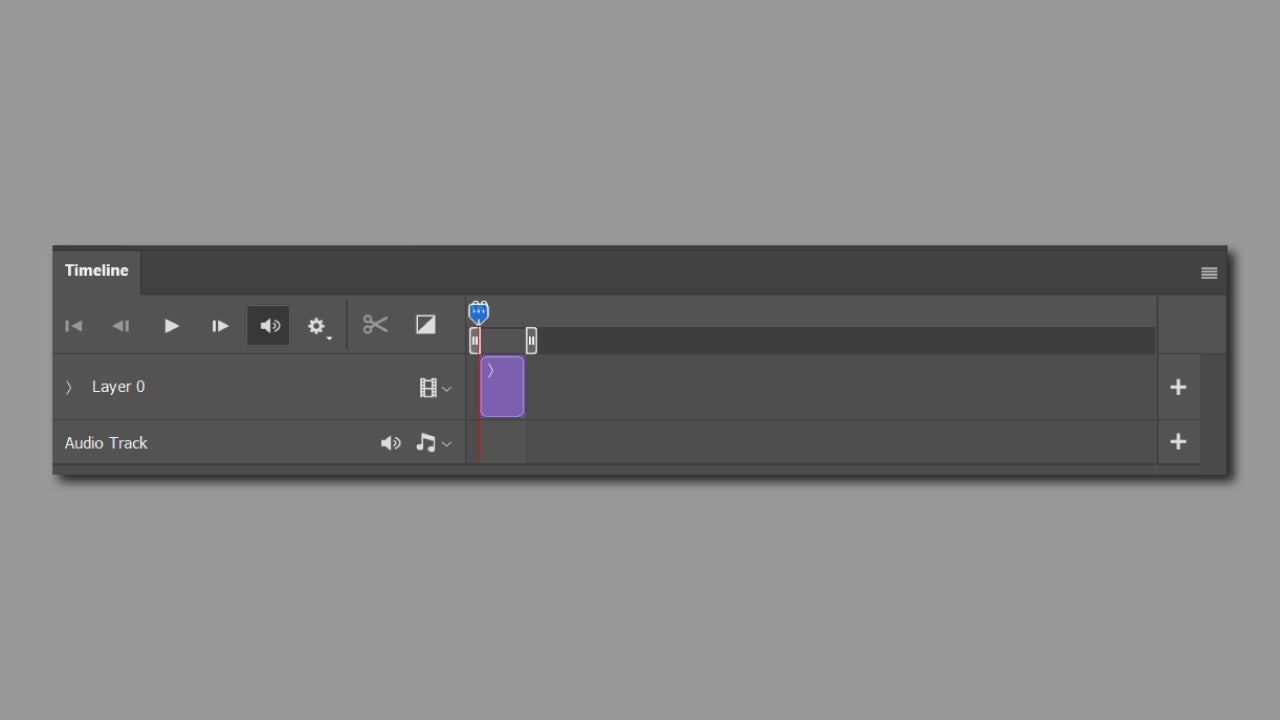
- Open the timeline you will find below and select Create Frame Animation. Duplicate frames from the + icon.
- Change the visibility, position, or style of the layers in each frame.
- Each frame has a configurable visible time. Use short times to create smoother animations.
- In the repeat options you will see below, select Forever so that the animation never stops once you hit play.
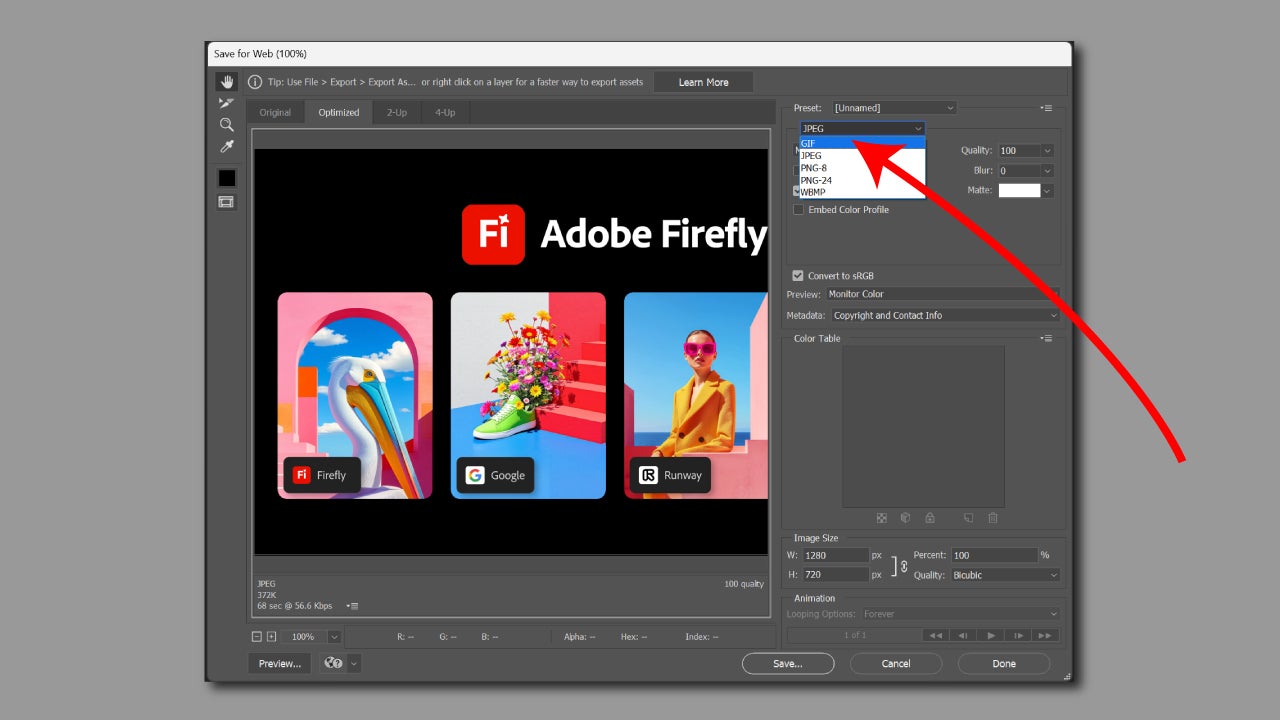
- Finally, export it from File > Export > Save for Web. Here, don’t forget to choose GIF as the format. Click on Save to save your GIF, and we would be done.
Create a cinemagraph step by step
Now that you know how to create and save a GIF, let’s complicate it a little more for cinemagraphs. Here’s how you can make one in a few steps:
- In a new file, select Layer > Video Layers > New Video Layer from File.
- Select the video you want to open from your files.
- Once opened, you can press play with the spacebar to watch it in motion. Now, for the video, use the same key to stay on the frame you aim to be static.
- Use the keyboard shortcut CTRL + J to duplicate the layer. This shortcut will help you copy and paste the frame onto a new layer in the same position.
- Right-click on the duplicated layer and rasterize it by selecting the option Rasterize Layer. That will be our fixed frame.
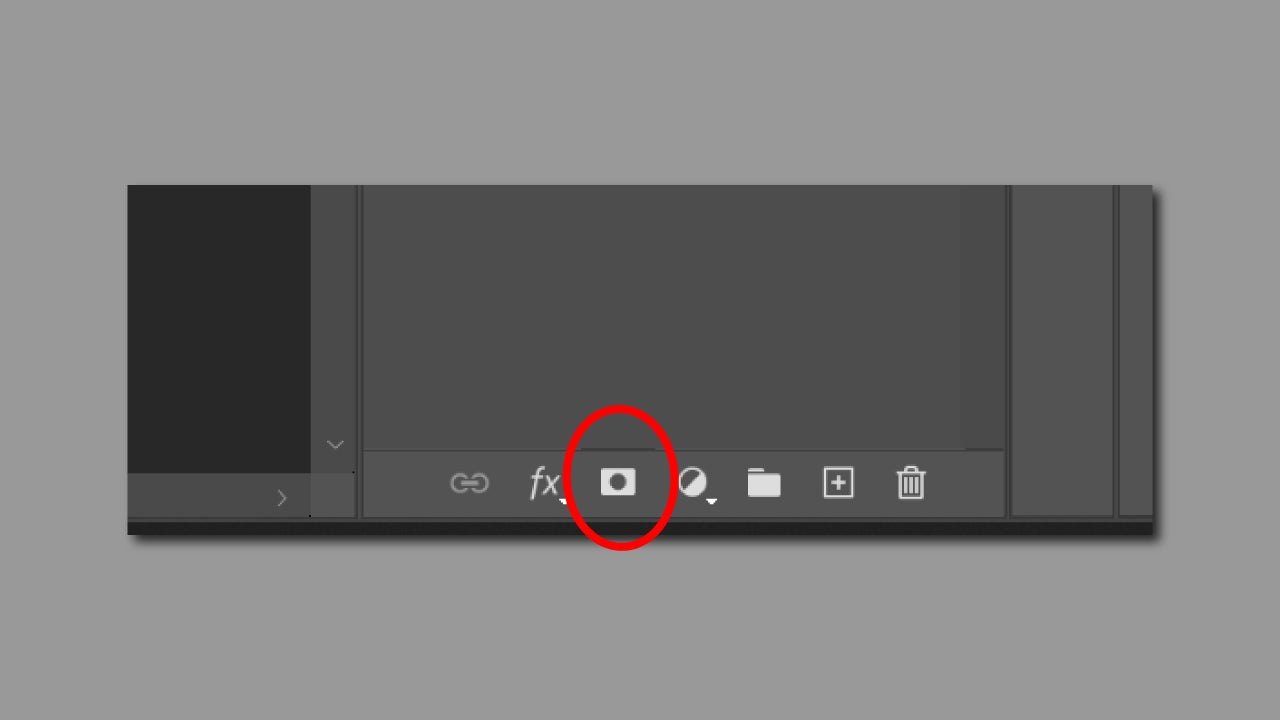
- In our “fixed” layer, create a layer mask. You can do this from Layer > Layer Mask > Reveal All or by clicking on the symbol you see in the image.
- Now erase the area you want to be animated. Don’t forget to use the spacebar to test if the animation fits well in the area you have cropped.
- When you finish and have a result you like, save it the same way we did with the GIFs: go back to File > Export > Save for Web and select GIF as the format.
All these steps will help you test and experiment with creating animations within Photoshop. Although it is not a program focused on animation per se, its tools will help you give a distinctive touch to your images, which until now have been static.

Artist by vocation and technology lover. I have liked to tinker with all kinds of gadgets for as long as I can remember.
Latest from María López
- "Slip" and "Slide" editing: the hidden timeline tools to adjust timing without moving the clip
- Adobe adds external AI to Creative Cloud: benefits, changes, and what to expect next
- Acrobat Forms: Complete guide to designing smart PDF forms with calculation functions
- Testing Photoshop Harmonize: AI That Really Understands Light
You may also like
 News
NewsThe latest Call of Duty has been a failure, Activision acknowledges it and confirms what it will do to fix it
Read more
 News
NewsLee Woodall had to learn German to get his role in one of the movies of the year
Read more
 News
NewsThe Amazon Tomb Raider series would have a legendary actress in its cast
Read more
 News
NewsViggo Mortensen will not reprise his role as Aragorn in the new Lord of the Rings movie
Read more
 News
NewsA fan has calculated how long all the dialogues in Baldur's Gate 3 last, and the figure is staggering
Read more
 News
NewsThe creator of Hannibal confirms that one of his most iconic series will return with a third season
Read more