If you’ve ever wanted to remove unwanted objects from your photos with just a click, Adobe Photoshop could help you with that. Imagine this: you’ve taken an incredible photo at the beach, but right behind you, there’s an animal, a person, or an object that ruins everything. Thanks to the Content-Aware Fill feature, you won’t have to settle for a photo that could be almost perfect—make it completely amazing.
To do this, we’ll just need to select the intruder. Then, Photoshop will take care of the dirty work. Adobe’s program intelligently fills the space as if the element was never there.
How to Use the Content-Aware Fill Feature in Our Images
As you’ll see now, the best thing about the Content-Aware Fill feature is undoubtedly its ease of use. Here’s how you can use it step by step.
- Use the Object Selection tool. You’ll find it in the same place as the Quick Selection and Magic Wand tools. If you still can’t see it, you can always use the W key.
- With Object Selection, select the object you want to remove. If you want to delete more than one element, hold down Shift and click on it. This way, you can select several at once.
Right-click with the mouse and select the Content-Aware Fill option. You can expand the object’s edges with the Lasso tool to improve the result. If you’ve gone too far, you can always use the Contract button or the ever-useful Ctrl+Z (Command + Z on macOS).- On the right, you can check the final result at any time. Try different settings to adjust it to your liking.
- When you’re happy with the result, go to Output Settings, where you can choose between Current Layer, New Layer, or Duplicate Layer. In this case, choose New Layer so that you have the fill on an additional layer.

Use the Sampling Brush Tool to Perfect Your Selection
Another tool that will help you adjust the sampling areas is the Sampling Brush tool. Paint with this brush to add or remove areas of the image that have been used to fill the selection you wanted to erase.
If you want to expand the sampling area, click on the + symbol that you’ll see in the options bar above. To remove, click on the opposite icon, the –.

Get to Know the Content-Aware Fill Panel in Depth
From the Content-Aware Fill panel, you can finely adjust its results. The content you’ll see here is divided into different parts:
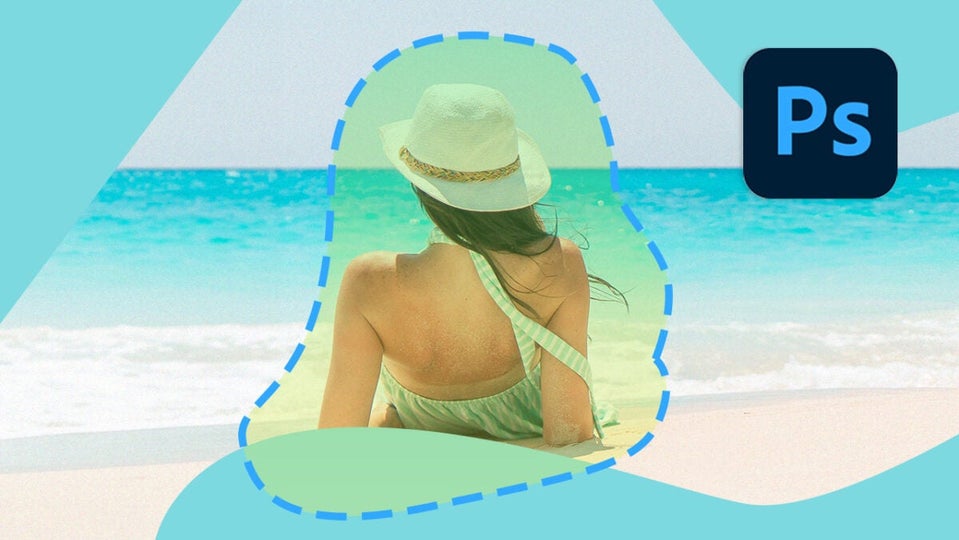
- Sampling Area Overlay: Here we’ll find several sections. The first one, Show Sampling Area, shows us the sampling area or the excluded area with an overlay. Then we have Opacity, which adjusts the opacity of the overlay we see. Color assigns a color to that overlay. In this case, we have it set to green.

- Sampling Area Options: This is where we configure which area of the image Photoshop will use to sample and fill the gaps with content. We can choose between Auto, Rectangular, Custom, and Sample All Layers.
- Auto will help us use parts similar to the surroundings of the area to be filled.
- Rectangular uses a rectangular area near the fill area.
- Custom is the option we’ll need to select if we want to manually define the sampling area.
- Sample All Layers samples all visible layers.

- Fill Settings: Here we’ll see the following options:
- Color Adaptation is the ideal option for filling areas with gradual color changes, such as a sky.
- Rotation Adaptation helps you rotate the content in areas where there are rounded shapes.
- Scale resizes the content, a very good option for images with repetitive patterns.
- Mirror flips the content horizontally.

Here’s How You Can Improve the Results with Content-Aware Fill
You’ve already seen that with very little, you can get very decent results. However, you can still get more out of it with a few small tips:
- Continuously use the Preview option In Photoshop, you can check in real-time how your image is turning out from the Preview window. Use it to your advantage to perfect your image before applying the Content-Aware Fill effects.
- Take your time to make sure the object selection is perfect. Combine the Sampling Brush with other tools like Lasso.
- Combine the use of Content-Aware Fill with other Photoshop tools. If there are points you want to polish, try using, for example, the Clone Stamp Tool. This helps you duplicate (clone) a part of an image to another area of the same file.