Adobe Premiere Pro is one of the choice video editing programs for professionals and beginners. Premiere is a comprehensive editing tool that can create a range of videos from television adverts, short stories to feature-length films.
Transitions are a key element in any video. With the right transition, you can move seamlessly from one clip to the next. Transitions can also be used to create and improve the tone and mood of your video. Let’s take a look at how to add transitions into a video using Adobe Premiere Pro.
How to Add Transitions in Premiere Pro
Click on the Effects Tab
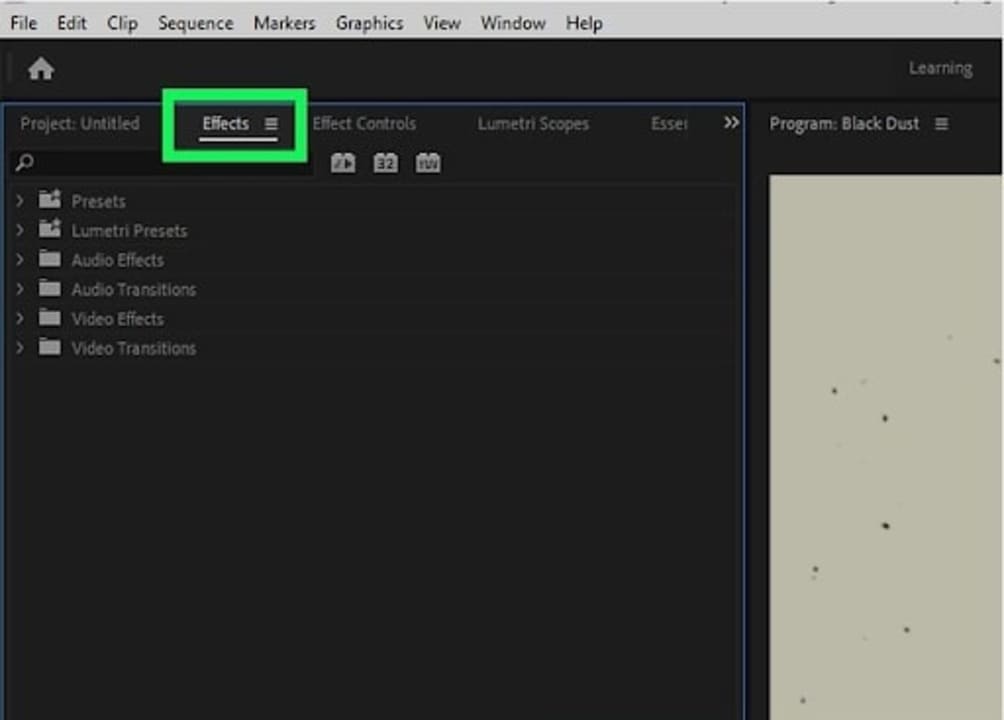
So, you’ve already added your clips into your timeline in Premiere Pro. You’ve arranged them in the order you want and clipped them where needed. Now it’s time to start adding transitions. You will need to select the ‘Effects’ tab found at the top of your screen.
Click on the Arrow Next to Video Transitions
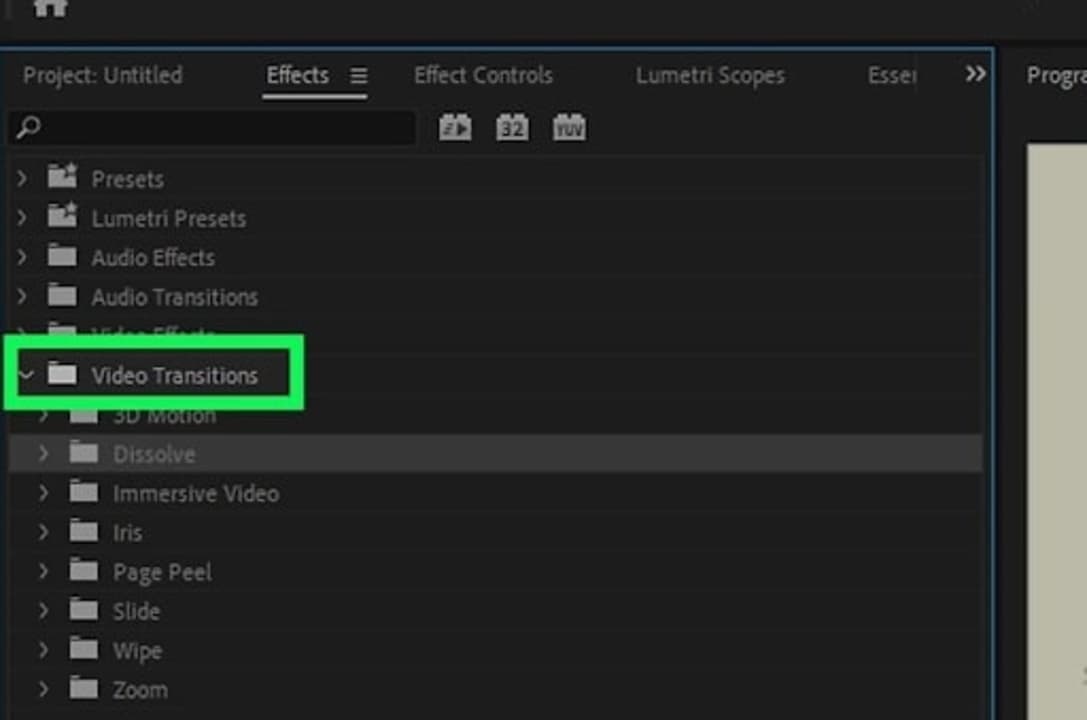
In the ‘Effects’ tab, select the arrow next to ‘Video Transitions.’ This will open a drop-down list showing all the available video transitions you can use.
Click the Arrow Next to the Transition You Want to Use
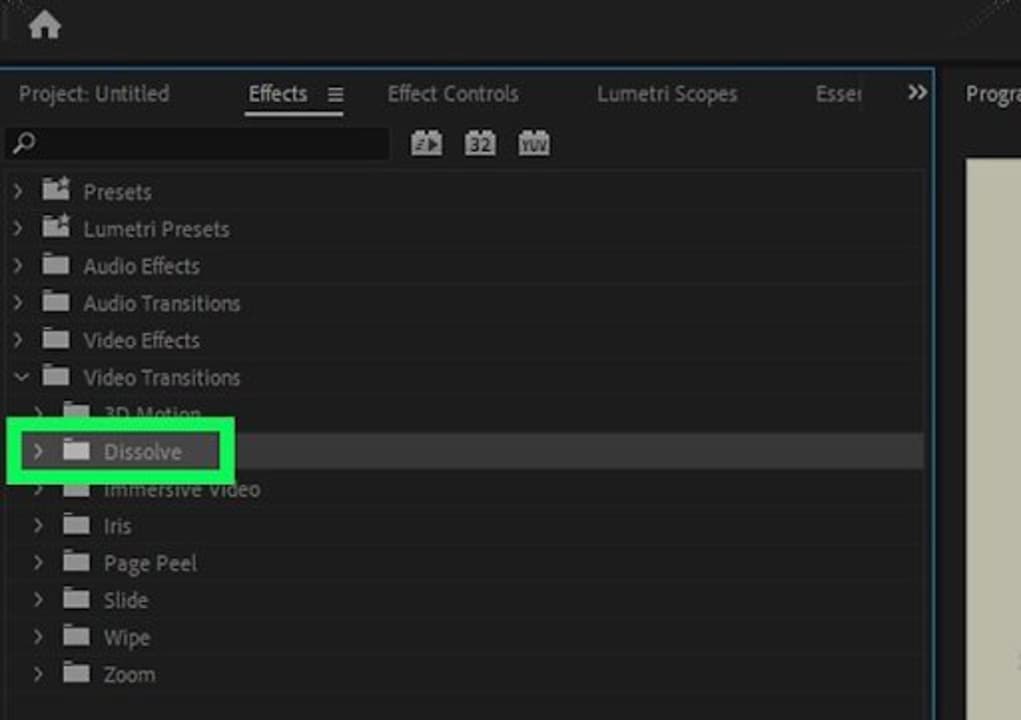
Select the arrow next to the transition you want to use in your video. The number of transition types you see will depend on your version of Premiere Pro and if you have any plugins installed. One of the most popular transitions to use is ‘Dissolve.’
Drag and Drop the Transition Into Place
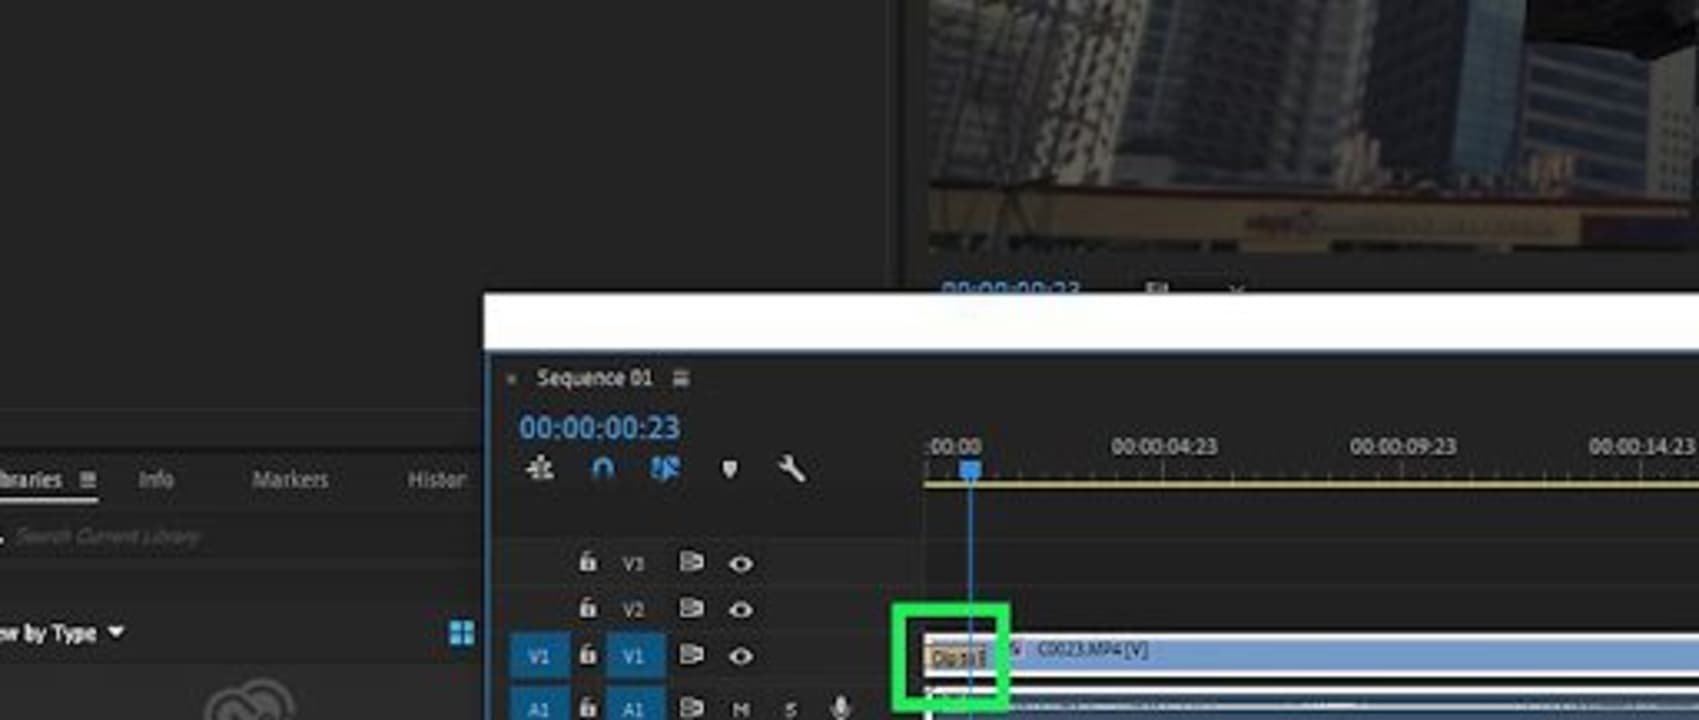
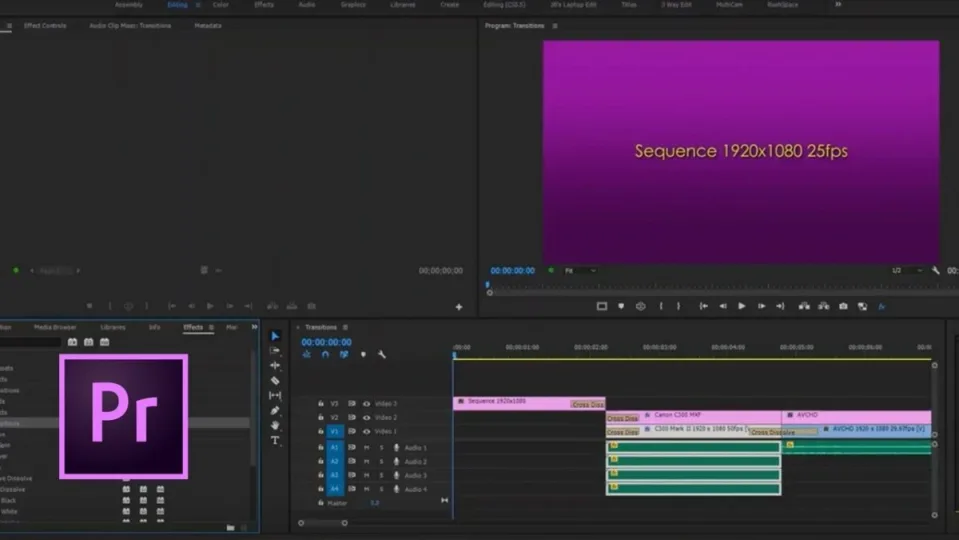
Now you can drag and drop the transition into place in your timeline where you want to move from one clip to the next. Once you’ve placed the transition, you will see a yellow box appear over the two clips where it is placed with the transition name.
Alternatively, you can also use a shortcut and right-click the space between the two clips and click on ‘Apply Default Transition.’ The default is usually a cross-dissolve transition.
Click on the Transition to Adjust It
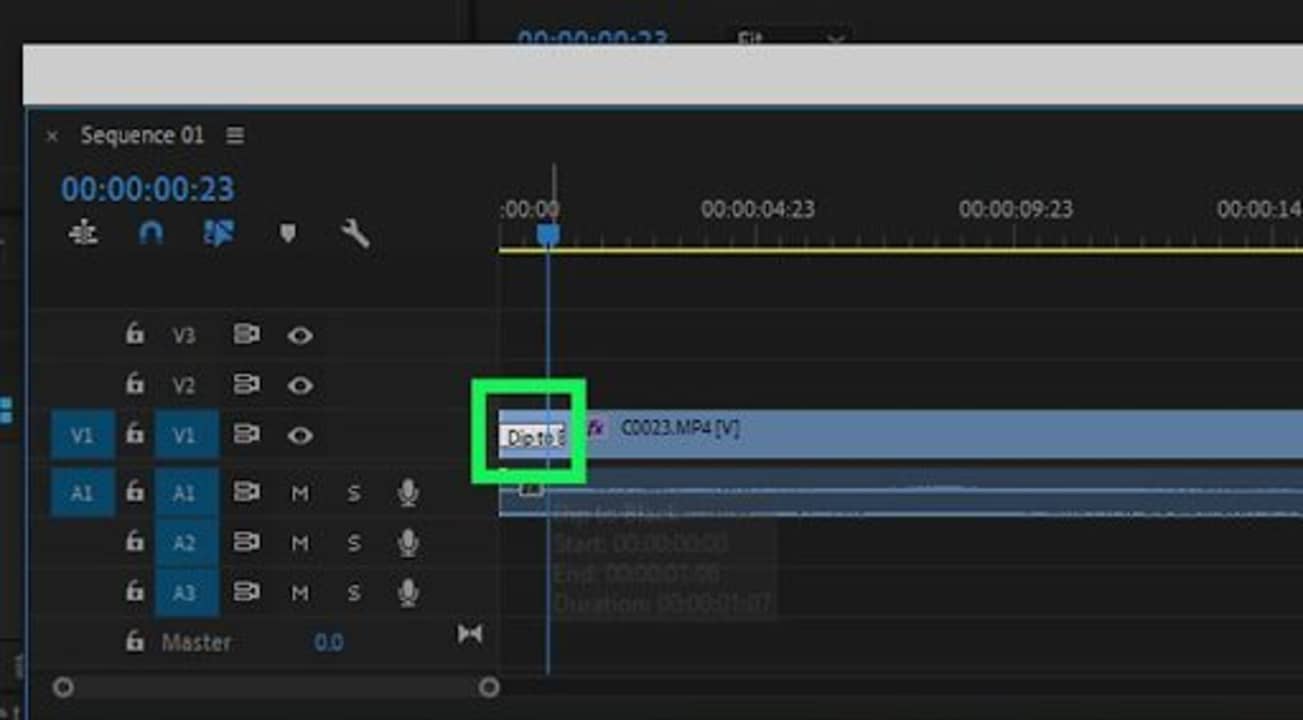
Select the yellow transition box in your timeline to start adjusting the settings.
Click on the Effects Control Tab
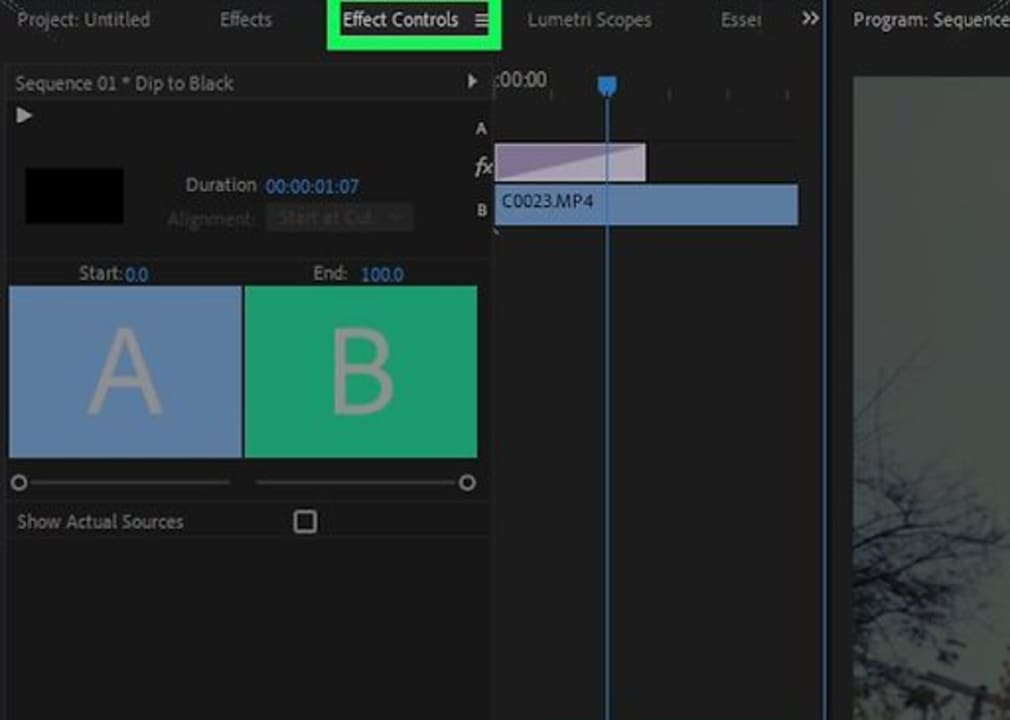
Select the ‘Effects Control Tab’ with the yellow box selected to start adjusting your transition.
Adjust the Transition
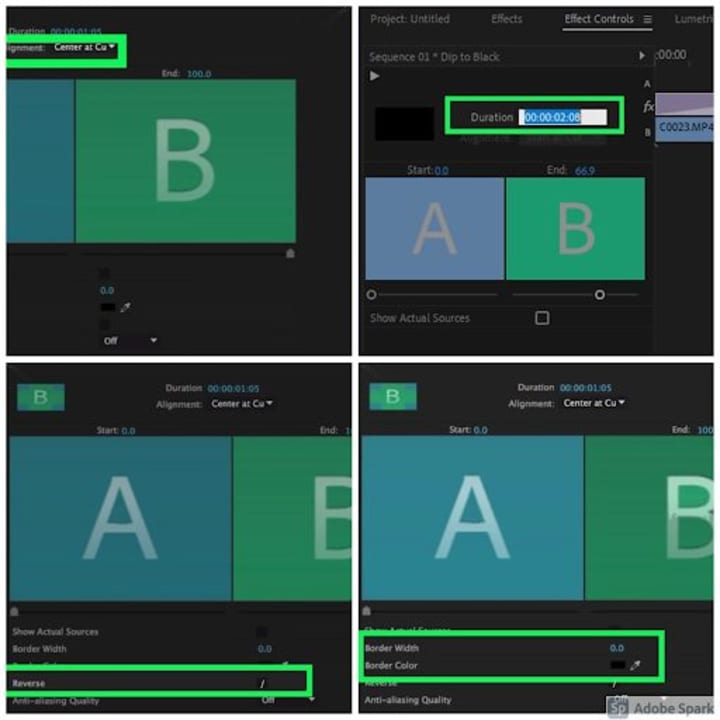
From here, you can set the alignment, the duration, the border, and you can even reverse the direction of the transition to give it the effect you need for your video.
Start Editing Videos Like a Pro
Using transitions effectively is a true skill when it comes to video editing. Lucky for you, with Adobe Premiere Pro, it is easy to add and adjust your transitions to get the mood just right.