How To
How to: apply a selective sepia effect to your photos
- August 26, 2008
- Updated: March 7, 2024 at 9:59 PM
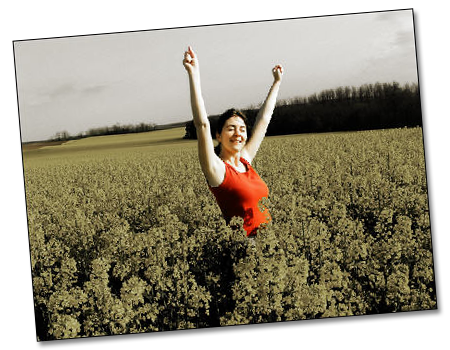
An easy way to make your photos look more attractive is applying a sepia effect to them. But they could even look better if that sepia filter was applied only to certain areas in the image. Here’s an easy tutorial on how to apply a selective sepia effect to your photos in just a few steps and make them even more appealing.
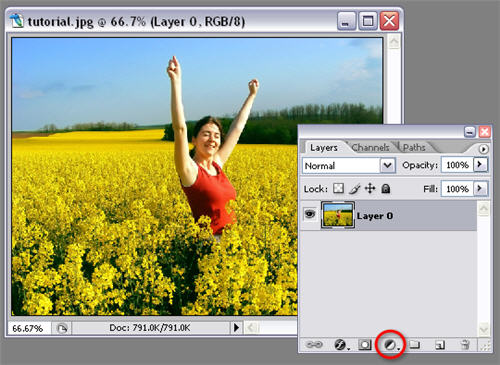
1. Open up your image, click on the Adjustment layer button on the Layers palette and select Hue/Saturation.
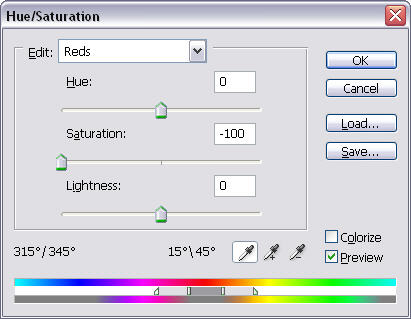
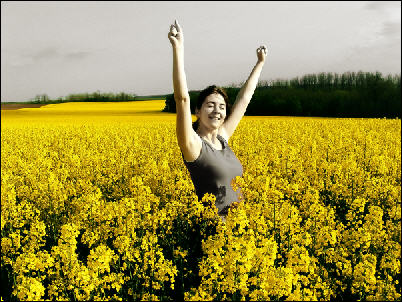
2. This is where you select the areas you’re going to apply the sepia effect to. Simply select all colors in the image but the one you want to keep and lower down their opacity to -100. In this case I’ll keep only yellow, so I’ve lowered reds, cyans, blues and greens.
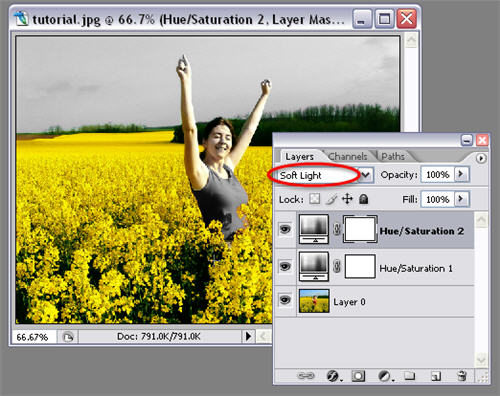
3. Now create another Hue/Saturation layer without tweaking any settings, and change its blending mode to Soft Light.
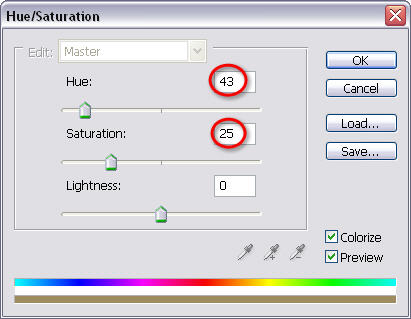
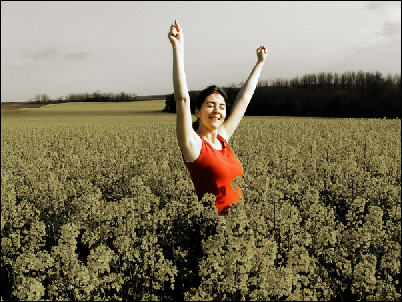
4. Finally double click on that second Hue/Saturation layer you created in order to open the settings window again, click on the Colorize option and change settings according to the image:
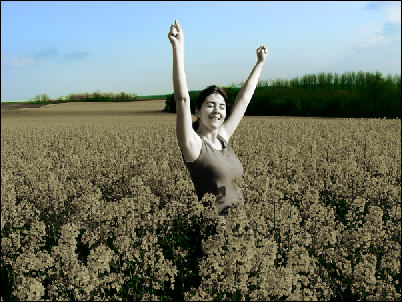
5. Your picture is done! Try choosing different colors to see different results.

You may also like

State treasurers urge Tesla’s board to increase oversight on Elon Musk
Read more

Ubisoft announces a collectible card game based on NFTs
Read more

Nintendo may not have enough Switch 2 units for the console's launch
Read more

Love, Death, and Robots returns with a fourth season that is very musical
Read more

The alpha of Marathon leaves mixed feelings due to a very peculiar design decision
Read more

We know all the details about FBC: Firebreak, the new game from the creators of Alan Wake and Control
Read more