Do you ever get jealous of photos with crisp focal points and blurred backgrounds? You don’t need too much knowledge of Adobe Photoshop to get it on your photos! This article dives into one of the methods of blurring a background using this powerful program.
First of all, of course, you need to open the photo from File > Open. For a first try, you can choose an image with a crisp foreground and background distinction. A person or an object closer to a lens and a lovely backdrop will work. Using this technique requires a basic knowledge of layers and masks in Photoshop.
Adobe Creative Apps
Get a 30-day free trialDuplicate the picture on a new layer
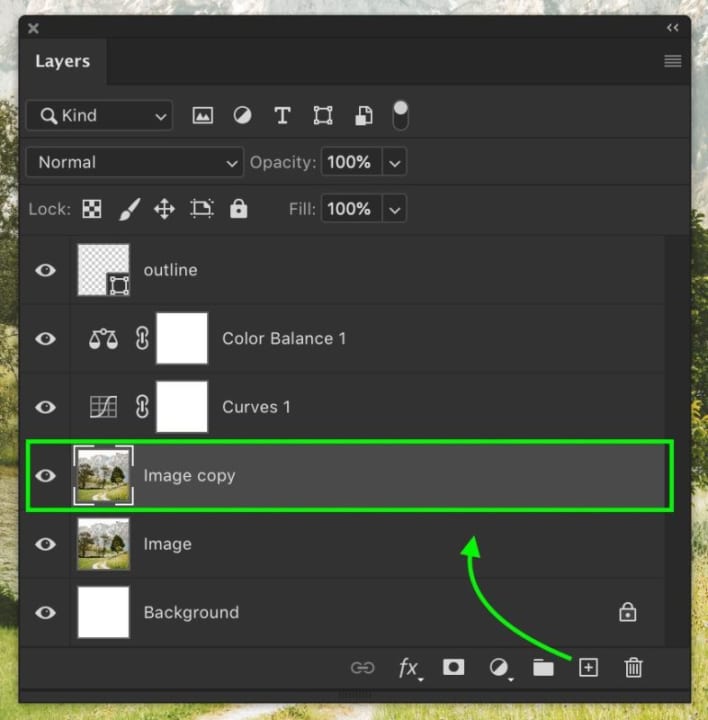
Once you have the picture open, make a copy layer of the photo. This way, you’ll be able to make a different set of changes on each layer and put the whole thing together for the finished product.
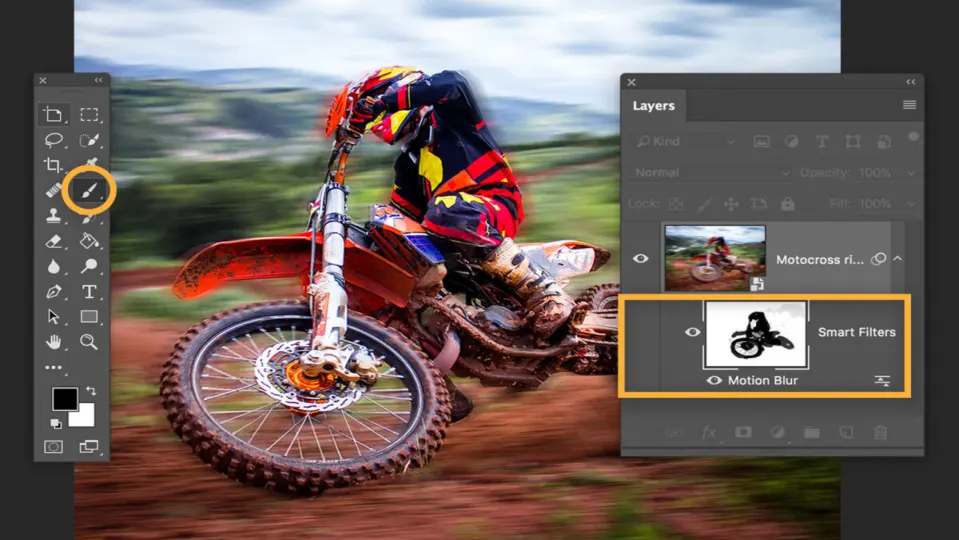
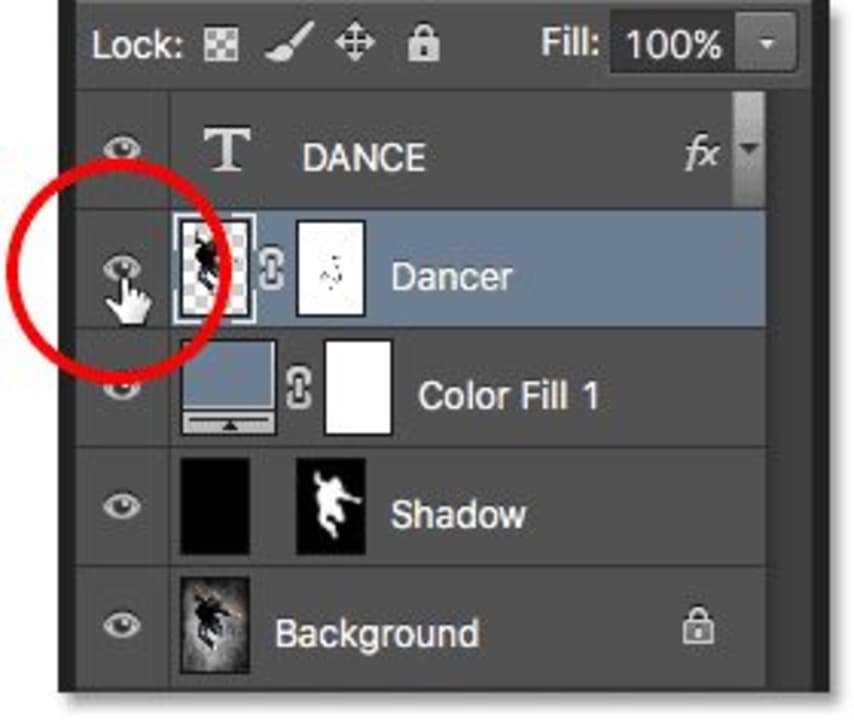
Mask the subject on the top layer
After the previous step, you’re left with two identical layers. Turn off the one on the bottom to have it out of the way. On the one that’s on top, select the subject you want to stay sharp.
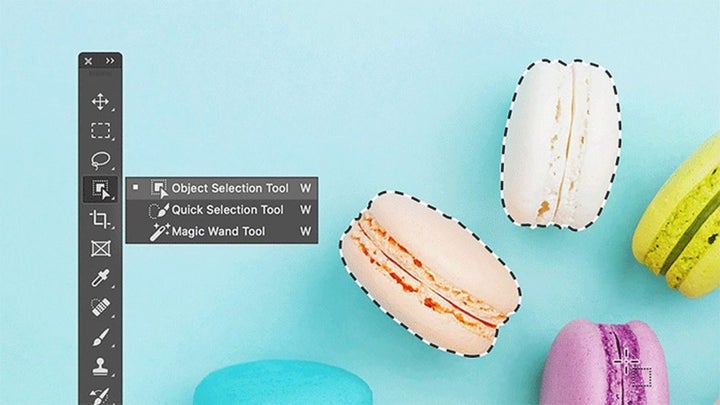
This step can be accomplished using one of the selection tools: Quick Mask, Lasso, Magnetic Lasso, Magic Wand, or ultimately, the Pen. Once done, invert the selection and delete the rest of the layer and refine the edges. You can make the remaining picture a tad larger and apply blur on the edges to ensure its smooth transition to the background when you turn on the bottom layer.
Blur the second layer
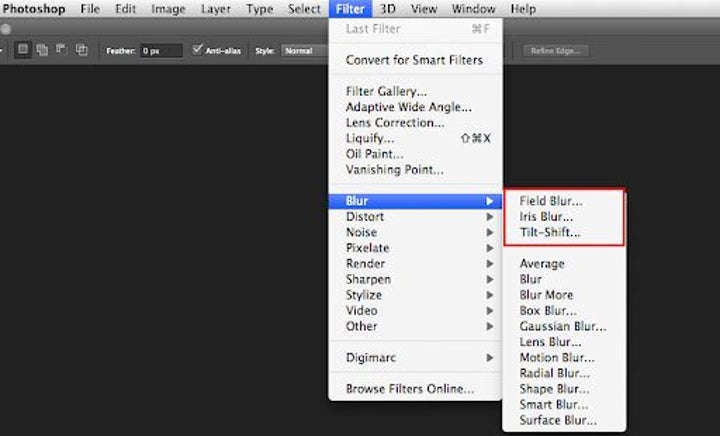
Use one of the blur options (Tilt Shift, Field Blur, Gaussian blur, etc.) to apply the desired effect on the bottom layer. Photoshop gives you more than a dozen filters you can play with. Once you reach the desired effect, it’s time to move to the next step.
Turn on the foreground layer and adjust
The finished product will come together as you turn on the mask layer. You’re likely to see some imperfections there. Make the last touches and export.
Getting it right
There are many ways you can apply a blurred background in Adobe Photoshop, each with a varying degree of control and mastery. While you can play around with any of them for different results, the above approach is the easiest. One of the most challenging effects you can apply is obtaining real lens blur.
The factors that play a role in realistic lens blur are focal length, aperture shape and size, and subject distance. The distance effect is probably the most difficult to attain correctly, especially when you’re working with backgrounds.
Fortunately, Photoshop resolves this issue with its blur effects. It lets you indicate which objects are close and far for you to obtain that ideal lens blur. In other words, the items that you mark as further away will have more blur than closer objects.
While using a camera will have more realism, there’s no reason you can’t achieve the effect with Adobe Photoshop. Despite the two-dimensional plane, it still helps to imitate lens blur by incorporating a virtual distance in the background. As long as you identify the subject, you can adjust the distance or blur range as you wish until you acquire the desired effect.
Bear in mind, there are also other effects you can apply in conjunction with blurring the background, such as noise and lighting. However, we’ll make these the topics of future articles.
Have fun!
While we recommend one of the most straightforward options of background blurring in this article, you can still have fun with finetuning your image. While the selection tools are pretty great due to intelligent pixel calculations and AI, you can also mask the layer with the Pen tool if it’s more convenient.
Whichever blur filter or selection method you choose, the idea is to be creative and have some fun. If you don’t have Adobe Photoshop as yet, you can try it out for free.
Adobe Creative Apps
Get a 30-day free trial