How To
How to: create a virtual machine in VMware Player
- October 8, 2009
- Updated: July 2, 2025 at 9:19 AM
Here at Softonic we test hundreds of applications each week. In order to keep our computers safe from such an insane deluge of software, we use virtual machines, namely VirtualBox and VMware Player. Both of them are very good at their job, but VirtualBox always had one great advantage over VMware Player: the ability to create virtual systems. Well, that was until now. The next version of VMware Player has just launched its first Release Candidate and guess what: it lets you create virtual machines!
For those of us who work with VMware Player on a daily basis, this is great news. Of course, I couldn’t help downloading the Release Candidate and testing this new feature by myself, and I thought I’d take the opportunity to write a tutorial about how to create virtual machines in VMware Player:
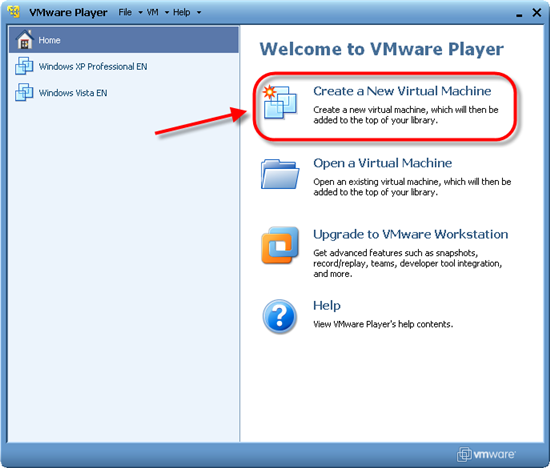
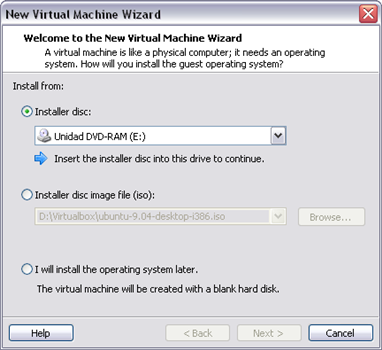
1. In the main screen, click Create a New Virtual Machine and you’ll launch the New Virtual Machine Wizard. This wizard lets you choose between a CD and an ISO file to start creating the virtual machine.
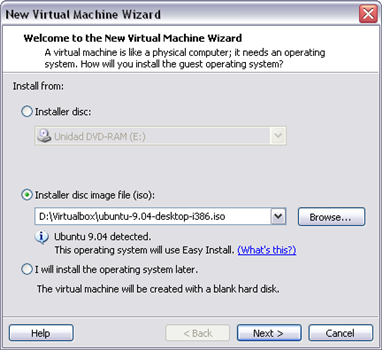
2. In my case, I’ve selected an ISO file with Ubuntu 9.04. As you can see, this virtual machine can be created using Easy Install, which means you can perform an unattended installation after completing the Wizard.
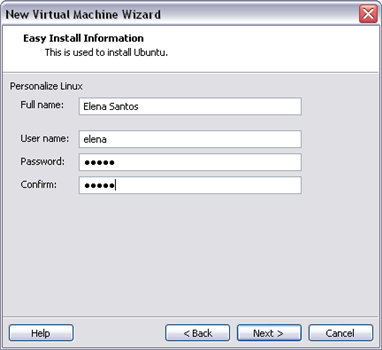
3. Enter your personal details to start Easy Install. Bear in mind that these fields may vary according to the operating system you’re installing, but they’ll usually be usernames, passwords, and the like.
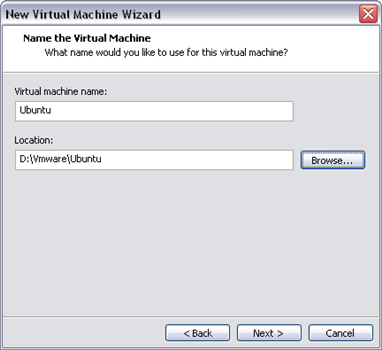
4. Give your virtual machine a name, and select a location to store it.
5. Set the maximum size of the virtual machine’s hard disk – the wizard will advise you on how much you need, depending on the operating system.

6. This is the last screen in the New Virtual Machine Wizard, which contains a summary of all the configuration options you’ve set. You can go ahead and finish the Wizard (which immediately adds the new virtual machine to VMware Player’s main menu) or click on Customize Hardware to edit the machine’s settings.

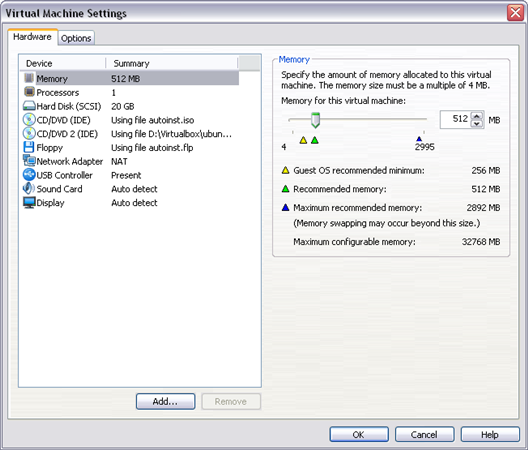
7. These settings allow you to tweak advanced options in your virtual machine’s configuration, such as specifying allocated memory, enabling a CD/DVD drive, changing the network adapter, or creating a shared folder between the host system and the virtual machine.
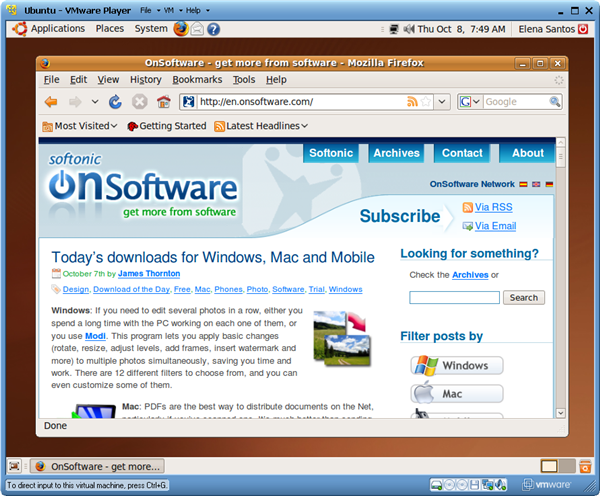
8. Once you’ve set everything up, you’re ready to go. Enjoy!

You may also like
 News
NewsThe new strategy from Universal that will help the survival of movie theaters
Read more
 News
NewsNetflix is preparing a series about the tumultuous life of Frida Kahlo
Read more
 News
NewsThe most iconic family series of the 2000s is back, and we can already see its trailer
Read more
 News
NewsThe most beloved and at the same time most hated character from Family Guy will have his own spin-off
Read more
 News
NewsNetflix confirms the sequel to K-pop Warriors by the original creative team
Read more
 News
NewsThe Yellowstone spin-off has been so well received that a second season has already been confirmed
Read more