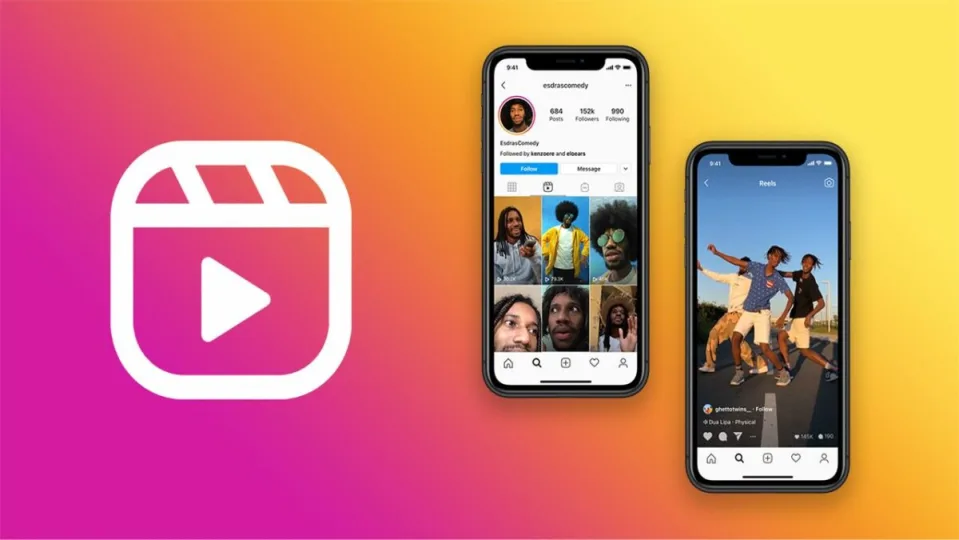
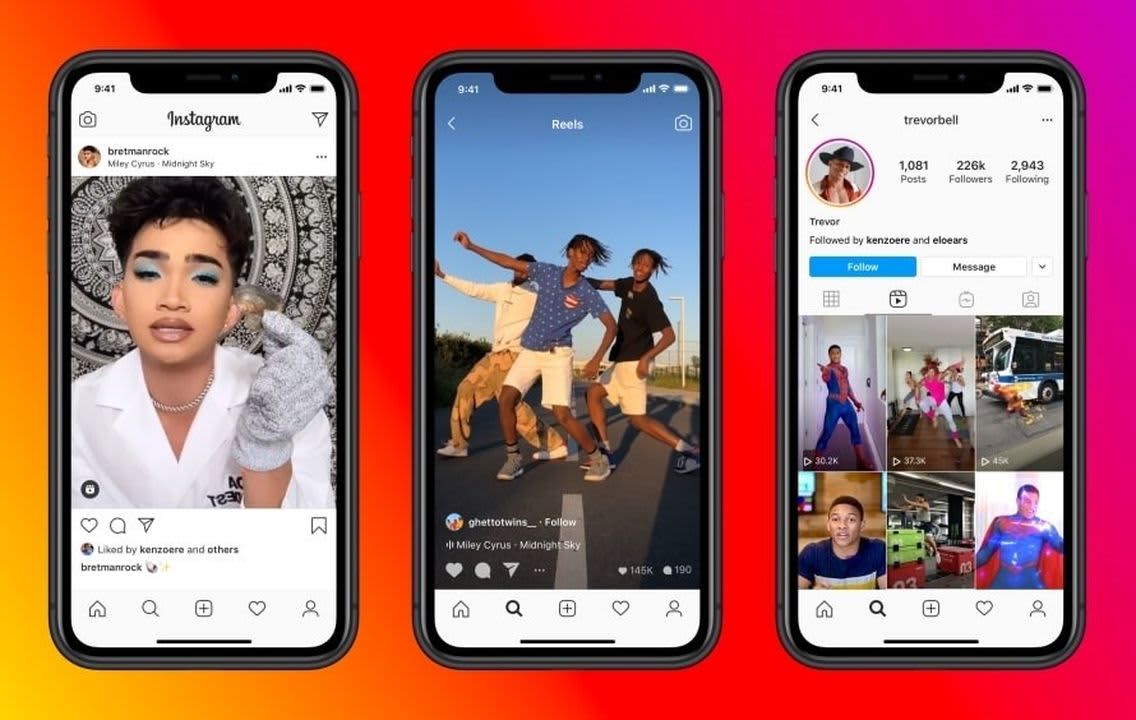
Introduced in 2020, Instagram Reels has become an essential tool for content creators who want to grow their presence on the popular social sharing platform. But even if you are not an aspiring influencer or digital marketing pro, Instagram Reels are a blast to make. And if done correctly, your stories can be an endless source of entertainment for your friends and Instagram network.
Whether you are trying to increase followers on the platform or just want to level up your production skills, here’s how to make high-quality Instagram Reels stand out with Adobe Premiere Pro.
Study basic mobile phone filming techniques
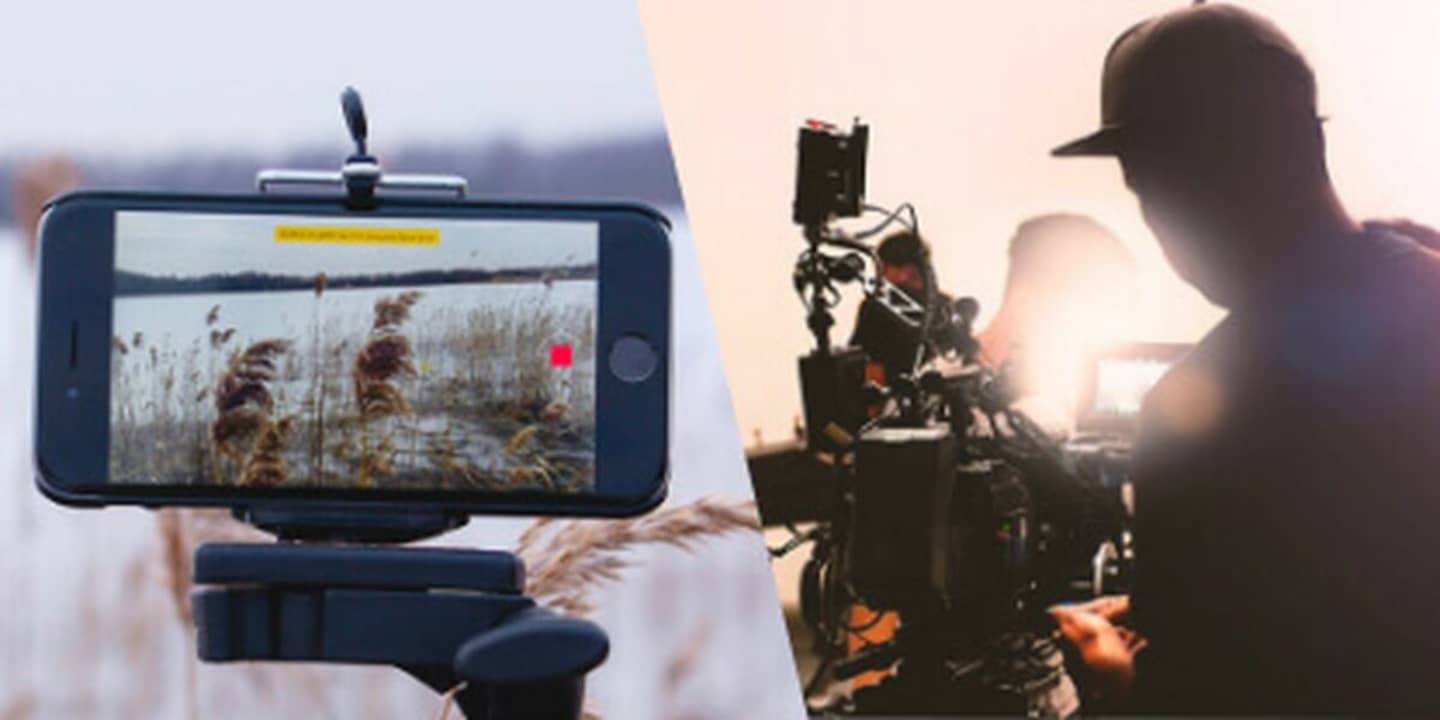
There are countless online informative guides on shooting cinematic footage with your cell phone. So, we won’t get into too much detail here. Nevertheless, before diving into advanced editing strategies for Instagram, you should have at least an elementary grasp of how to hold a cell phone camera, frame different types of shots, and export the footage onto an external device.
Storyboard your clips
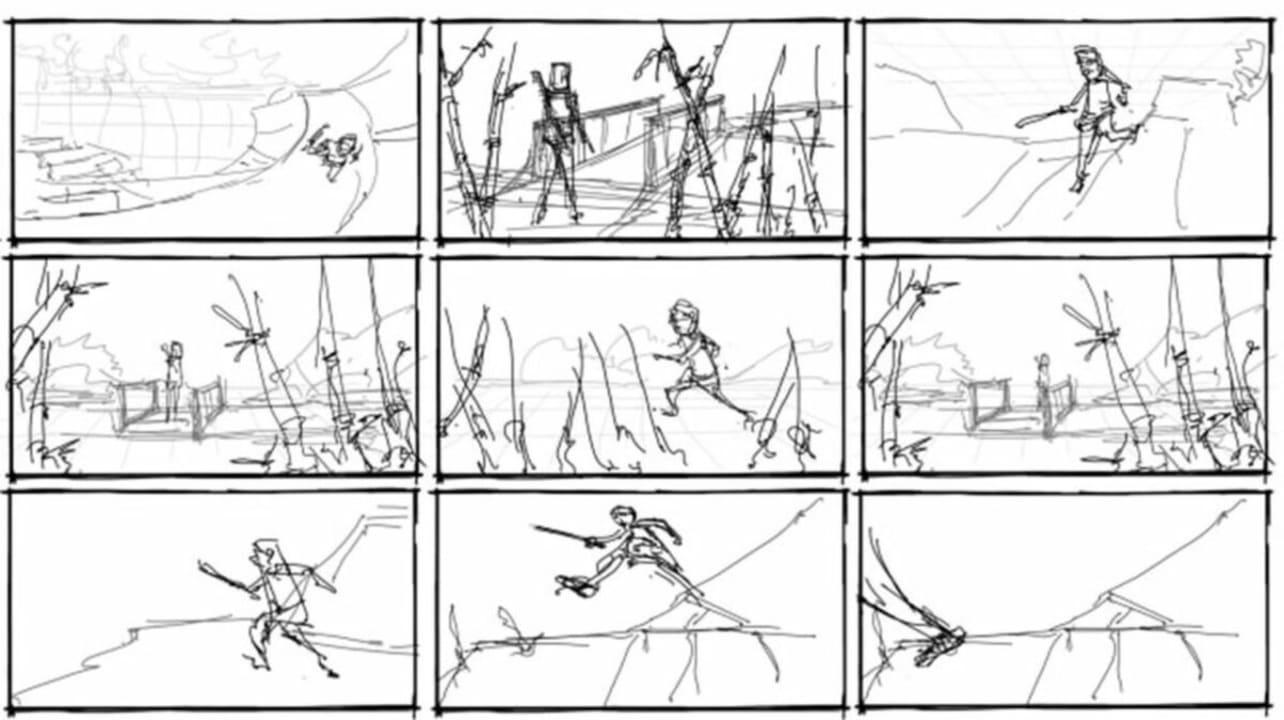
In major Hollywood productions, the storyboarding process is where the movie narrative comes together. Sketching the film out on paper is how most narrative filmmakers bring logical structure to their stories. With Instagram, obviously, storyboarding isn’t quite as complicated and could be as simple as scripting out a rough shot list. The more pre-production planning you do for your clips, the easier they are to edit. You also increase the likelihood that your content will make sense and connect with your audience after storyboarding.
Choose your filming locations and times

Instagram is renowned for its users celebrating exotic locations in images. But even in your own backyard (which is assuredly an exotic location to someone), you should choose your camera angles wisely. Ask yourself about the mood and tone of the story you want to tell and determine if your setting matches the theme. Is the background appropriate? What time of day is it? Filming on overcast days or in the early morning or evening hours helps avoid harsh light and stark shadows.
Create a rough cut edit
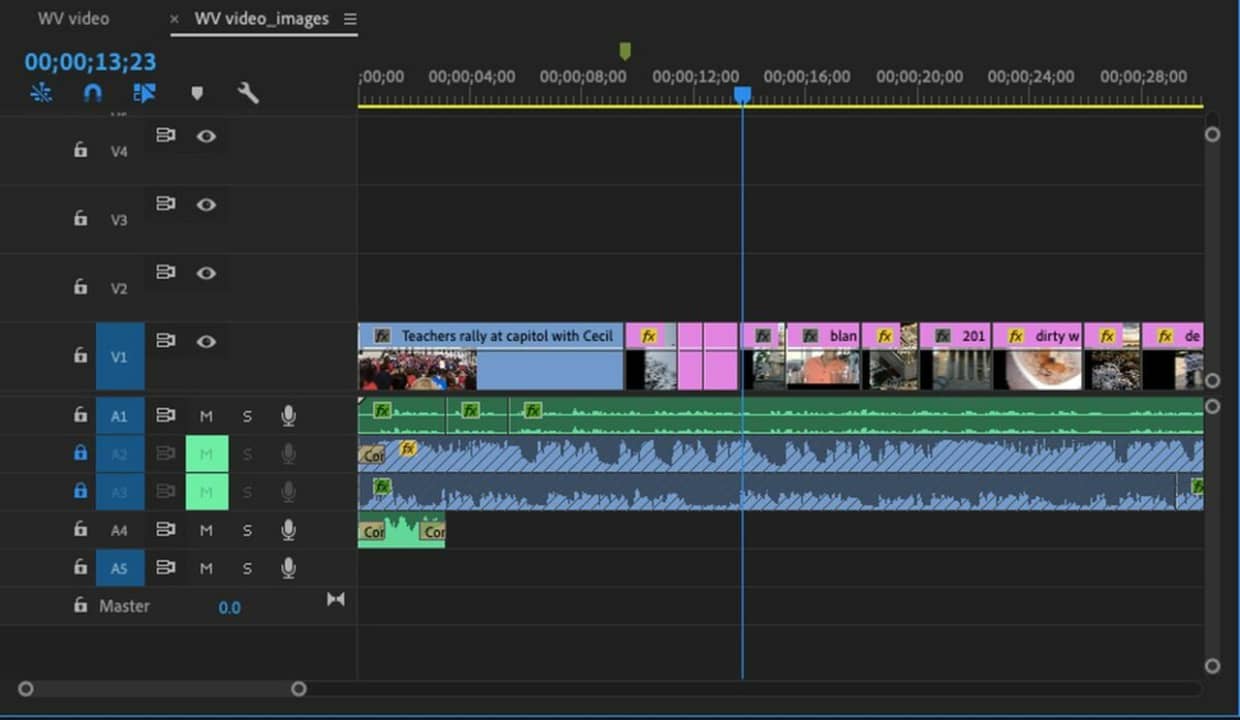
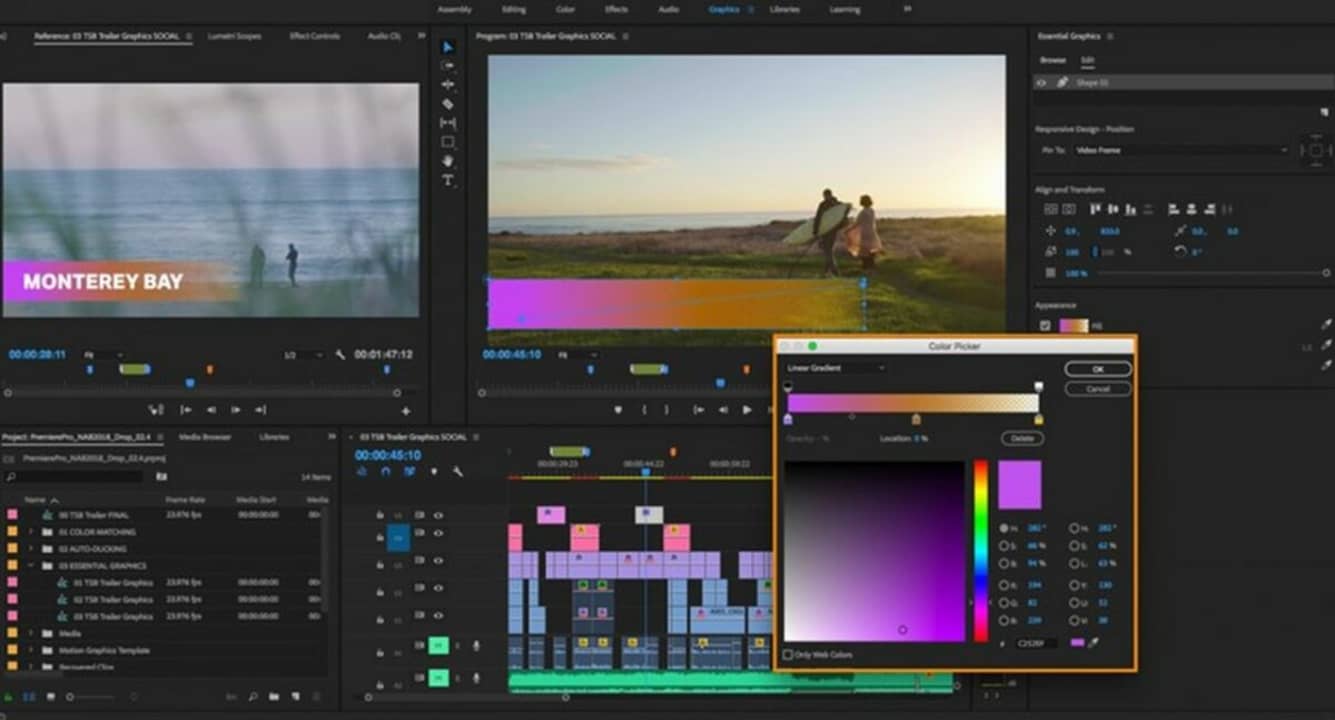
Once you have captured your footage, you will encounter several capable apps to help your put your editing timeline together. While editing videos on your phone with third-party editing solutions like Adobe Premiere Rush is plausible, highly skilled content creators cut their videos on their desktop with heavyweight applications like Final Cut Pro and Adobe Premiere Pro. The applications offer countless professional editing tools that can give your Instagram Reels a well-polished look. With Premiere Pro, you can access the Lumetri Color panel to color correct your video or add cinematic transitions and effects using the preset infographic panel templates.
Now you’re ready to create a rough cut sequence in Adobe Premier Pro. Follow these steps to ensure the sequence matches up with resolution and frame rate for Reels:
- Find the Editing tab
- Click File > New > Sequence
- From Presets select Digital SLR > 1080p > DSLR 1080p
- Now find Settings at the top left
- Click Settings and choose Frame size
- For Horizontal enter 640 and for Vertical enter 1136
- Click Save presets and name it Reels so you can reuse it later
- Import your video and click Keep existing settings
- Finally, arrange your clips in a roughly sequence
Now, you have a rough sequence, and your video is set at the same frame rate and resolution as Instagram Reels. Making these custom changes means Instagram won’t compress your video, and importing the clip natively allows your footage retains its original file quality. You’ll notice several other settings in Premiere Pro, but there is no need to adjust them at this stage.
Edit your fine cut
If you’re not positing your clips in traditional 16:9 landscape mode, you can change this to horizontal by clicking on the clip and selecting the Effect controls tab. Under Motion, find Position and Scale. Bring the Scale to 105 to horizontally fill the frame. Drag the image left and right to set the Position once you’ve found the ideal framing.
Your entire sequence of clips should adhere to the settings above. Follow the same editing principles you would use to edit any standard Premiere Pro timeline. For instance, you can scroll or use your arrow keys to trim off unwanted pieces of video. Once you have your perfect sequence set, you’re ready to export it to Instagram.
Export and post your clip to Instagram
Click on the timeline, drag to the beginning of your clip, and press I. Now drag to the end of your clip and press O. Now go to File > Export > Media. Under Export settings, choose H.264. For preset, select Match source high bit rate.
For your bit rate encoding choose VBR 2 Pass. Set your Target bit rate at 2 and your Maximum bit rate at 3. Select Use maximum render quality. Save the settings as an export preset, naming it IG Reels, and export the file to your desired folder.
The final step is to get the sequence from your computer to your phone. This step lets you upload the footage to the Reels application. If you are a Mac user, the simplest way to transfer the file is with AirDrop. If you don’t have a Mac or prefer not to use AirDrop, you can access a free service like DropBox or GoogleDrive.
Dial in your Reels videos with Premiere Pro
To get the most traction out of your Instagram Reels save them for 24 hours. They will later appear in your Reels section, but this helps your clips find the most people. Adobe Premiere Pro is an impressive post-production solution with countless more editing features, effects, and capabilities than Instagram’s native tools. For more tips and advice, check out our Adobe Premier Pro expert review.

