How to edit a photo with the iPhone 16 photo styles and give each image a personal touch
A unique look for the photos we take
- September 24, 2024
- Updated: October 18, 2024 at 10:42 PM
The iPhone 16’s photographic styles offer an extremely capable and flexible way to adjust our photos to give them a personal touch. By modifying colors and tone in different parts of an image, these styles allow us to customize that rivals ProRAW options but with much more intuitive control.
What are Photographic Styles and how to use them to edit our photos
When we choose a photographic style, it is saved and applied to all the photos we take, giving us consistency in our images. The available styles include options such as Cool Rose, Rose Gold, Gold, Amber, Natural, Luminous, and several more, each with its own character and nuances.
The best part is that, even if we select a style before taking the photo, we can change or adjust it after the shot directly from the Photos app. How? By following these simple steps:
- Open the Photos app on our iPhone 16.
- Select an image that we have taken with a photographic style.
- Press the Edit button, which appears as three sliders.
- In the editing toolbar, press Styles.
- Slide through the styles to see a preview of each one on the photo.
- When finished, tap Done.
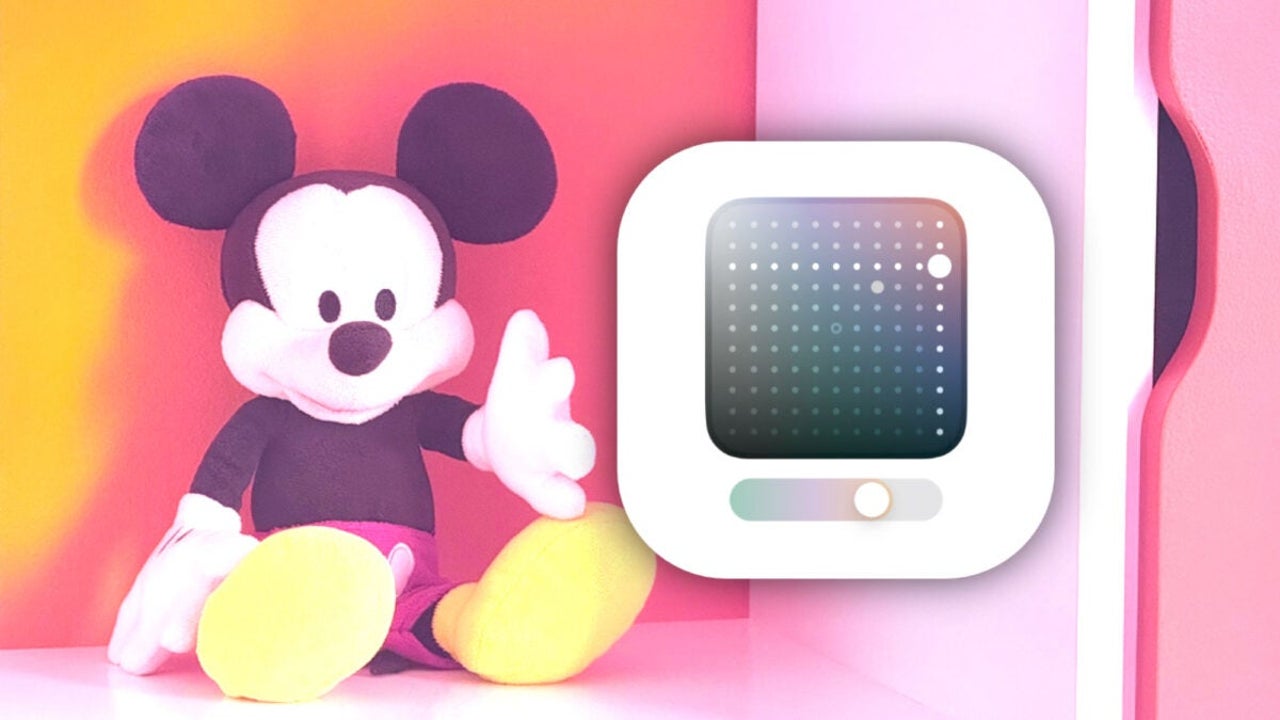
It is worth noting that we can adjust each of the styles more precisely. To do this, simply select it and move your finger over the dotted square to modify the tone and color. We can also use the slider to adjust the intensity of the style application.
As we make the fine adjustments, we will see the exact values of tone, color, and intensity at the top of the screen. If we want to reset the image to its original state, we simply click the arrow to undo the changes. From here, we can repeat the process to achieve the adjustment we need and, overall, give each of our photos the look we desire.

Architect | Founder of hanaringo.com | Apple Technologies Trainer | Writer at Softonic and iDoo_tech, formerly at Applesfera
Latest from David Bernal Raspall
You may also like

A cult saga from Mega Drive returns 33 years later with a double remaster and a sequel
Read more

Ghost of Yotei is even better than Ghost of Tsushima, according to a former Sony executive
Read more

Microsoft announces the closure of Skype
Read more

The delay of GTA VI could brutally impact the industry, according to a famous analyst
Read more

The creator of Katamari Damacy has a new game and is eager for us to see its ending
Read more

Imagine playing a game like League of Legends where all the characters were ships, well now you can!
Read more