How To
How to free up disk space with Scanner
- March 25, 2008
- Updated: July 2, 2025 at 9:33 AM
 No matter how many external hard drives I buy, no matter how big they are, I always end up getting that stupid Windows warning message: “Low Disk Space. You are running out of disk space on Local disk. To free space on this drive by deleting old or unnecessary files, click here…” How is that possible? I had tons of available gigs just some weeks ago… Well, I guess it’s the logical consequence of having a few fully working P2P apps installed on my PC, together with an incomprehensible dislike towards the Delete key. So, what can I do now />
Before hunting for those disk-space hogs, I strongly advise you to do some basic disk cleaning with a tool like CCleaner. If you’ve never used such a tool it’ll probably recover a lot of disk space for you. Once you’ve used a cleaning tool, it’s time to get yourself to work with Scanner, a great disk analysis app that will help you find the largest files on your system. Here’s how to use it:
1. Launch the program (no installation required) and it’ll automatically begin scanning all your drives. Select the one you want to analyze so that this process won’t take too long.
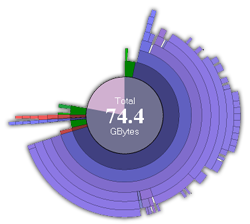
2. Now it’s time to read the analysis results. They’re presented as concentric circles, each one of them belonging to a different folder on your system. The bigger the circle, the more space that folder is taking in your disk.
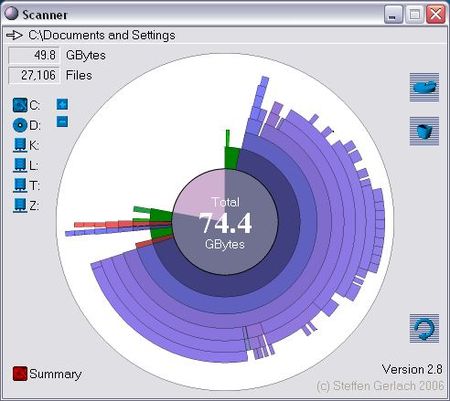
3. Click on any area of the circular map and you’ll open a more detailed view. For example, by clicking on the Program Files or My Documents you’ll probably find lots of folders and files you can safely get rid of.
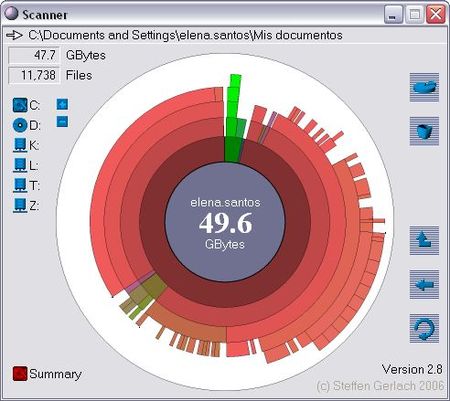
4. When you finally find a file that you want to erase, right click on the area that represents that file and, among other options, you’ll be able to recycle it (i.e. send it to the Recycle Bin) or simply remove it from your hard drive, if you’re sure you don’t want to keep that file anymore.
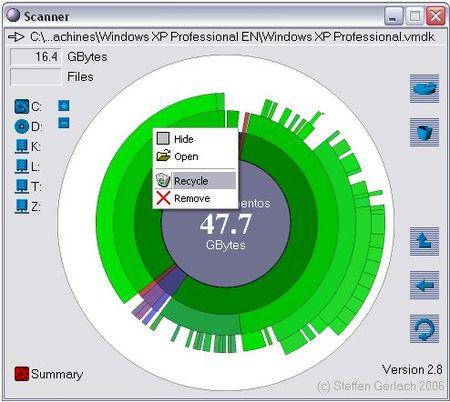
Now you can move on to other folders, analyzing them with Scanner and obtaining a very visual report that helps you easily identify those files that are taking way too much space on your disk. In this way you’ll be able to gain some time before having to buy a larger hard drive – something eventually you’ll end up doing anyway, won’t you?
[Via: ONSoftware Spain]
You may also like
 News
NewsJames Cameron is clear about which movie he will watch this Christmas. And it's the one you expect
Read more
 News
NewsRange Media Partners partners with Google to adapt the novel The Good Bride
Read more
 News
NewsYou can now watch the trailer for Nolan's next blockbuster
Read more
 News
NewsHBO presents the highly anticipated trailer for the fourth season of one of its best series
Read more
 News
NewsEven the Louvre Failed at Cybersecurity — Here’s How You Can Do Better
Read more
 News
NewsAI has been responsible for 50,000 layoffs in 2025: what can we expect in 2026?
Read more