How To
How to use the crop feature and move layers with Alight Motion
- September 13, 2022
- Updated: July 2, 2025 at 3:27 AM
Alight Motion is a robust resource for motion graphic designers. This free Android app allows you to craft custom images or make professional edits to individual layers within your animation projects on the go.
The user interface is, overall, easy to use but can be a bit overwhelming at first. Simple features like cropping a video or moving individual layers are straightforward enough once you know where to look within the UI.
Cropping images and videos in Alight Motion
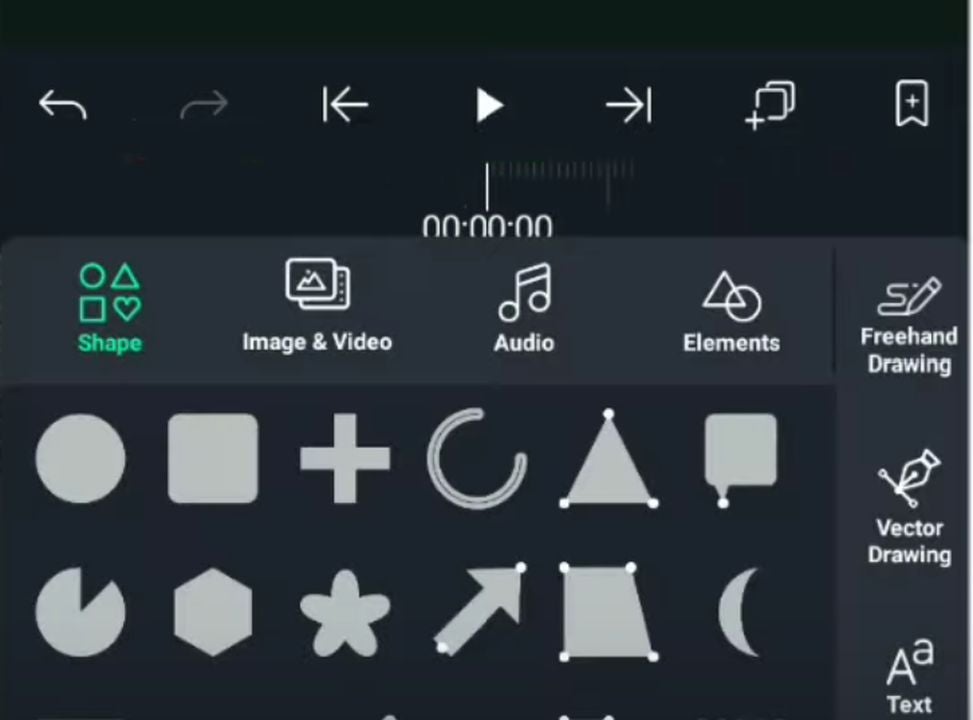
When you wish to only use a portion of the screen when editing images or video, you can crop out the unwanted space. With a project open in Alight, click on the button with a plus icon on the bottom right of the app. Within the menu of new options that appear, there is a list of shapes you can choose from. Tap on any shape to select the perimeter for your cropping. A square or rectangle is the easiest to work with though you may use other shapes like stars or triangles for fanciful edits.
With your desired shape selected, drag a perimeter around the area of the image or video that you would like to keep using your finger. Everything outside of the green shape you created will be removed from the display when you hit the crop button. After making any final adjustments to the boundary, select which layers you wish to apply to the crop. Your project layers are listed on the left of the app screen. Tap on each layer to include it within the crop. Once everything is finalized, tap the button labeled crop that appears above the project viewer. You should now see only the area that you designated when dragging the mouse.
Creating a project with multiple layers in Alight Motion
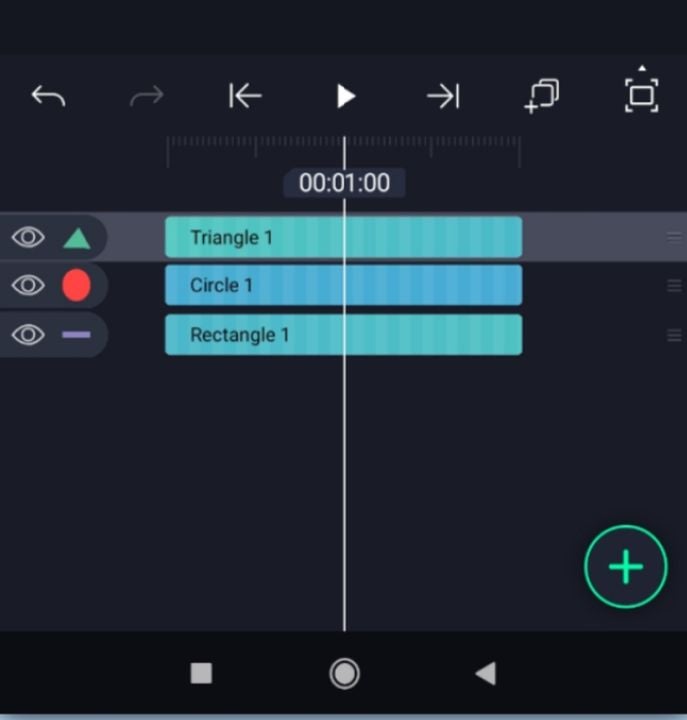
If you do not already have a project with multiple layers, you can make one in just a few minutes. Open a blank project in Alight Motion. You can do this by tapping the plus button and selecting “create new project”. Next, tap on the plus icon again to see many additional options, including a bunch of shapes to choose from. Tapping a shape will add it to your project and create a unique layer for it. Create two more shapes so that you have three total layers for the next section.
Moving layers up and down
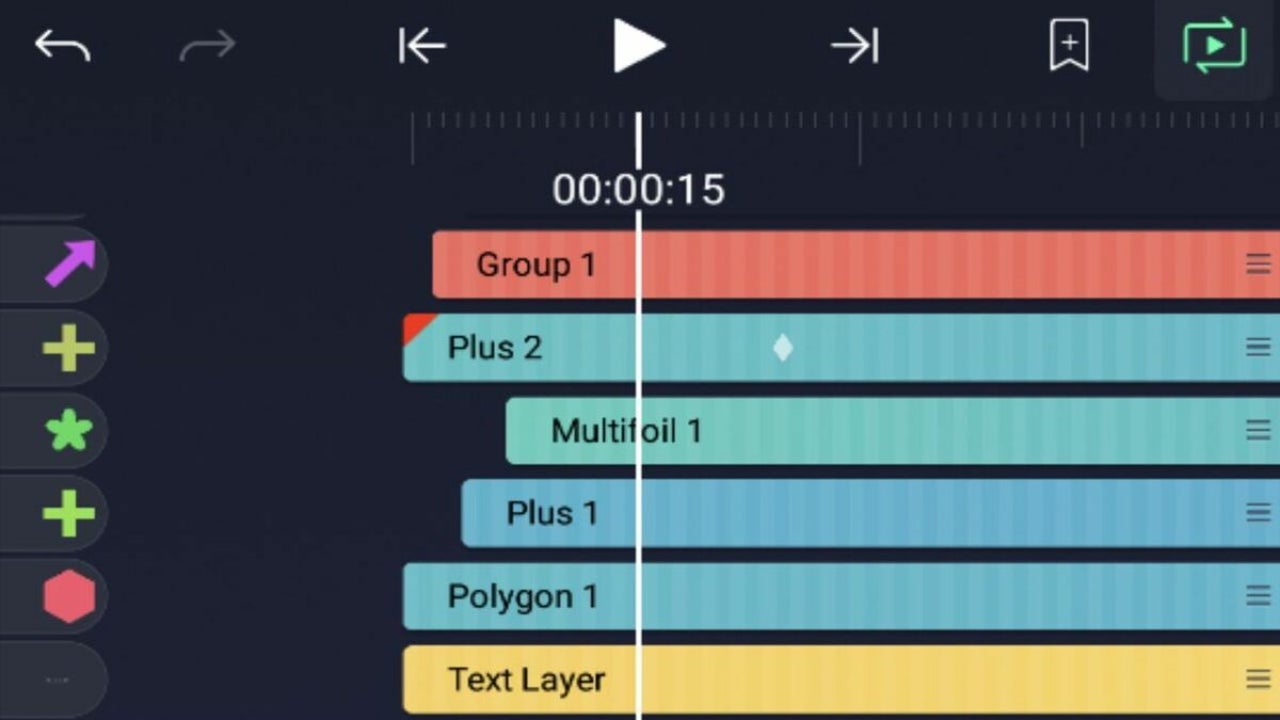
The ability to position each layer allows you to reconcile every part of an image while animating it. To move a layer, go back to the timeline of your project by closing the plus button menu. The timeline is the main screen that shows each layer and displays where it appears within the video clip. To select a layer for moving, place your finger near the far right of the layer in question. Tap and hold the button with three dots that appears when your finger is in the correct spot. Drag your finger to select each of the layers you would like to move. Using the example from the previous step, select all three layers by dragging your finger.
With each layer highlighted in blue, simply tap on the layer you wish to move, and drag it up or down until it is in the desired slot. The top layer will be the first visible element on the foreground surface, and the bottom layer will be the deepest background component.
Doing more with mobile video editing
Alight Motion is great for graphic designers who work with simple animations and short video clips. However, your longer video projects will require the full editing treatment. Luckily, there are several effective video editing solutions for Android devices. One of the best mobile applications for augmenting your clips is Video Star. By combining apps like Alight Motion and Video Star, you can make professional quality clips anywhere in the world.

You may also like
 News
NewsAfter two decades of waiting for it, this medieval game that fans kept asking for is back
Read more
 News
NewsWe do not lose faith in the adaptation of 'One-Punch Man'. The project is still going strong, although we will have to wait
Read more
 News
NewsKeke Palmer will star in the adaptation of this 1980s movie
Read more
 News
NewsIf you're a fan of Yellowstone, you can't miss this period series that just premiered on Netflix
Read more
 News
NewsThe surreal stories of Chuck Palahniuk will return to the big screen with this adaptation
Read more
 News
NewsThe director of 'Wuthering Heights' wants it to be the 'Titanic' of a new generation
Read more