How To
How to write your first Lua script on the Roblox platform
- January 9, 2018
- Updated: July 2, 2025 at 6:41 AM
On the Roblox platform, content designers use the scripting language known as Lua to engineer their games. Lua is a lightweight programming language that can be embedded into games, and it also allows Roblox players to create interactive content within their own individual games.
We’ll go through the basics of Lua here, and then we’ll give you some recommended resources so you can really get started creating your very own functional Roblox game.
How to write your first Lua script
What is a script?
A script is a series of instructions that a program follows to produce a desired output. In order for the program to give these instructions, you must instruct the program in words it can understand – in the case of Roblox, the program understands Lua – so that it can carry out your instructions.
Think of it in the context of a television show – the actors read from the script, which is effectively instructions handed down to them by the show’s producers, to produce the desired output: a television show. Writing a script in Roblox is exactly the same as this; you are writing a script that the program reads and then acts accordingly.

Where to begin
The most challenging part of learning a new programming language is figuring out where to begin. Each developer has her own method, but starting with the very basics can’t hurt, especially if you are completely new to programming.
Lua is a very powerful language. To give you an idea of what you can do with it – and to show you some code in practice – we’re going to create a brick (or a part in Roblox speak) that kills your player when it is touched.
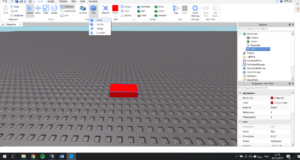
Fire up Roblox Studio and navigate to your place. When you have loaded in, insert a part using the Part tool and then highlight it.
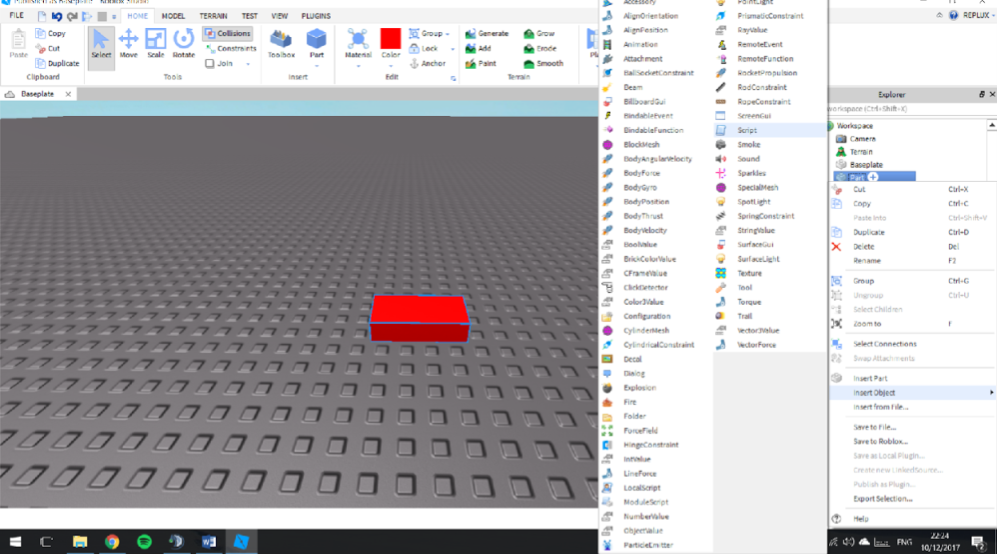
Now, to add a script to your part:
- Highlight the part (or model or object).
- In the Explorer on the right-hand side of Roblox Studio, right-click the highlighted Part.
- Navigate to Insert Object and then press Script.
- This will open a new tab called Script, which will contain the following code:
print(“Hello world!”)
Hello world! is a simple program used to display the text Hello world in an output; it is the method used by all programming languages to illustrate the basic syntax of the individual programming language in question. For this tutorial, you can ignore this and delete it from your script
5. In the now-empty script file, type the following line of code:
function onTouched(part)
This is called a Touched event and is used to detect when a Humanoid (Roblox character) limb comes into contact with the part. When the Humanoid limb touches the part, the Touched event “fires” and executes the rest of the code.
We must now define a player to kill. That player will be the Humanoid that touched the brick. Type the following code:
local player = part.Parent:findFirstChild(“Humanoid”)
This line of code tells the script to define the player as the Humanoid that touched the part.
Note: Don’t worry about what part.Parent:findFirstChild means, as this is something you will learn in time. In basic terms, the Parent is the part, and the Child is the Humanoid Roblox character; the player becomes the Child of the Parent when his or her Humanoid touches it. The script then stores the player locally until all the script’s events are carried out.
Finally, we need to tell the script that when the part is touched, it must cause the player to die:
if player~= nil then
wait (0.001)
player.Health = 0
end
end
script.Parent.Touched:connect(onTouched)
First, we use an if statement to check that the player ~= nil. In other words, the script is checking that “player” exists. In Lua, ~= means “does not equal” or “is not equal to.” If player ~= nil, then a Humanoid must have touched the brick, and the rest of the script can be carried out.
The script then pauses for a very brief moment before killing “player” by setting its health to 0. We then use end to stop the script; if we did not do this then the script would loop and kill the player repeatedly.
Your script file should look like this:
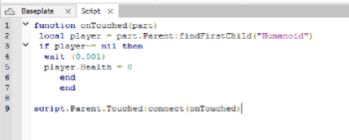
Test out your code by pressing the Play button and walking into the deadly part. If you’ve done everything correctly, your character should meet its demise:
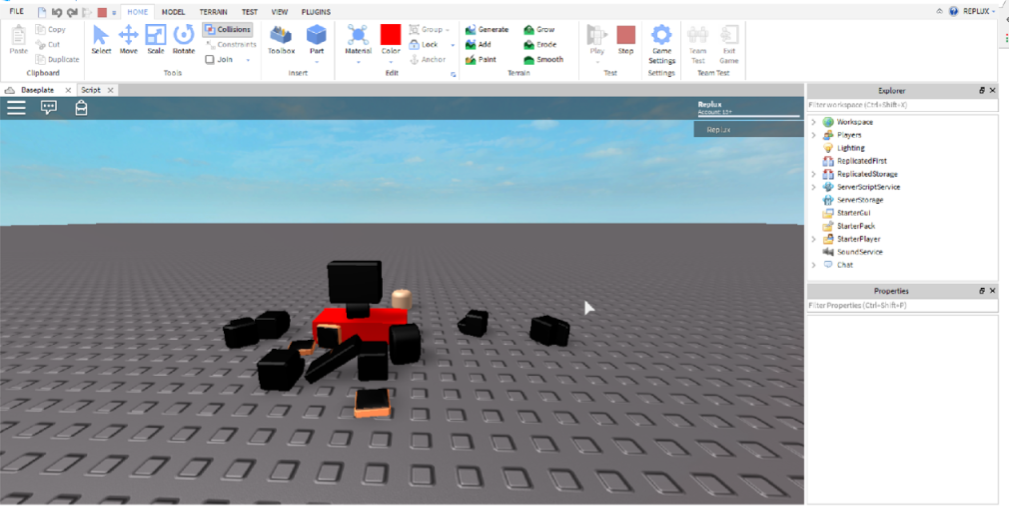
Congratulations, you’ve executed your first script!
Where to go from here
The purpose of this article is to give you a practical example of Lua in action. It is a very simple, user-friendly language that is versatile and great for people who are completely new to programming.
The Roblox Wiki has some fantastic resources to give you more on the basics of Lua scripting. If you’re serious about developing a game on the Roblox platform, it might be worth investing in a beginners’ book such as this one by Douglas Snipp. The official Roblox YouTube channel even has a video series that takes you through the basics. And there are plenty of other videos out there aimed at developing basic skills to an intermediate or advanced level.
Learning a programming language is no easy feat, and there is no proven way to do it. Everybody has their own learning methods and styles, and you need to find out what suits you as an individual. But if you take time to look at the above resources and learn from them, you will be able to find your comfort zone and take it from there. Good luck!

Latest from Softonic Editorial Team
You may also like
 News
NewsThe actress Grace Ashcroft, the protagonist of Resident Evil Requiem, has not finished with video games
Read more
 News
NewsMarathon has had the help for its narrative from the creators of one of the most fascinating indie games in recent years
Read more
 News
NewsLeonardo DiCaprio was inspired by his childhood for his role with which he almost won an Oscar
Read more
 News
NewsDisney+ renews the dystopian thriller that everyone is talking about for a third season
Read more
 News
NewsBaby Steps had two crazy influences: a custom map from Mirror's Edge and a video of a Japanese skater
Read more
 News
NewsAccording to the CEO of Nvidia, everyone is wrong about DLSS 5: it actually looks good
Read more