How To
How to add free sound clips to your audio project

- August 31, 2018
- Updated: March 7, 2024 at 5:46 PM
Adding clips from Freesound.org to your audio composition might sound like it will take a lot of research, finesse, and interminable digging to find and reformat just the right music or FX. Thankfully this is not the case; the process is quite simple and 100% free.
All you’ll need is the help of Freesound, one other free site, and your choice of audio editing software. We’d recommend Audacity or Free Audio Editor as neither of them will cost you a penny.
How to add Freesound clips to your audio project
1. Select your audio
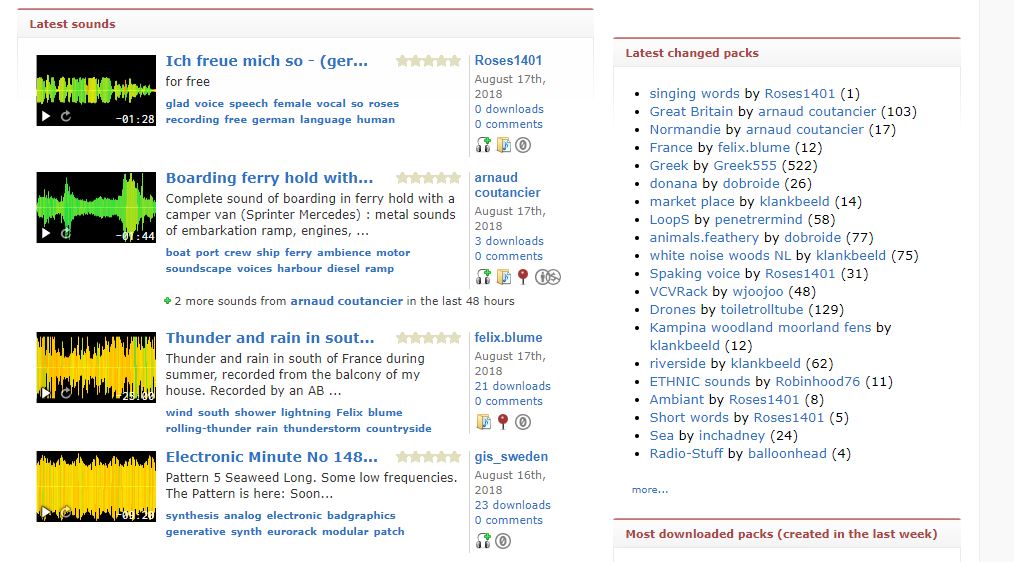
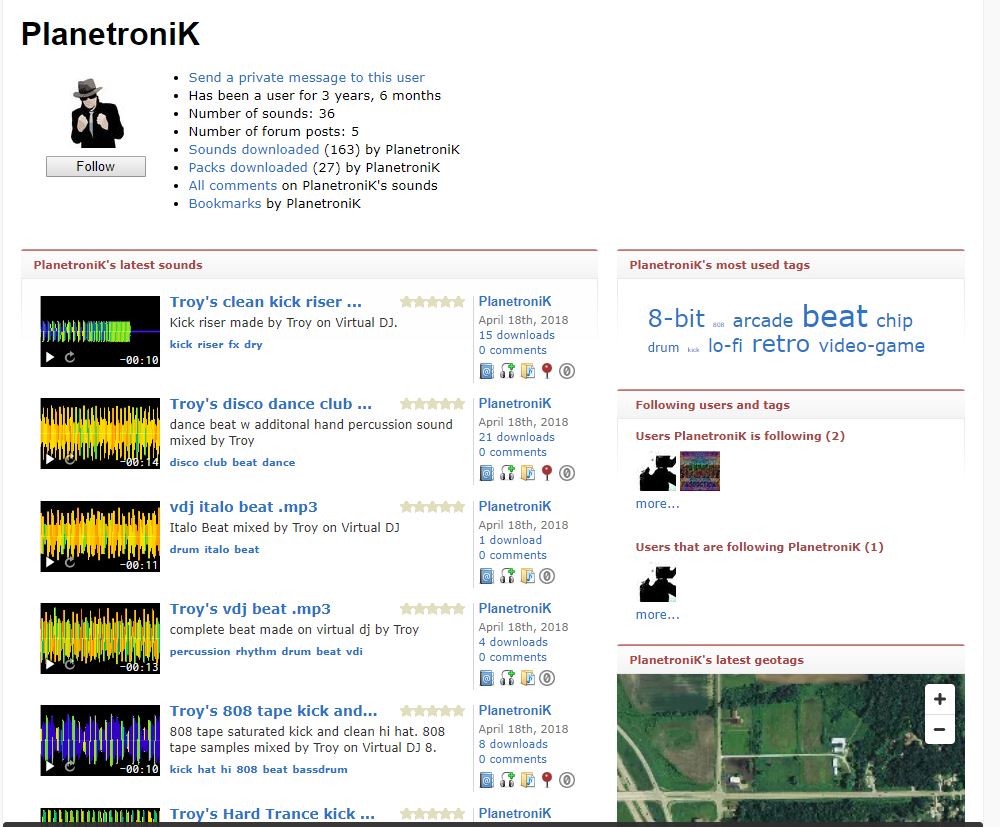
Straightforward enough! Once you’ve made a free account on Freesound, you’re free to browse and preview to your heart’s content until you find that perfect clip. Once you’ve got it, click on it and download it.
Be sure to put the file somewhere easily accessible, like a folder right on your desktop. Don’t forget to leave a ‘thank you’ comment on the uploader’s page, and to credit their work in your final product!
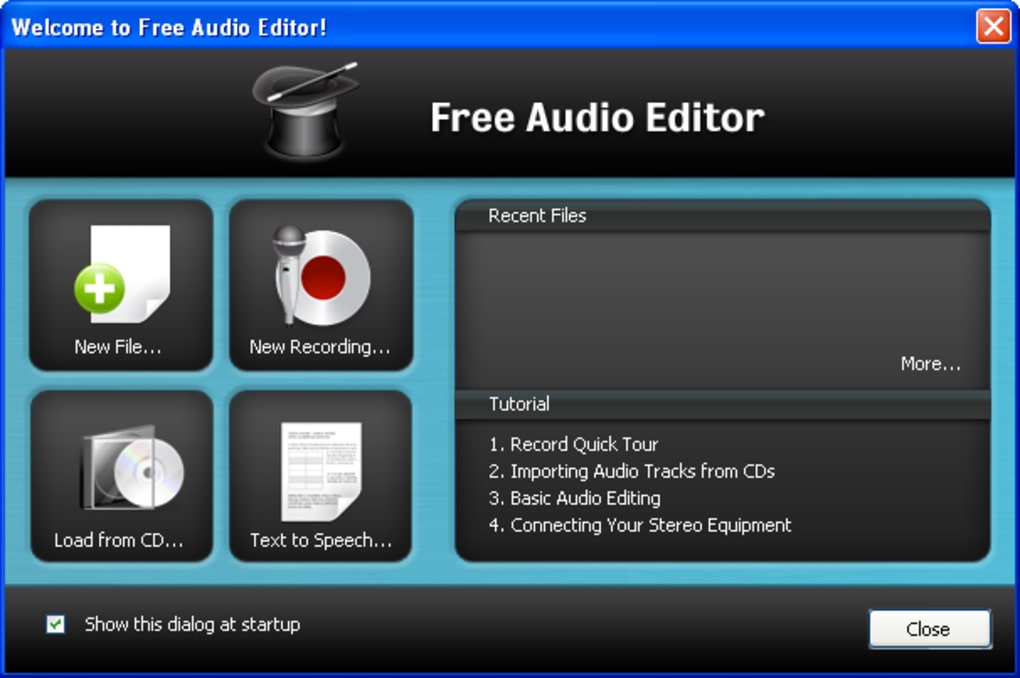
2. Open your project
Boot up your choice of audio editing software. For the sake of argument, we’ll say you’ve chosen either Audacity or Free Audio Editor. Remember, they’re both free!

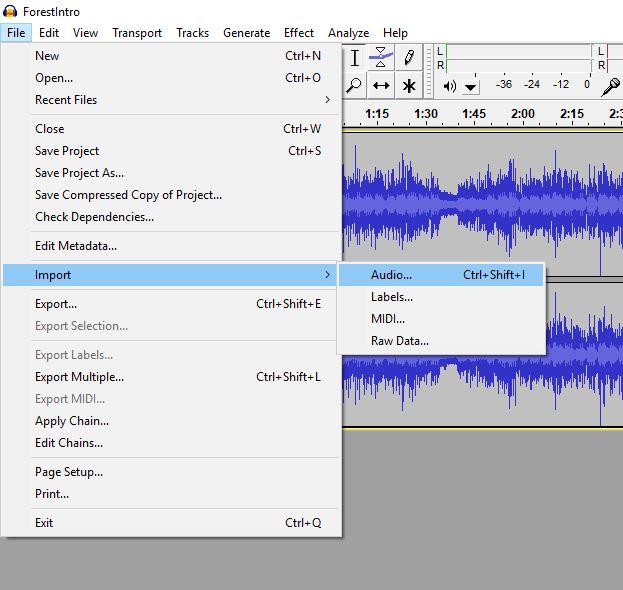
3a. Import the new file with Audacity
Audacity: If you’ve chosen Audacity, you’ll have a little more control over your work since you’ll be able to upload separate tracks. Once your main project file is open, go to File > Import > Audio and navigate to the folder where you dropped the new clip from Freesound. Just click ok and it will appear as a new track!
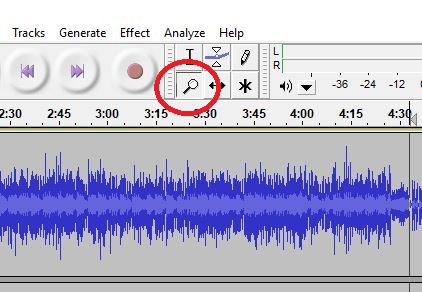
Lastly, you’ll need to line up your audio clip correctly with your main track. Find the precise spot on your main track where you’ll want the new audio to be. The zoom tool is your friend here, and can be activated by clicking the magnifying glass icon next to the record button.
Now carefully move your cursor straight down to your new FX track. Click once. Then navigate to Tracks > Align Tracks > Start to Cursor. Now your clip will appear right at that spot.
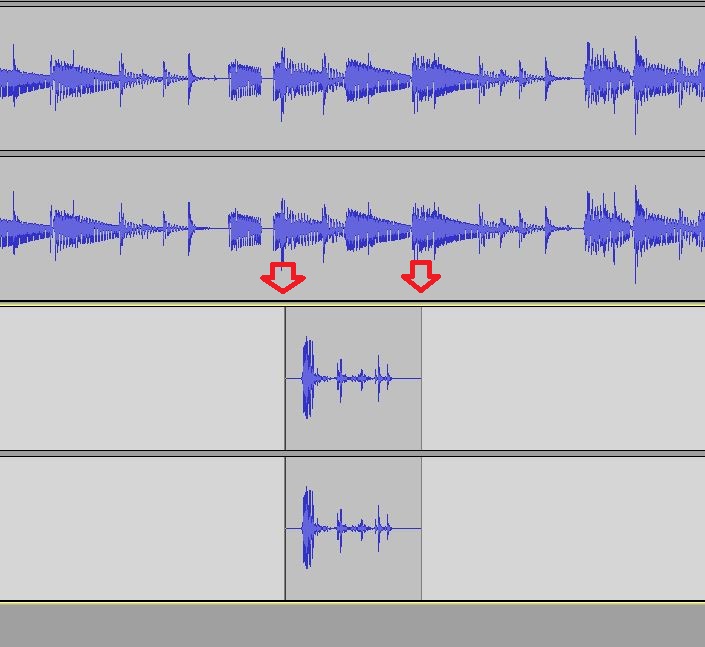
Another method is to simply copy or cut your Freesound clip, pasting it further down on its own track. With either method, be sure to check your work as you go to make sure it syncs up well.

How to use Audacity: 14 beginner tips
REad now ►3b. Import the new file with Free Audio Editor
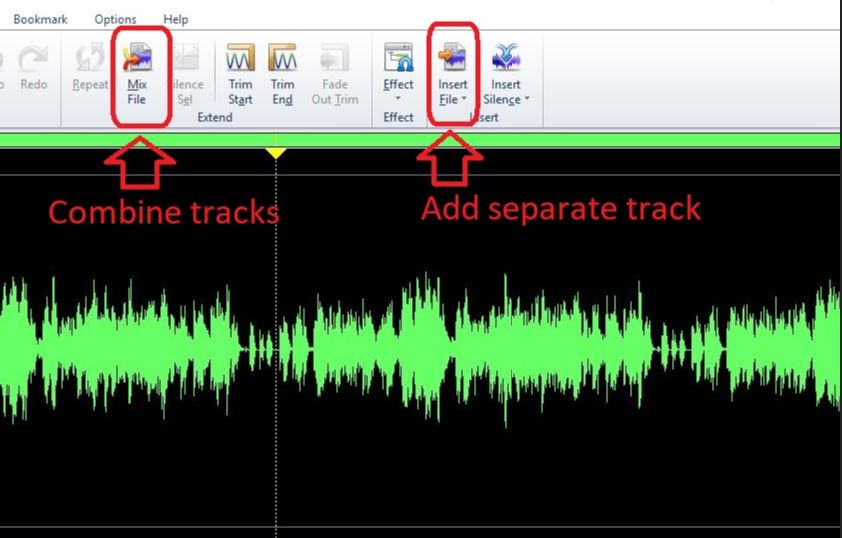
Free Audio Editor: Free Audio Editor will be slightly harder to work with given that you cannot add multiple tracks. Still, it’s easy enough if you’re willing to deal with some trial and error. Open up your main file and then open up your Edit tab up top. You’ll see two options here: Mix File and Insert File. Mix File will add your clip concurrent with the audio of your main track; the two will be playing simultaneously. Insert File will instead add the track by itself, squishing it between the audio around it. This is helpful if you want a complete break of your main file while the new track plays.
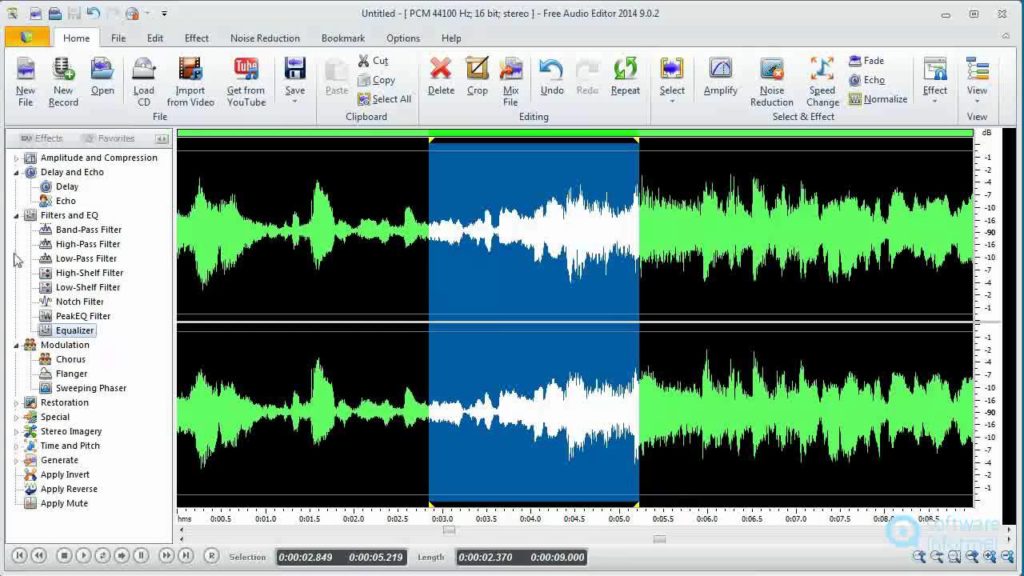
Find the right spot on your main file where you’ll want the new track to come in. Click there. Now choose whether you’ll want Mix File or Insert File and click whichever is better for your purposes. Navigate to the folder where you dropped your Freesound track, select it, and hit OK. Bam. Now it’s embedded in the main file!
How to get the most out of Free Audio Editor
Read Now ►4. Export your finished project
The last step is to export your master file after everything is edited. With either Audacity or Free Audio Editor, you’re going to run into a problem with this step: Both programs will only let you export as a .wav. Ugh.
Luckily there’s an easy way to convert your file format, and it’s totally free. Save your file as a .wav like it says. Be sure to save it to an easily-found location, like the folder where you placed the new Freesound clip. Now go to this free website. Media.io is a great free resource for changing file formats.
All you need to do is click where it says “add your files” and then navigate to the .wav you just saved. Select your file and hit ok, then choose what you want to change the file to via this drop-down:
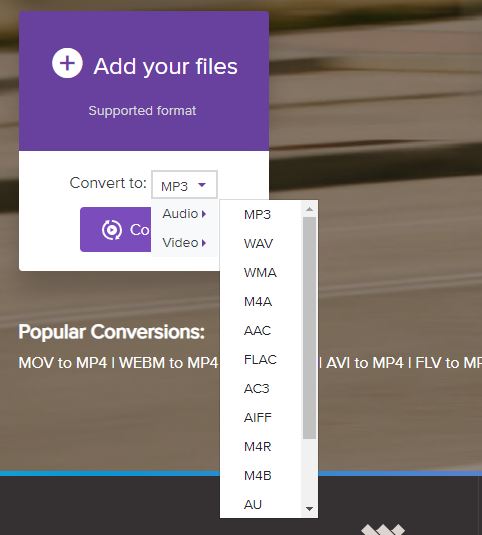
Hit convert and you’ll magically have your finished file in whatever format you like. This is especially useful if you want to send your file over email, for example, as .wav files are on the larger side.
And that’s it! You’ve successfully added a Freesound clip to your composition and saved it as a new format. Congratulations!

You may also like

Upcoming EV Launch Positions Japan as a Key Player in Competitive Electric Vehicle Market
Read more

Elon Musk’s Powerwall 3 Revolutionizes Energy Storage
Read more

Nissan Launches Affordable N7 Electric Sedan in China
Read more

Pre-Orders Open For Kia’s PV5 With Impressive 249-Mile Range
Read more

This Pixel feature is great if you have allergies
Read more

Why Microsoft’s new Phi-4 reasoning models are so important
Read more