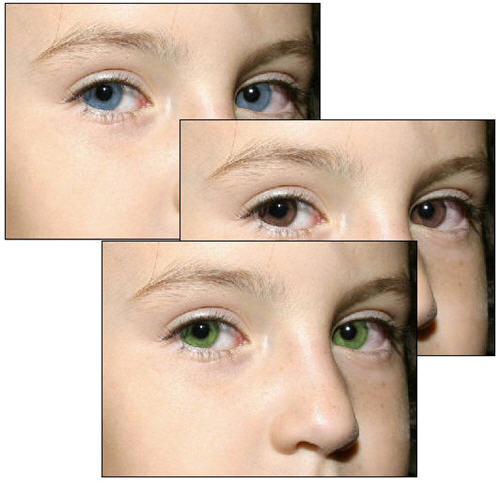
After changing hair color last week, I thought it was time for a more radical physical change: something you couldn’t easily change in real life (unless you use colored contacts) and that really gave a new twist to anyone’s appearance. In other words, I’m going to show you how to change eye color in Photoshop. Want to see how would you look like with Paul Newman’s or Angelina Jolie’s eyes? Follow this easy tutorial and see for yourself.
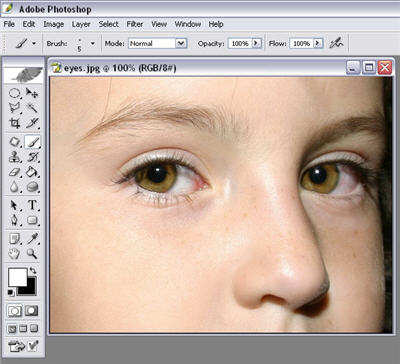
1. The first step is obviously opening the image you want to work with.
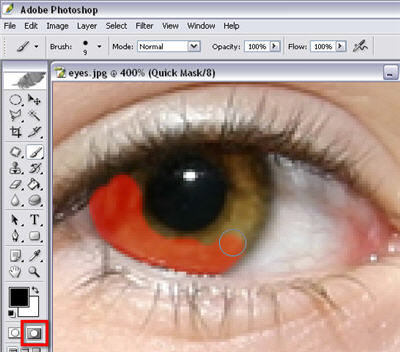
2. Now go into Quick Mask Mode by clicking on the marked button in the screenshot, grab the Paintbrush tool and start painting the areas you want to colorize (i.e., the eyes). Zoom in the picture to work more comfortably, and change the brush size to reach smaller dots.
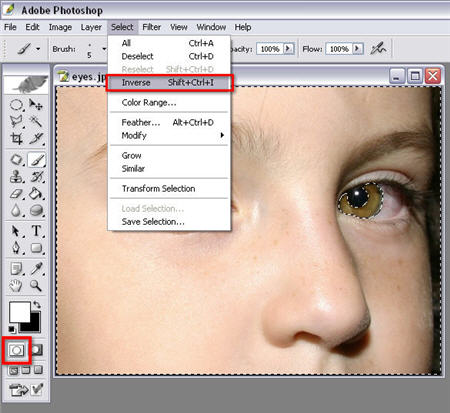
3. When you’re finished coloring the eyes, switch back to Normal Mode and you’ll see the whole photo is selected. Invert the selection in the Select > Inverse menu and then only the eye area that you painted will be selected.
4. Now create a hue adjustment layer (either go to Layer > New adjustment layer > Hue/Saturation or click on the yingyang-style button in the Layers palette and select Hue/Saturation). Tick the “Colorize” option and start playing with sliders until you obtain the perfect eye color.

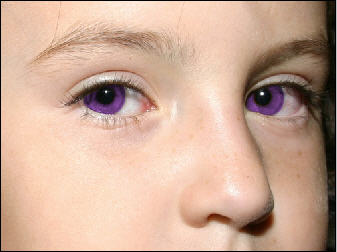
You can try to make it look as real as possible, or forget about realism and select the weirdest color possible. Who hasn’t dreamed of having purple eyes?