How To
How to color correct amazing night videos in Premiere Pro
- February 4, 2022
- Updated: March 7, 2024 at 4:55 PM
High contrast, varying light sources, and video noise account for the biggest obstacles when it comes to capturing night footage. Fortunately, Adobe Premiere Pro offers some of the most advanced color correction effects available in the consumer and professional markets.
Adobe makes color correction easy by providing effects and tools that allow you to fix video captures directly on the timeline. They work just like standard effects, except Adobe’s color effects allow for fine color and luminance corrections to ensure vibrant, matching footage while optimizing your camera’s dynamic range. Below, we explain how to grade your night stock for optimal results.
Start by enhancing your night footage in Adobe Premiere Pro
Capture your best night footage
Proceed to upload the nighttime stock to your hard drive before launching Adobe Premiere Pro.
Create your first Adjustment Layer

Once you have the project set up in Premiere Pro and the clip is in your timeline:
– Navigate to File at the top left and drop down
– Scroll the mouse to New
- Find Adjustment Layer and Open
Locate the Effects Control tab
Find the Effects Control tab on the clip you’re working within the timeline and right-click on the effect.
Select and enable the Find Edges effect
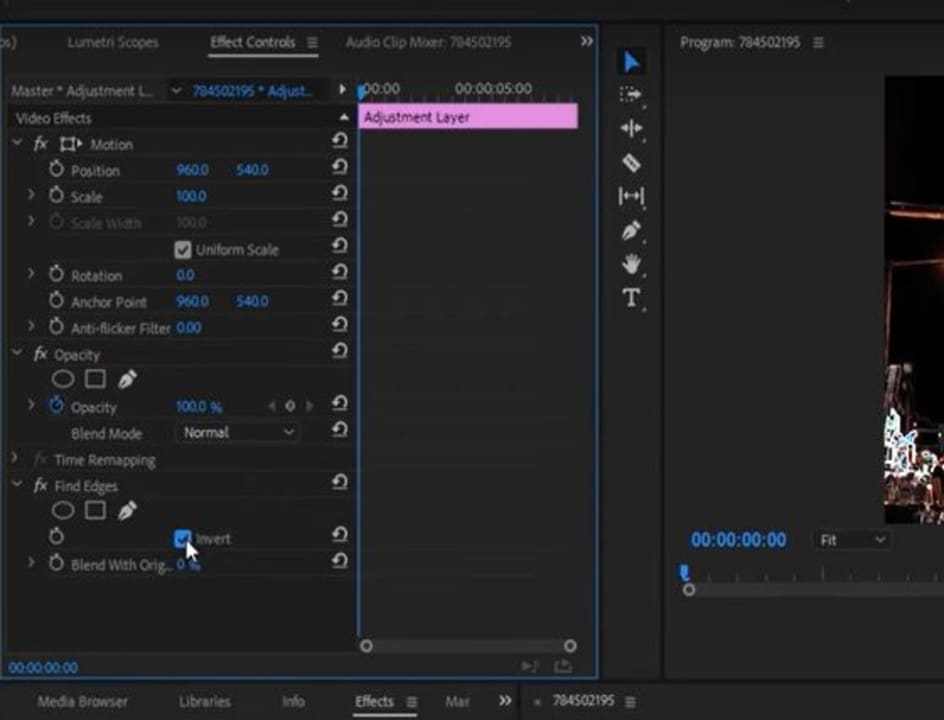
At this point, you’ll see multiple effects options. The Edges Effect falls just beneath the standard Video Effects and Stylized Effects. Drag and drop this effect onto the new Adjustment Layer you’ve already created. Now, select the box adjacent to Invert.
Locate Opacity in Effects Controls
Underneath Opacity, locate the Screen Mode. Switch from Normal to Screen Mode.
Enable Tint
Return to Effects. Find Tint and apply it to the new Adjustment Layer by dragging and dropping.
Navigate to Map White in Premiere Pro
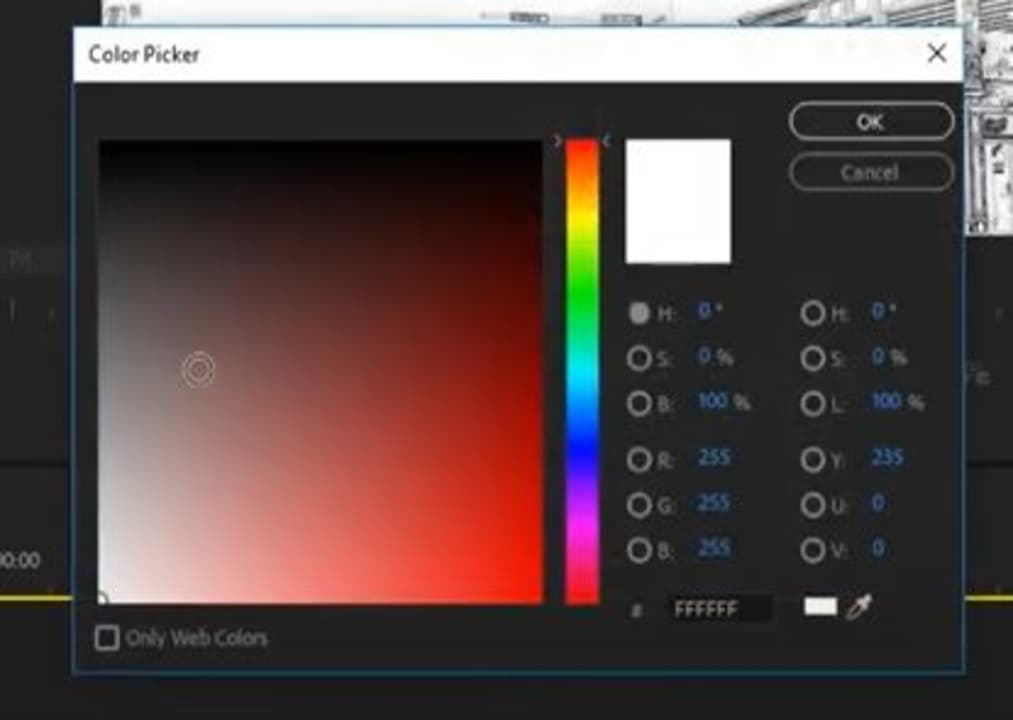
Under effects controls, locate Map White. Now, pull up the Color Picker tool to select a particular color.
Blend the image
Under the Find Edges effect, look for an option called Blend. Next, Blend the edges with the original image with a setting no greater than 20%, so you don’t lose any fine details.
Use the Camera Blur effect
Drag and drop the Camera Blur effect into the night footage clip on your timeline. After applying this effect, bring the Opacity down somewhere closer to 80%.
Create a copy of your Adjustment Layer
Once you’ve duplicated you layer, delete the Camera Blur. Find Tint again, and set it to a color on the red spectrum to enhance the image. In the duplicate layer, lower Opacity to below 20%.
Now you can grade your nighttime video
Remember, if you’re grading an image for the big screen, the above grading procedure in Adobe is far more advanced. But if you’re simply creating online content or you need a quick insert for your video, follow these easy steps:
1. Find Lumetri Color
In the basic correction effects, open Lumetri Color and apply LogC2Rec709.
2. Adjust color and contrast
At this step, you can quickly adjust highlights, shadows, whites, and blacks along with your white balance until the image improves.
3. Choose the Fuji Eterna 250D effect
Continue to manipulate with your correction settings to Fuji Eterna 250D effect until the video looks vibrant.
In closing
Color grading for professional video is an advanced procedure and specialized career in itself. There are many, many more color correction features to unlock in Adobe Premiere Pro. However, the above techniques offer a relatively easy and fast way to produce fantastic-looking night shots.

You may also like

Number Of Dc Fast Charging Ports Reaches 55,580 Amidslower Growth
Read more

It seemed like an impossible enemy, but it was actually the smartest anti-piracy system we’ve ever seen in a video game
Read more

Rising Tariffs and Political Fallout: Tesla Faces Unique Challenges in the EV Market
Read more

How to translate text directly from your phone’s keyboard
Read more

Meet the Buick ELECTRA GS: A Bold Step into the Electric Future
Read more

New Volkswagen ID.UNYX 06 Features Enhanced Tech and Impressive Range
Read more