How To
How to Compress a PDF File Using Adobe Acrobat in 5 Easy Steps
- November 29, 2022
- Updated: July 2, 2025 at 3:18 AM
While PDFs are naturally smaller than their .docx counterparts, they can sometimes become a bit too large to send in an email or store on your PC.
Luckily, Adobe Acrobat offers an easy way to compress your PDFs further and allow you to get them down to a manageable size, and we’ll show you how in this guide.
How to Compress a PDF File Using Adobe Acrobat
You will need either the Acrobat or Pro versions of Adobe. Now, let’s get started!
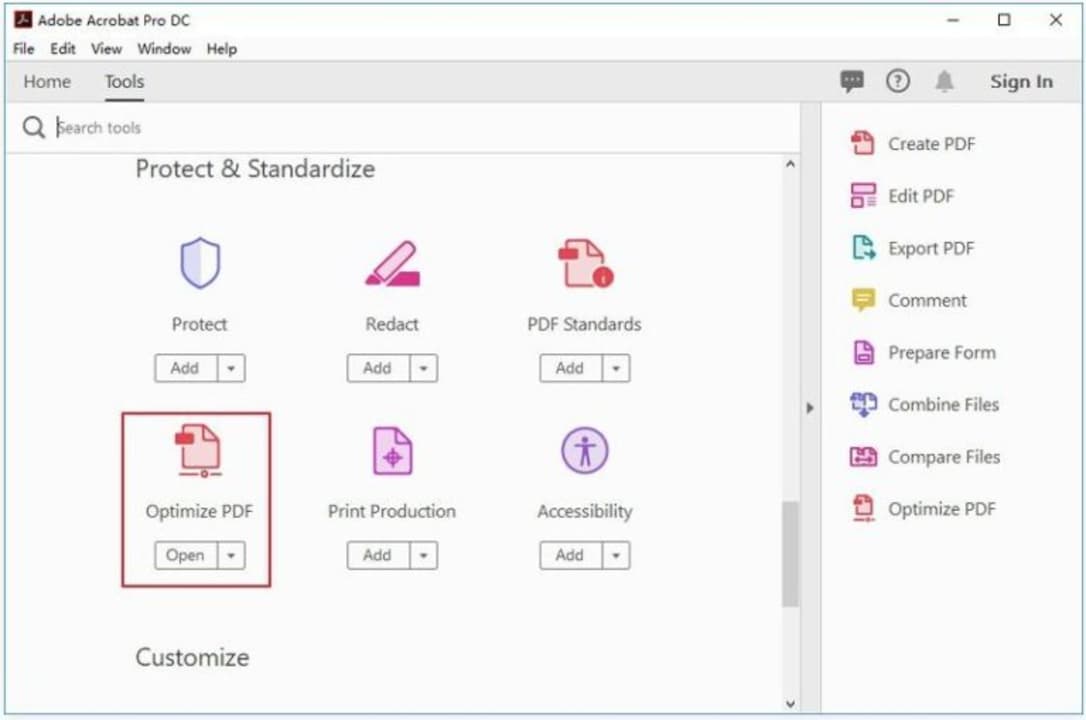
Open Tools
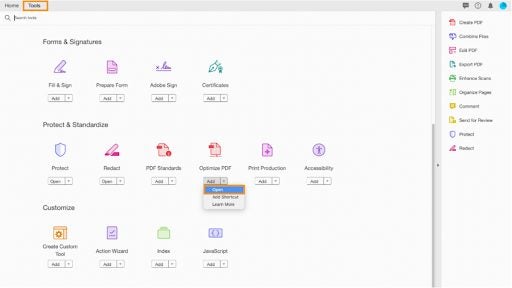
Open up your Adobe Acrobat and select Tools from the menu at the top of the screen. Then select the dropdown arrow under Optimize PDF and choose Open.
Access file
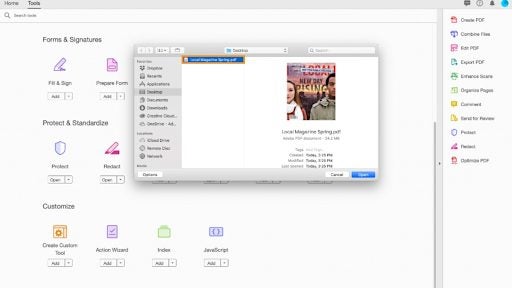
In the box that pops up, select the PDF that you want to compress and click Open.
Reduce size
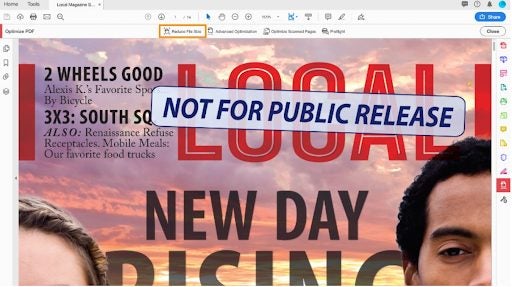
This will open up the PDF with a few new options. Select Reduce File Size from the menu at the top of the screen.
Set the compatibility settings
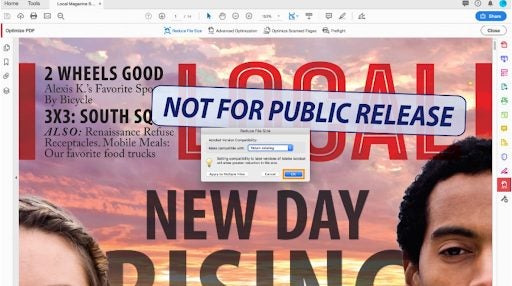
Set your compatibility settings in the popup window; we recommend that you leave it on Retain Existing, though.
Save your file
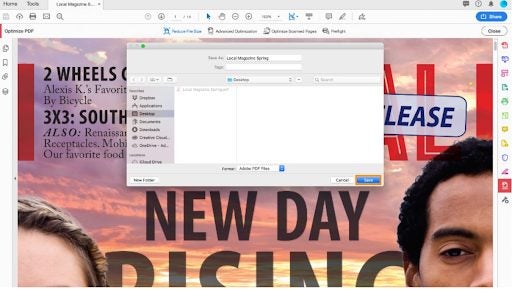
Lastly, save your newly optimized file with a new name to avoid overwriting the older version, or simply overwrite the older version with the new one; the choice is yours!
Honey, I Shrunk the PDFs!
Adobe offers one of the most uncomplicated and most straightforward methods for file compression when it comes to PDFs, and they even provide an online tool for those of us who work with the free version. It’s no wonder that Adobe has managed to retain the crown for PDF file readers for so long when they offer so many ways to work comfortably and efficiently with a notoriously tricky format.
How to Resize Pdf File in Adobe Reader
More tips
Latest from Shaun M Jooste
You may also like
 News
NewsGood news! Generation Z is increasingly going to the movie theaters… unlike the rest of the world
Read more
 News
NewsThe new Tekken champion is Japanese and is 92 years old
Read more
 News
NewsOne of the most successful movies of the year premieres on HBO Max
Read more
 News
NewsNaughty Dog is back at it: they are already crunching for their next game
Read more
 News
NewsPedro Almodovar returns with a new movie that is very Christmas-like
Read more
 News
NewsLarian Studios will hold an AMA to clarify their stance on AI early in the year
Read more