Well, judging by the glorious weather this morning, I’d say that spring is in the air. And we all know what spring means – weddings! If you are planning for the big day, you’ll probably be thinking about a million things you have to do and the million bucks you have to spend. Take care of one of the most important aspects at home – it will save you money and give you a chance to show off your creative side. Why not make your own invitations?
At the low-tech end of the spectrum, you could search for some free templates. Using patterns such as these as a base, some imagination should be enough to create lovely handcrafted invites. There are even some ready to use in Microsoft Word, which is probably the easiest option of them all.
If you want to include a photo or image in the invite, you’re in luck. A lot of photo software can easily be leveraged to make invitations with a personal touch. Try Wondershare Photo Collage Studio (online tutorial here), Belltech Greeting Card Designer or My Photo Calendars + My Photo Cards Software.
Making your own invitations isn’t hard. The software available is very user-friendly and it shows. I used My Photo Calendars + My Photo Cards Software to make a very simple invite. Even spending very little time, I still came up with something charming, so with a little more effort and imagination, you could really make something special. Don’t underestimate the power of the internet for this job – if there’s something people love to write about, it’s weddings, and I was blown away by the amount of advice and tips to be found by simply googling “homemade wedding invitations” or similar.
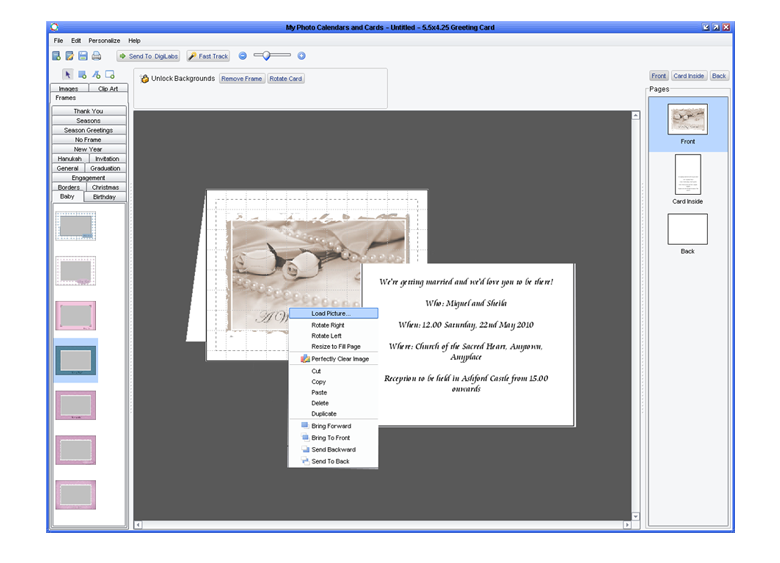
You’ll need to choose your images and write your text in advance. Once you open the program, right-click is going to be your friend – use it to add photos, writing and borders the card. You can navigate the front, back and inside of the invite from the column on the right of the screen and browse additions such as images on the left. Don’t forget that you can also import any of your own images once they have been saved on your hard drive.

Once all the elements are on the card, play around with their placement and editing by dragging and dropping until you are happy. As this is specific card software, you won’t have any resizing problems or scale issues. My Photo Calendars + My Photo Cards Software actually comes with a built-in printing service (paid), but you can also print the invitations yourself – or bring a copy to the print shop for a really professional job.