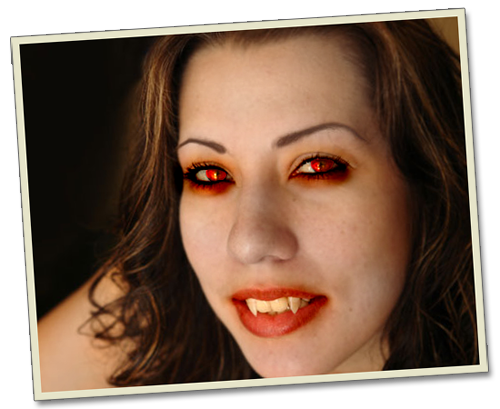
Now that it’s only two weeks to Halloween it’s time to start thinking about costumes. Have you decided yours yet? A ghost, a movie monster, a zombie, maybe a vampire? There are many possibilities to choose from! But if you’re too shy to dress up and hit the street, you can try a virtual costume instead. Follow this tutorial and you’ll learn how to turn someone into a scary vampire with Photoshop. Boo!
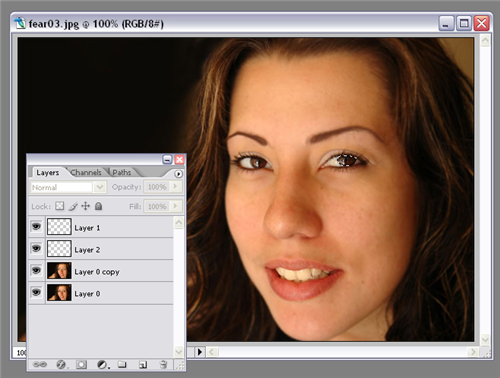
1. Open up the image you want to vampirize and duplicate the original layer.

2. Select one of the eyes, either using the Marquee tool or the Polygonal Lasso, and press Ctrl+Shift+J to copy the selection to a new layer. Do the same with the other eye, and you should have something like this.
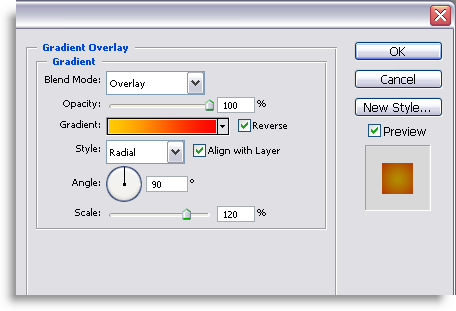
3. Apply a Gradient overlay effect to one of the eye layers. I’ve used these settings but you may try a different configuration.
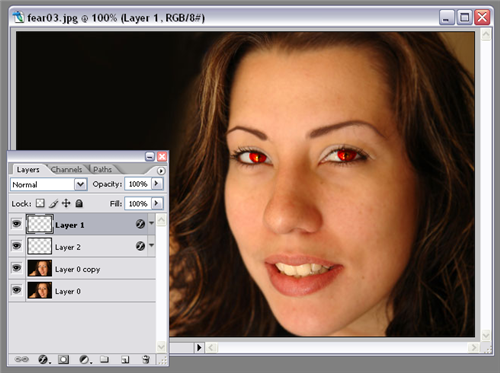
4. Copy and paste the effect to the other eye layer. Whatever settings you used, you should end up with something similar to this.
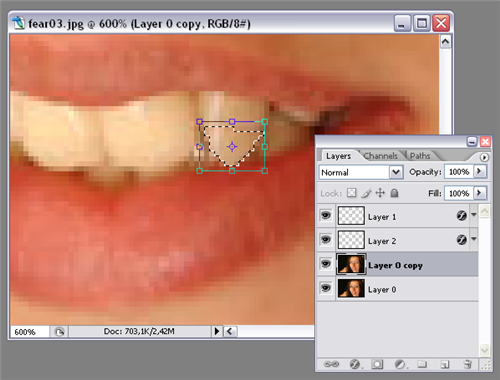
5. Now go the first layer copy (the one you created in the first step) and select a small area on a tooth like the one you see on the screenshot. Press Ctrl+T and adapt it to make it fit the original tooth.
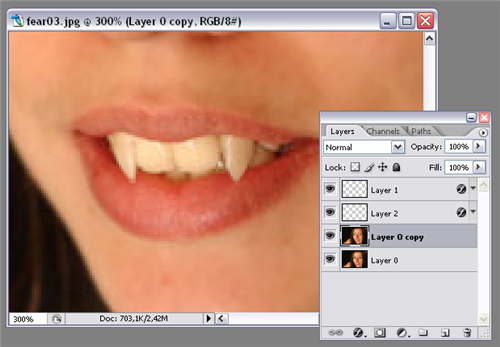
6. Do the same for the other tooth. You may have to use the Blur tool to make it look even more real.
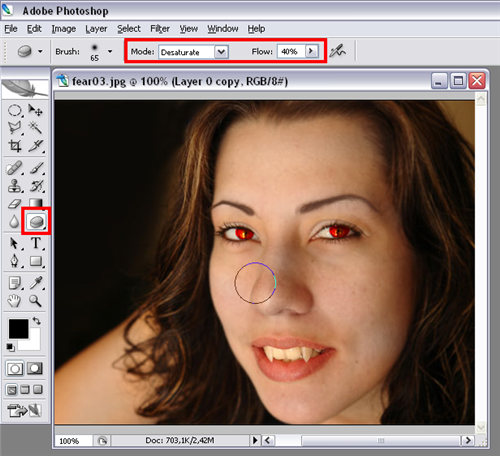
7. Now select the Sponge tool, make sure the mode is set to “Desaturate” and paint all over the subject’s face, avoiding eyes and mouth. Use the appropriate flow percentage so that you get a pale skin, but not a black and white photograph.
8. Finally grab the Burn tool, select the “Shadows” range and paint over eyes and mouth.

9. Here’s your vampire!

