How To
How to use Silhouette Studio for Windows

- July 11, 2022
- Updated: July 2, 2025 at 3:35 AM

Silhouette Studio is a robust software program that integrates with Silhouette® electronic cutting machines. While its main function is to create and send designs to the cutter, the free tool is versatile enough to be used in a variety of graphic design projects. Just keep in mind that you’ll need a Silhouette machine to take full advantage of the software.
If you want an ultra-precise drawing grid and precise cuts, then Silhouette Studio has you covered. To learn how to get the most out of your time, simply follow this beginner’s guide.
Downloading Silhouette Studio for Windows

Since the program is available for both Mac and PC, the first step is to make sure you install the correct file. You can download Silhouette Studio on Softonic and follow the installer prompts for your device.
Setting up your cutting mat page

Before any drawing can be done, you must first set up your cutting surface with the proper dimensions and material. This mat represents what you will physically place into your Silhouette cutting machine.
You can adjust the dimensions by typing a custom number into each field on the far right of the screen. There are also preset scraps such as 4 x 6 that serve as templates for project types such as letters. Next, you’ll need to adjust the width and height of the material itself. If you’re planning to feed a specific material into your cutting machine, be sure to verify the dimensions of the physical paper and enter them accordingly.
Adjusting the grid boundary

To get the best designs possible, you can use the grid settings to adjust the boundaries of your project. Click on the grid icon at the top of the page setup tab used in the previous step to toggle the grid display. When the grid is off, a gray and a red line will appear. Dragging the red line adjusts the cut boundary, and the gray line establishes the print border. Once you have adjusted the boundaries to your liking, turn the grid back on to lock in your settings.
Understanding file types

Silhouette Studio is compatible with three different file formats. The .studio and .DXF files can be used automatically on any version of the software. However, you can only import .SVG files if you have a license for the paid Designer Edition of Silhouette Studio. Opening each file type is as easy as using the file menu. With that said, .DXF files have a few extra options to mull over. The first is the ability to merge with other files. Combining files is a terrific way to pull off complex designs.
You also have the option of filling in your desired color for the printed material. This makes .DXF files the go-to for clothing and other usable items.
Adding text to a design

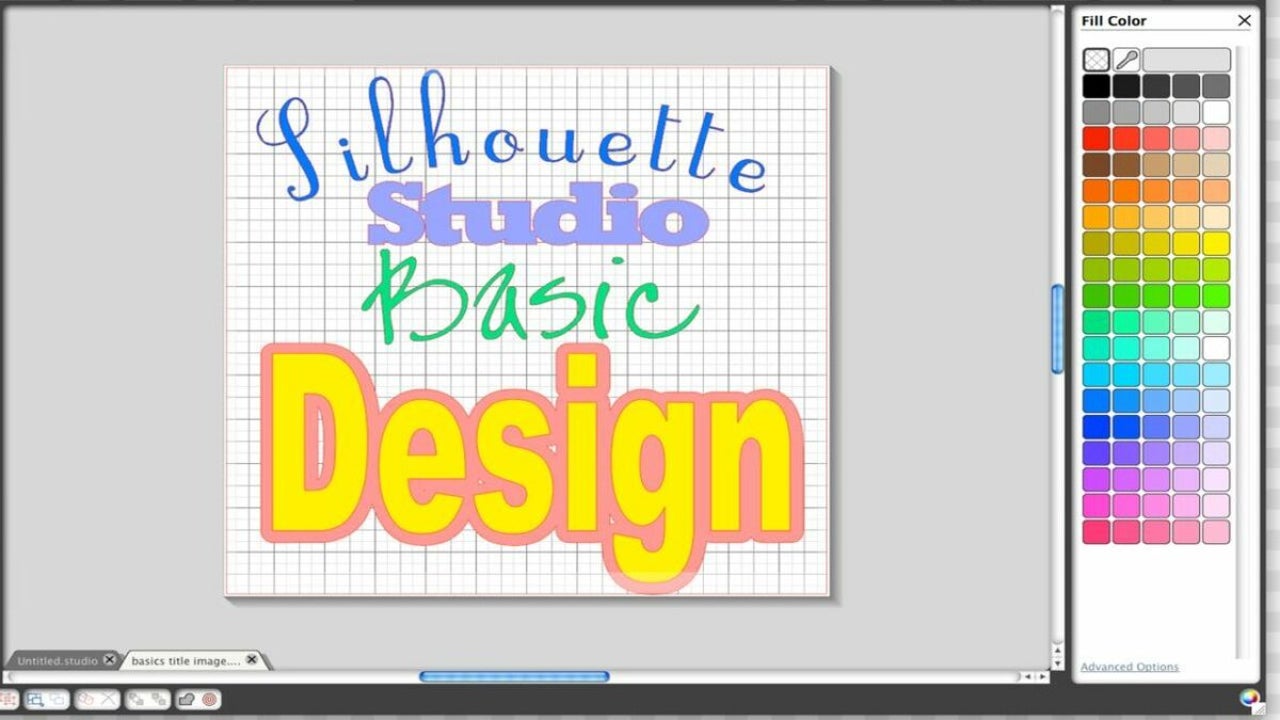
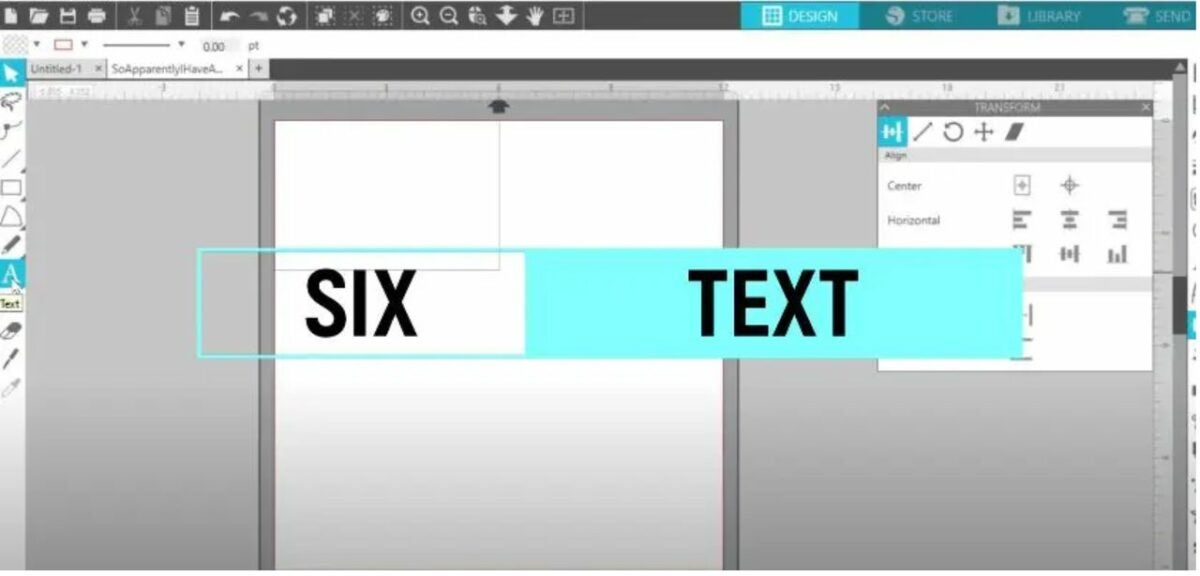
Drawing in Silhouette Studio will feel very familiar if you’ve ever used programs such as MS Paint. However, adding text is done in a quirky manner. Notice all the unused space to the left of the cutting mat? Click on the blank space and begin typing. This brings up the text toolbar on the right side of the mat. The toolbar lets you adjust letter size, color, and font of your text. You can also import new fonts you find online from this screen. Upon adding a new font, restart Silhouette Studio for the changes to take effect. Be sure to save any work before doing so!
After you adjust the properties of your text, you can drag the words as you would any other design element to place the text in any position on the mat.
Exploring other options
Silhouette Studio is a wonderful graphic design program; although, sometimes you need to go beyond what your cutting machine can do. When it comes to digital projects, there are many other programs that do not force you to use specific hardware. A notable example of this is Canva, a completely free graphic design app compatible with most devices. Learn more by reading our guide about how Canva works.
You may also like
 News
NewsSilent Hill f brings a huge update
Read more
 News
NewsThe best action director in Southeast Asia teamed up with RZA and Bob Odenkirk to make this sequel that managed to double its budget worldwide
Read more
 News
NewsIt made 400 million at the box office thanks to its release in China and now it arrives on HBO Max to show why The Planet of the Apes remains an important franchise
Read more
 News
NewsNot even being the CEO of Nintendo America does the American company send you a free Switch 2
Read more
 News
NewsThe creators of John Wick unknowingly copied one of the most famous movies of Keanu Reeves
Read more
 News
NewsIf you want to save on your home electricity, we have a trick: install a Minecraft server in a light bulb
Read more