How To
Microsoft now allows quick removal of USB devices
- April 10, 2019
- Updated: July 2, 2025 at 5:07 AM

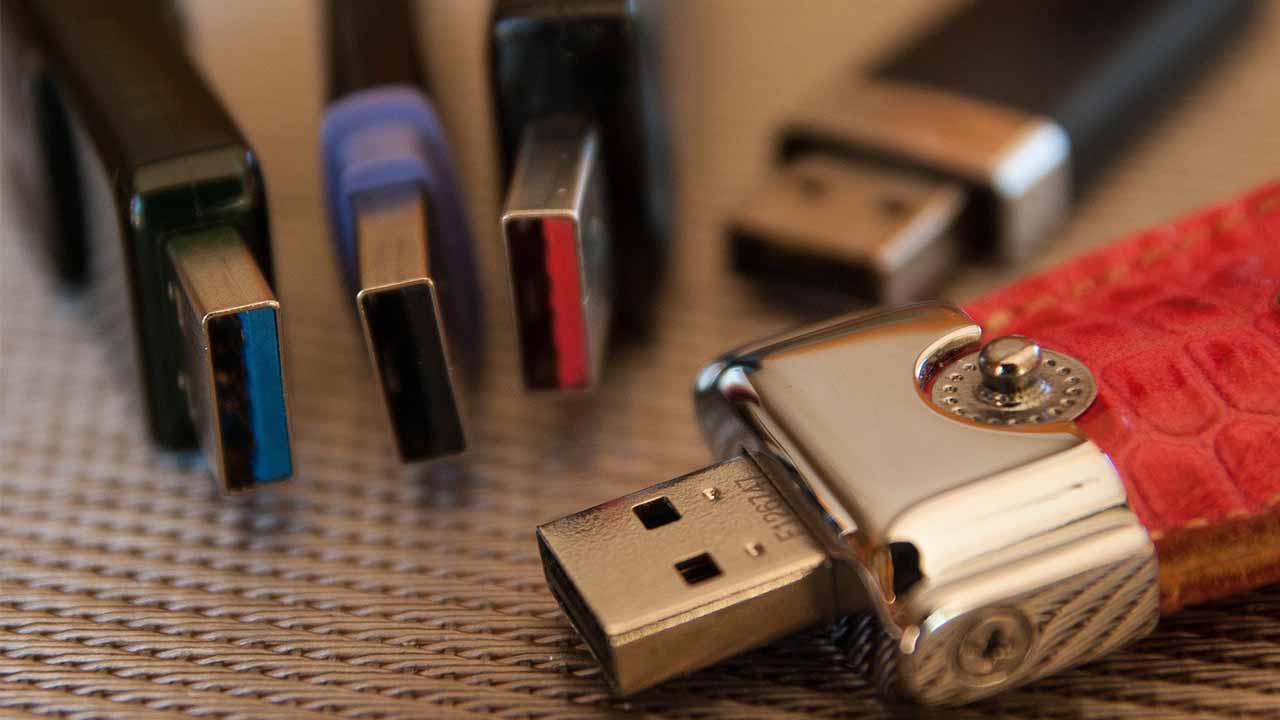
When you think about it, how you eject a USB device from your Windows PC seems like an inconsequential act. And it is. Now, finally, Windows agrees. You’ll never have to “safely” eject a USB device ever again.
Microsoft has changed how you remove USB devices from Windows PCs
Windows policies for interacting with USB devices are changing. These are “Quick removal” and “Better performance” and they dictate how your Windows PC acts towards everything from USB pen drives to Thunderbolt-enabled devices.
How to create a Windows 10 desktop shortcut to use your photos as a screensaver
Read now ►As you’d imagine, the Better performance policy enables your system to prioritize certain actions so that it can operate more smoothly and more quickly. These operations include Windows being able to cache write operations to the external device. What this means, however, is that in order to protect the integrity of the data on the USB device, you need to make sure that all cached operations are completed before you remove it from your PC. You do this by hitting the little USB thumb drive icon in your Windows 10 notification tray and clicking Safely Remove Hardware.
![]()
Again, the secret is in the name of the Quick removal policy. This policy prioritizes being able to safely remove the USB device at any moment. To do this, the policy prevents Windows from caching disk data on the device, which in turn has a negative effect to system performance.
The big change that we’re reporting today is that Microsoft has changed the default policy for determining how your Windows PC interacts with USB devices from Better performance to Quick removal. Thanks to this change, by default, you no longer have to go through the Safely Remove Hardware procedure.
For the forgetful Windows users out there, this is good news. If you’ve ever forgotten to tap the button that allows you to remove your USB device safely, you’ll be happy that, from now on, you no longer have to do it. Not everybody is like that, however, and some may want to change back to the Better performance policy.
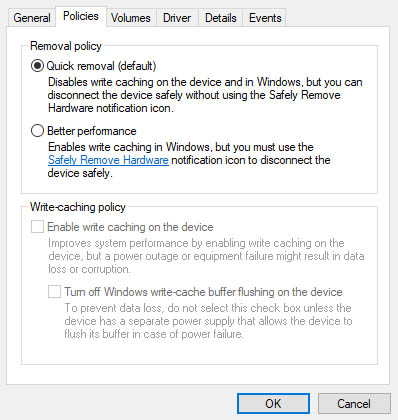
Fortunately, Microsoft has laid out the process for doing just that on a device by device basis, which is as follows:
- Connect the device to the computer.
- Right-click Start, and then select File Explorer.
- In File Explorer, identify the letter or label that is associated with the device (for example, USB Drive (D:)).
- Right-click Start, and then select Disk Management.
- In the lower section of the Disk Management window, right-click the label of the device, and then click Properties.
- Select Policies, and then select the policy you want to use.
Patrick Devaney is a news reporter for Softonic, keeping readers up to date on everything affecting their favorite apps and programs. His beat includes social media apps and sites like Facebook, Instagram, Reddit, Twitter, YouTube, and Snapchat. Patrick also covers antivirus and security issues, web browsers, the full Google suite of apps and programs, and operating systems like Windows, iOS, and Android.
Latest from Patrick Devaney
You may also like
 News
News1 in 3 Android apps have serious API leakage issues, according to a recent study
Read more
 News
NewsThe rise of fake captchas: a new weapon for cybercriminals
Read more
 News
NewsGoogle disables the 100 results per page feature and leaves users stunned
Read more
 News
NewsThe second season hasn't even premiered yet, and Disney+ has already renewed this superhero series for a third one
Read more
 News
NewsIs Hollow Knight: Silksong too difficult? Its creators defend that it is not
Read more
 News
NewsMicrosoft teams up with ASUS to launch ROG Xbox Ally and compete with Steam Deck
Read more