How To
How to Add Extensions to Chrome in 3 Fast Steps
- April 22, 2021
- Updated: July 2, 2025 at 4:08 AM
Google Chrome has a fantastic feature for its web browser that we love using called extensions. You can add apps from the Chrome Web store as you please, giving you more functionality while you search the internet. Adding and removing extensions is as simple as pie, and today, we’re going to show you how to do the former.
How to Add Extensions to Chrome
Before we begin, it’s necessary for us to issue a warning. Extensions are developed by third parties for their programs or apps, and your computer is at risk from malware or other malicious content if you add a harmful one. Ensure that you read the customer reviews before you add any extension to Chrome.
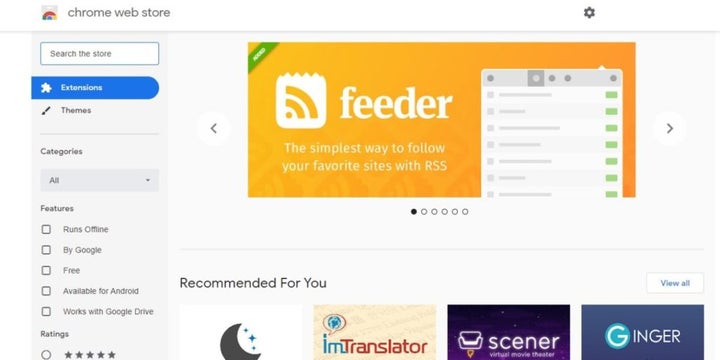
Step 1: Find your extension
To start your journey, head to the Chrome Web store and find an extension you’d like to add. You can insert a name in the search bar, and the site will look for all related content. If you know exactly which app you want to add, it’ll make the process much easier.
Step 2: Add the extension
Once you’re happy with your selection, you can click on “Add to Chrome” to install it. It may take a few moments for the file to download and then install into the web browser, so practice some patience.

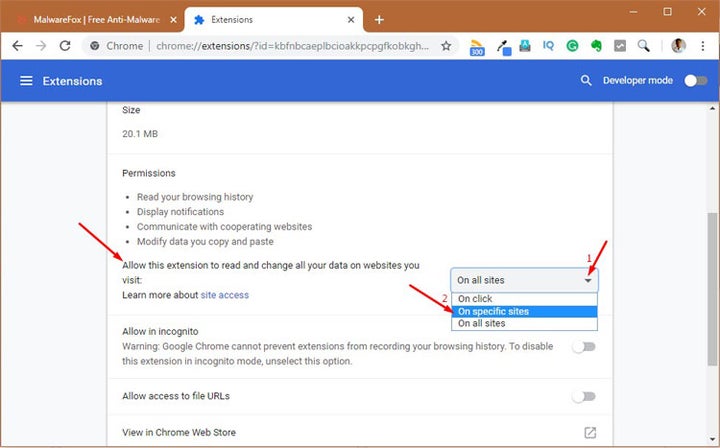
Step 3: Approve permissions
In some situations, you may need to provide Chrome or the app specific permissions. Read through these carefully to ensure that you aren’t allowing it access to your private data or letting it install harmful files. You should only approve it if you feel completely comfortable with what it will do once installed.
Extend Chrome’s functionality
It’s undeniable that Chrome extensions make your user experience much more pleasant. If you have a Grammarly account, you can install the app onto the web browser to check your spelling while you write your articles. You can also add a VPN if you want to watch online movies without any prying eyes checking your activity.

Latest from Shaun M Jooste
You may also like
 News
NewsEven the Louvre Failed at Cybersecurity — Here’s How You Can Do Better
Read more
 News
NewsAI has been responsible for 50,000 layoffs in 2025: what can we expect in 2026?
Read more
 News
NewsValve will stop producing one of its most popular models of Steam Deck
Read more
 News
NewsA Korean thriller that promises to take over this Christmas arrives on Netflix unexpectedly
Read more
 News
NewsThis Transformers game will disappear from Steam at the end of the year, but you can buy it at a ridiculous price before that happens
Read more
 News
NewsOne of the great directors in the history of cinema has passed away
Read more