How To
How to add or remove inbox tabs in Gmail
- November 5, 2018
- Updated: July 2, 2025 at 5:47 AM
These days, it seems like Gmail is continually updating its appearance. That can make it tough to remember how to add tabs that you’re missing or remove tabs you no longer want. Thankfully, we’ve got you covered. Read on for simple step-by-step instructions.
How to add or remove inbox tabs in Gmail
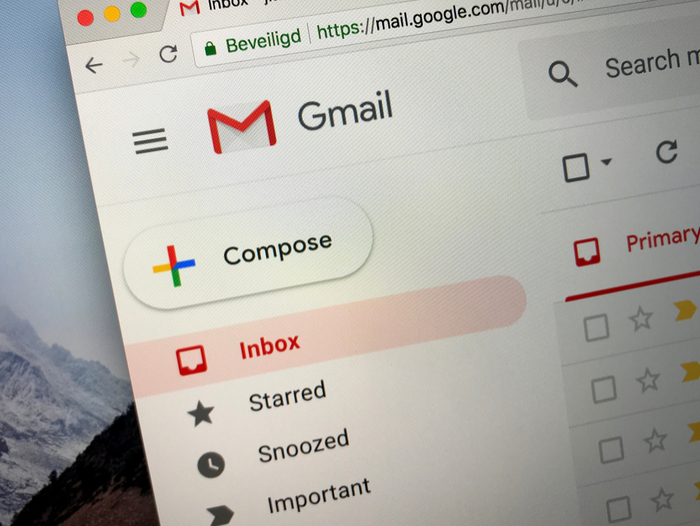
1. Open Gmail
The first thing you need to do is find the Google Sidebar in the top right-hand corner of your computer. After that, click the Gmail icon to open your Gmail. (Or, log in to your Gmail account.)
2. Locate your settings and inbox
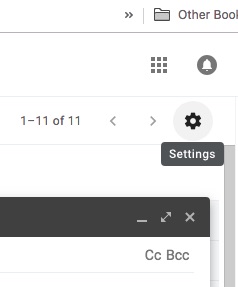
Once you have Gmail open, locate the Settings icon. This icon can be found in the top right-hand corner of your Gmail. Once you’ve found it, click settings. After that, locate the tab that is labeled Inbox.
3. Change your inbox
Once you’ve located the Inbox tab, change the “Inbox type” section. The drop-down menu contains several options, but you will need to select the “Default” option. (However, if you want to hide all the tabs, you will need to select another inbox type.)
4. Select tabs
Finally, once you have changed the Inbox type to Default you will need to go to the “Categories” section. Once you’re in the Categories section, check the boxes of tabs you want to show. This means that you can add or remove any categories. In addition, you can also hide categories that you don’t want to show but that you don’t want to delete.
After you have finished adding and removing tabs, scroll to the bottom of the page. Then, click the “Save Changes” button to finalize all of your additions and removals.
It is that simple! In four easy steps, you can add and remove any tabs from your Gmail to make it look exactly the way you want it.

Miranda Lucas is a writer based in Austin, Texas. Since graduating from the University of Michigan, she's written for numerous web-based publications. In her free time, she enjoys running, camping, and learning Spanish. Every year, she asks Santa for a second season of Firefly, but she's starting to think Santa isn't real.
Latest from Miranda Lucas
You may also like
 News
NewsThe biggest failure of the year in the video game world is now free for you to check if it was really that bad
Read more
 News
NewsCD Projekt RED sets a date for The Witcher 4, but shatters the hopes of Cyberpunk 2077 fans
Read more
 News
NewsJames Cameron considers it "horrifying" to replace actors with AI
Read more
 News
NewsThe Master Chief from Halo is iconic, but his character design was a headache for Bungie
Read more
 News
NewsWicked will have a new story written by the original author of the musical
Read more
 News
NewsHytale, the indie Minecraft, has returned with a very interesting business strategy: to claim that it will be released "incomplete and broken"
Read more