How To
How to: install CyanogenMod in 10 minutes with CyanogenMod Installer

- December 24, 2013
- Updated: July 2, 2025 at 7:57 AM

Until now, installing a ROM on a smartphone was tricky, but with CyanogenMod Installer that’s a thing of the past. The process is very simple and can be carried out in just a few minutes. I’ll explain how.
CyanogenMod (CM) is the name of the most famous custom ROM for Android. It’s an open-source Android variant, which adds features and options that can’t usually be found in the ROM provided by the manufacturers. With CM, for example, you can manually increase CPU power or change the look completely. Phone performance tends to improve and in some cases, CyanogenMod is superior to the pre-installed one.
In addition, CyanogenMod adds root to the phone – in other words, it allows you to be a superuser. As I said, there are many good reasons for rooting the phone: you can do things that are normally forbidden, such as complete backups, uninstalling operator applications, or recovering deleted videos and photos. The freedom that it gives you with your rooted Android phone is immense.
What you need to use CyanogenMod Installer
To use CyanogenMod Installer you must first install its two applications, one for the phone or tablet and the other for the computer:
- CyanogenMod Installer for Android (2.3.3 or higher)
- CyanogenMod Installer for Windows (Vista, 7, 8)
At the same time, you must do the following:
- Make sure you have a good USB cable ready to connect the device to the PC
- Disable the antivirus so it doesn’t interfere with the procedure
- Make sure your phone is fully charged
- IMPORTANT: make a backup of your Android
- IMPORTANT: temporarily disable two-step verification or you’ll run the risk of being locked out of your phone and your Google account (see here)
Finally, you need to check if your mobile phone or tablet is compatible with CyanogenMod Installer. The list is regularly updated on the official CyanogenMod website. Don’t worry, your device doesn’t need to be rooted.
1. Installing CyanogenMod Installer on your Android
The first thing you have to do is install CyanogenMod Installer on your phone or tablet. If you’re not able to, it means that the app is not compatible with your device.

If CyanogenMod Installer freezes after running it, it’s waiting for you to connect the device to the PC. Go to point two of the tutorial below.
2. Installing CyanogenMod Installer on Windows
Next install CyanogenMod Installer on Windows Vista, 7, or 8 (the Mac version is coming soon). The wizard will need administrator permission.

The process is simple and fast, and ends in a screen that asks you to connect the phone to the PC. Temporarily disable your antivirus and use a good quality USB cable, making sure to only connect to built-in USB ports.
3. Connect the phone to the PC and follow the prompts in Windows
By connecting the phone (or tablet) to the PC via the USB cable, CyanogenMod Installer for Windows should be able to detect the model of the device. From that point onward, everything is automatic: the program starts to download the necessary files and transfers them to your phone, which will reboot in recovery mode (don’t worry, and most of all DON’T DISCONNECT!).

When everything is ready to go, you will see a message appear in CyanogenMod Installer and a button to confirm that you want to continue with the installation.
Confirm that you do.

4. Start the installation process
Don’t restart the PC or disconnect the USB cable: after pressing the “Install” button, CyanogenMod Installer will start to move files and configure your device.

5. Confirm that you want to unlock the bootloader
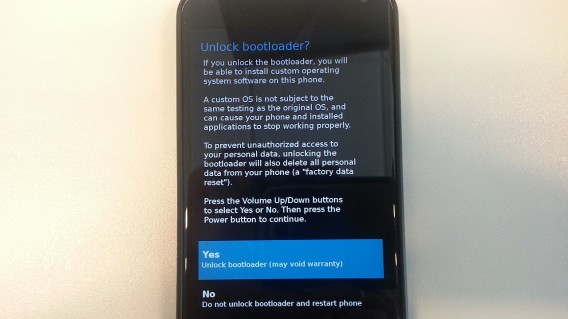
You’re now coming to perhaps the most complicated part of the process: unlocking the bootloader, in other words, the operating system manager of the phone or tablet you’re using (changing the OS of your phone is also known as “flashing”). CyanogenMod Installer explains it clearly: using the volume keys to move, select the “Yes” option and press the power key to confirm.

This is how it looks on a Nexus 4. Note that I’ve already moved the selection to “Yes” but have not yet pressed the power button to confirm.

After confirming, this is what you will see on your phone screen (don’t panic, it’s normal). Look at the message “LOCK STATE – unlocked”: this indicates that the bootloader has been successfully unlocked.

6. Wait a few minutes and enjoy
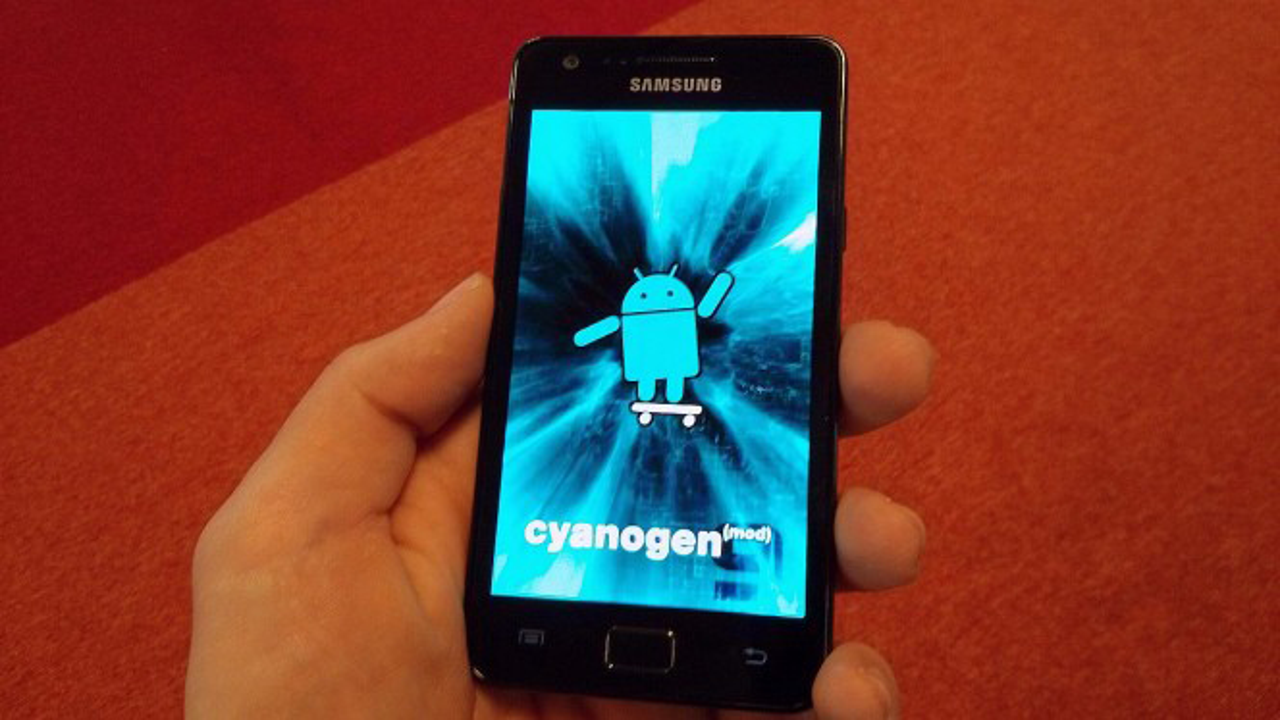
After a few minutes, the installation process will be complete. On your Android screen you’ll see the friendly blue CyanogenMod men waving at you – this means that the installation has been successful.

Wait for the CyanogenMod Installer wizard in Windows to tell you that the installation has been successfully completed before disconnecting the phone:

On your phone or tablet you’ll finally see the CyanogenMod boot logo. It’s worked! And it took less than 10 minutes in total.

It’s a fast, easy and safe system for installing CyanogenMod
From this point on, your Android device will have already installed CyanogenMod. As you can see, you don’t need to root or unlock the phone with complicated tools: the entire process takes less than ten minutes.
What’s been your experience of using CyanogenMod Installer?
You may also like
 News
NewsThe best time travel movie you don't know arrives today on Netflix
Read more
 News
NewsAfter two decades of waiting for it, this medieval game that fans kept asking for is back
Read more
 News
NewsWe do not lose faith in the adaptation of 'One-Punch Man'. The project is still going strong, although we will have to wait
Read more
 News
NewsKeke Palmer will star in the adaptation of this 1980s movie
Read more
 News
NewsIf you're a fan of Yellowstone, you can't miss this period series that just premiered on Netflix
Read more
 News
NewsThe surreal stories of Chuck Palahniuk will return to the big screen with this adaptation
Read more