Since Marvel Ultimate Alliance 3 hit the shelves last month, we’ve barely seen the sun. It’s been a decade since Ultimate Alliance 2, so we were understandably thrilled when we heard the title was making a comeback, and that Koei Tecmo’s Team Ninja was at the helm, and the game was being published by Nintendo.

While the game is fairly intuitive (especially if you played the earlier games in the series) there are still a number of things we wished we’d known going in, like the best way to prioritize leveling up characters, manage the complex ISO-8 system, or minimize grinding before tackling the game’s tougher encounters. There are definitely a couple of spikes in difficulty, so we put together a list of 10 tips to help get you started off on the right foot. If you don’t own the game yet, you can buy it here.
1. Adjust the camera and controls
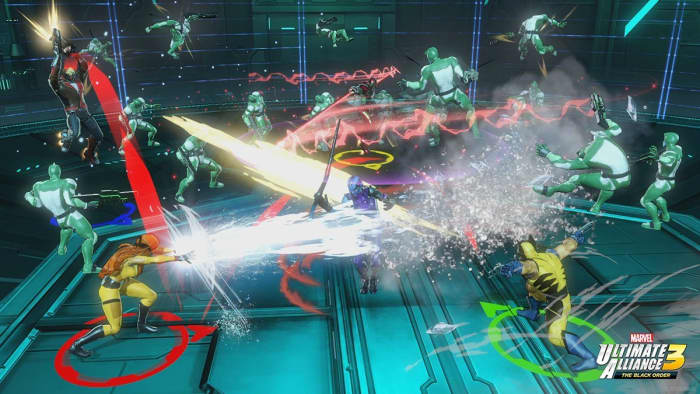
First things first, the game’s an isometric top-down hack n’ slash. You’re going to spend a lot of time trying to keep track of the character you’re currently playing amidst a screen full of enemies, colorful explosions, and walls and objects that the camera likes to get stuck behind. Needless to say, navigation is difficult. Angry Joe explains it best in the vid below (and he explains angrily, so NSFW warning):
If you’re playing couch co-op with your friends you’re going to be fighting over control of the camera often; it’s inevitable (cue Thanos’ “I am inevitable”).
There are two things that can help: If you’re playing the game by yourself you can switch over to “heroic camera,” which keeps closer to the character you’re playing instead of hovering in top-down. The second thing you can do is play the game online, since that allows you and the other players to move further apart before the camera gets confused.
If you’re new to the Nintendo Switch, there might also be a learning curve for using the controls. The Options menu has three different configurations you can cycle between, though, so at the start of the game find the one that feels most intuitive.
2. Use multiple save slots
This is a really general video game tip, but it’s one that bears repeating here: There are five save slots available in Ultimate Alliance 3, and you should be cycling between at least two of them.
“But the game auto-saves, like, all the time,” you might say. This is true, but it might also auto-save after you’ve made a really, really bad decision. Trust us, you don’t want to be stuck with a save where you accidentally deconstructed the wrong ISO-8 crystals or spent your limited resources on the wrong upgrades or characters.
Additional save slots provide you with the opportunity to experiment. Is it worth enhancing this ISO-8 crystal? Will giving Wolverine ALL of our XP cubes really get us through this harder fight? If it wasn’t worth it, this way you’re not 100% committed to risky decisions.
You’ll thank us later.
3. Use synergies. Like, a lot.
Right after the prologue mission, the game teaches you about using synergies, Ultimate Alliance 3’s take on the fusion system introduced in Ultimate Alliance 2. Essentially this involves two characters using their abilities in tandem to enhance the damage, increase the effective radius, and/or reduce the cost of their abilities.
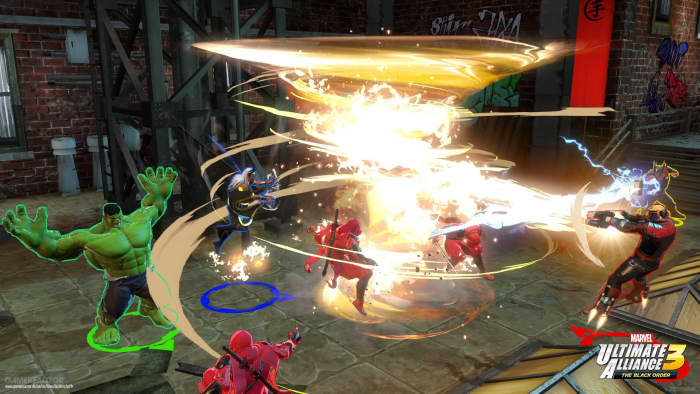
You can activate these abilities in two ways. You either initiate (by performing an ability with ZR instead of R) and the AI joins you, or you can respond to a synergy request by pressing B when the option arises (it’ll cue you in with a flashing button, visual, and a sound effect). Synergies fill up the extreme meter quicker, deal more damage, and stagger larger targets more effectively, so don’t be shy to use them often. Characters can also use synergies to open certain blocked paths or secret doors, so keep your eyes peeled.
4. Beating the stagger meter
One of the new features implemented in the series is the stagger meter – that purple bar under a boss or mini-boss’s health meter. You can do damage to the boss even if they aren’t staggered, but you’ll do way more if they are. Take down that purple bar and then hit ’em with the best stuff you’ve got to drop them more efficiently.
While the most intuitive tactic is to use your synergies or extreme attacks when the meter is down, you might actually be better off using them just before the stagger bar depletes. Some bosses regen their stagger meter really quickly, so in order to maximize damage and hit them before they can escape, trigger these moves just a hair early. Later on in the game, you might also find ISO-8 that does extra damage to this meter, so outfit your team with that in mind.

Guide to Marvel Phase 4: Everything you need to know
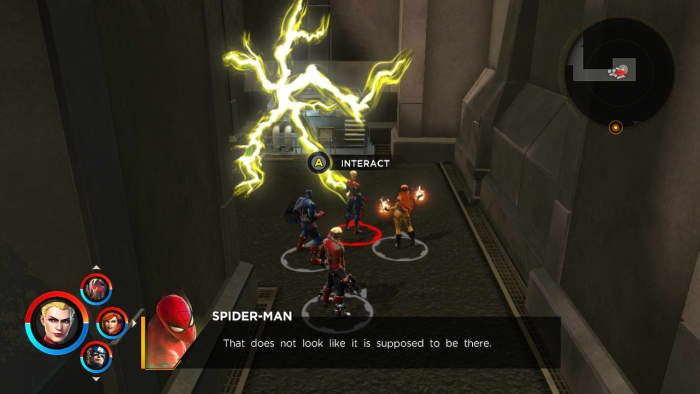
Read now ►5. Throw something at it
While we’re on the topic of beating the stagger meter, nothing does the job quite like a forklift thrown at the bad guy’s head. For whatever reason, thrown objects dish out a ton of damage to enemies, especially to their stagger gauge. If you spot an object you can throw, it’s there for a reason.
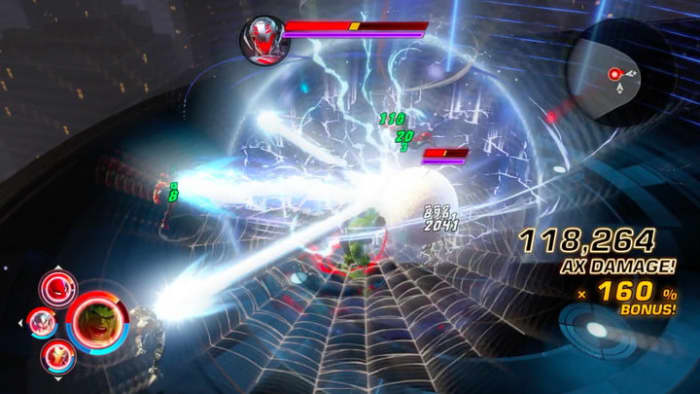
6. Time your extreme attacks
Extreme attacks are the strongest move in your character’s bag of tricks, and they can only be done once your attack momentum reaches a peak threshold. It may be tempting to use it right away, but the smart move might be to save it for when you really need it (like that boss fight around the corner).

Extreme attacks (even when just one character does it) are usually enough to topple the stagger meters of a crowd of mini-bosses, so don’t spend all four needlessly (unless you’re trying to maximize your damage for a rift challenge or something). Maybe try one or two at a time and see how much damage you can dish out. The only time you’ll really need all four is when you’re up against a tough boss. Then every bit of damage counts.
Lastly, boss fights are often split into multiple stages. If you look carefully at an enemy’s health bar you can see where the partition hits. Don’t perform your extreme attacks if they’re about to bump to the next stage of the fight; all that damage will be wasted.
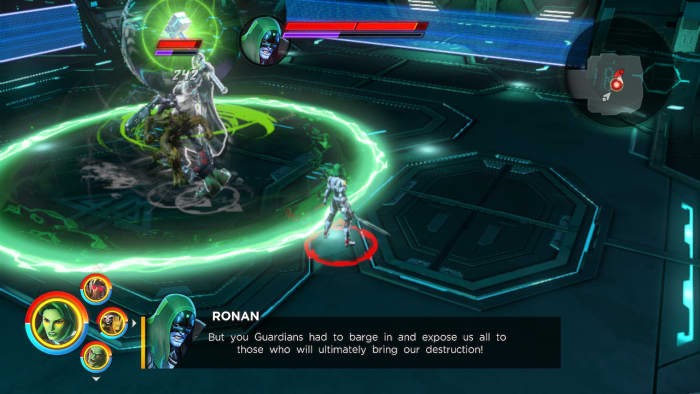
7. Manage your team bonuses
Earlier games in the series would put in fun names for specific teams of four (‘bruiser brigade,’ ‘energy corps,’ ‘femmes fatales,’ or ‘classic avengers.’). Ultimate Alliance 3 altered the formula a bit and made it both more flexible and more approachable.
First off, now it only takes two characters with matching affiliations to provide a bonus for your team, and the specific percentage increase it rewards is displayed at the top of the screen.
Second, you can press L to see the affiliations every character has on the hero selection screen. That way you can stack your bonuses more efficiently.
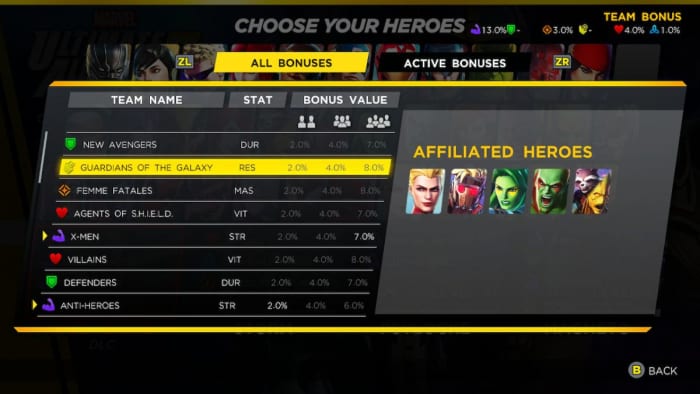
This opens up two avenues of play: You can either put together a team that’s weak in one area, but stack them with team bonuses to make up the difference; or you can stack one specific bonus really high, providing a really noticeable change to, say, your energy output or your durability. Don’t forget ISO-8 bonuses stack on top of that!
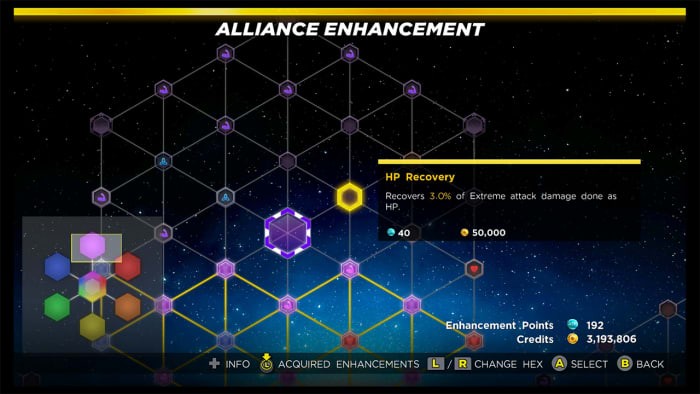
8. Use the Lab
A lot of your team’s success will take place behind the scenes. The Alliance Enhancement network and ISO-8 management are key components towards buffing your characters, negating weaknesses, and even unlocking entirely new facets to your game, like extra revives, faster XP gain, or health regen.
If you’re finding a particular juncture of the story is suddenly way harder than expected, it’s probably time to check out the lab (accessible from a SHIELD point once the feature is unlocked) and pick some upgrades. Once you’ve stretched the first portion of the Alliance Enhancement network out to the edges of the shape, it’ll unlock entire new sections to explore, each one with a focus towards one attribute (strength, mastery, durability, energy, health, and resilience). Max out a section and you’ll unlock a powerful unique bonus.
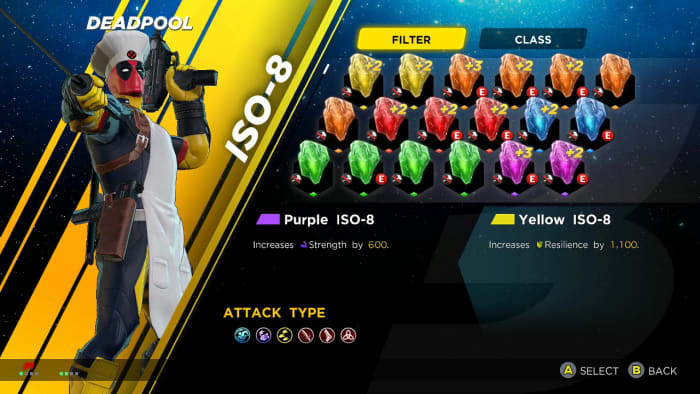
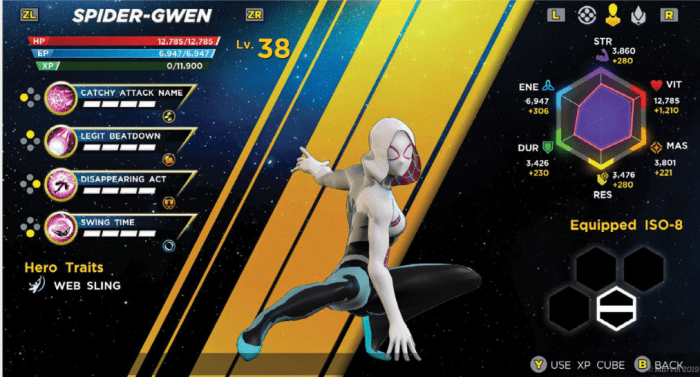
9. Manage your ISO-8
ISO-8 is probably the most complex part of this game, so we’ll spare you the nitty gritty details. If that’s what you’re after, check out this in-depth video.
Fundamentally, these are crystals of varying rank and color, and they can be slotted into your characters on the Team menu (accessible via SHIELD access point or even just the base game menu). As you level up you’ll unlock more ISO-8 slots per character, and the fourth slot is unlocked by filling out all of the 100,000-cost ticks in the Alliance Enhancement menu, which will probably take a few playthroughs.
What’s important to know right up front is that you can swap ISO-8 between team members any time you like, so we recommend giving your team a once-over every time you bring out new characters. This also means you can keep swapping them between characters whenever you switch up your squad.
When it comes to deciding which ISO-8 to give to which team member, check out specific strengths and weaknesses on their character screen. Does this character use mostly strength-based attacks? Then give them a purple strength ISO-8 to boost their damage. Does this character have health regen? Then give them a red ISO-8 to synergize with that trait so they passively heal even faster.
Lastly, we recommend deconstructing any ISO-8 below C grade. It takes a LOT of ISO-8 to build a crystal towards any noticeable bonuses, so these weaker crystals are better ground up and fused with crystals that are already powerful.

How well do you know the MCU?
Take the quiz ►10. Leveling up
Keeping your characters at a comfortable level is one of the most challenging aspects of the game, and it can be discouraging when the game hands you a new level 30 character that blows your current team of level 14 characters out the window. There are a few things you can do to keep your team strong enough to tackle the game’s increasingly difficult scenarios.
Rifts can be grindy, but there’s no better place to level up your characters, especially in Wave modes. The caveat is that you have to beat the challenge for the rewarded levels to stick, so be sure you don’t bite off more than you can chew. Rifts are also great places to find the second best way to level up quickly – XP cubes.
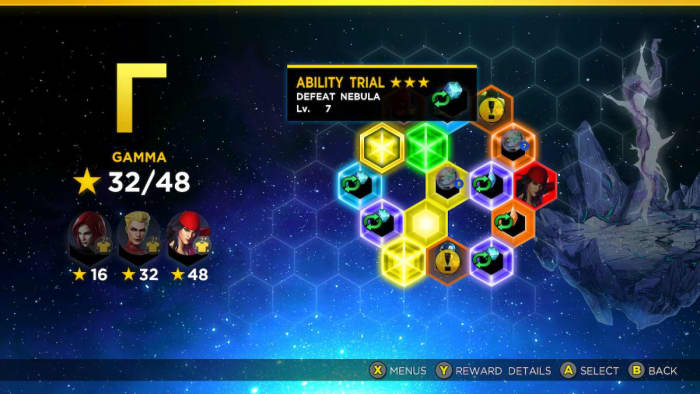
XP cubes can be found in scattered boxes throughout the game (usually hidden behind breakable synergy walls or secret panels), but they’re more frequently obtained through rift challenges – especially the harder ones. One trick we found was to take a powerful team (comprised of the higher-level characters the game rewards you with around mid-game) and sending them to complete the harder challenges in the first rift. Then we went back and distributed all the XP cubes to our weaker characters to balance out our team.
We hope these tips help you get a strong start in Marvel Ultimate Alliance 3. Let us know if there are any other strategies you’ve found, and stick with Softonic for the latest in tactics, guides, and upcoming DLC for the game!
Marvel Munchkin is the card game every superhero fan needs
read on, true believer ►