News
Capture your iPhone or iPad screen: A step-by-step guide to recording your device
Slide, touch a button and you're done
- April 16, 2023
- Updated: July 2, 2025 at 2:30 AM
Our mobile devices have become absolutely essential tools for our daily lives. We do so much on them, besides allowing us to communicate with our loved ones. They also give us the ability to work, study and entertain ourselves – perhaps by listening to Apple Music Classical – and that’s just three examples. The screen of our devices sees everything from the daily weather to that game in which we passed the last level of our favorite game.
For all these reasons, it is more than likely that on several occasions we will want to record everything by recording the screen. Screen recording can be very useful in different situations, for example, if we want to share a tutorial with a friend or family member, an explanation of what we are doing on our device or if we want to record a fragment of a game to share it on our social networks. It can also be useful to save a backup and proof of an important transaction, among other uses.
How to record anything that comes across your iPhone screen
To start recording the screen on our iOS devices, it is not necessary to download any additional application, because from iOS 11, our iPhone and iPad incorporate this feature in their operating system. All we have to do to get started is activate the option for the recording to appear in our Control Center. The steps are very simple:
- Open the Settings app on your iPhone or iPad.
- We enter the Control Center.
- If it appears, tap the green “+” next to Screen Recording.
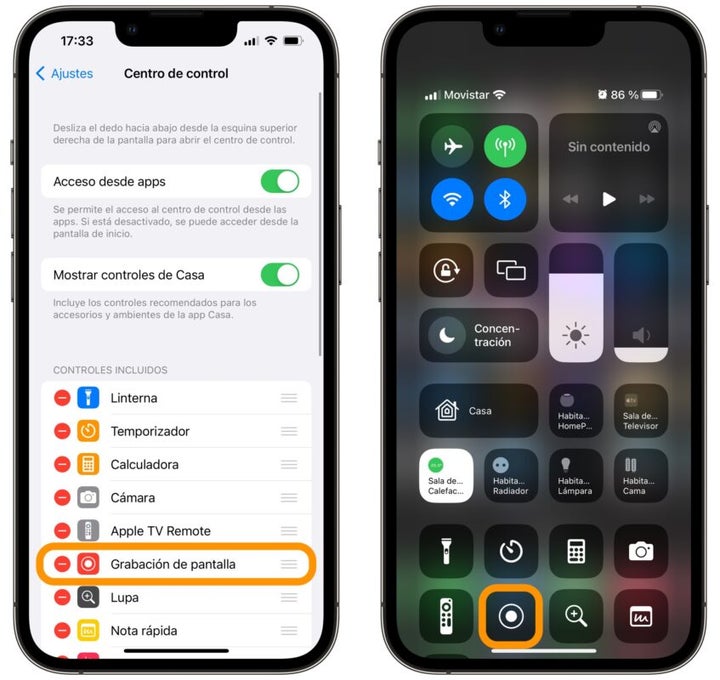
Once the option is in our Control Center we will be ready to record from any application or section of the system. All we have to do is follow these steps:
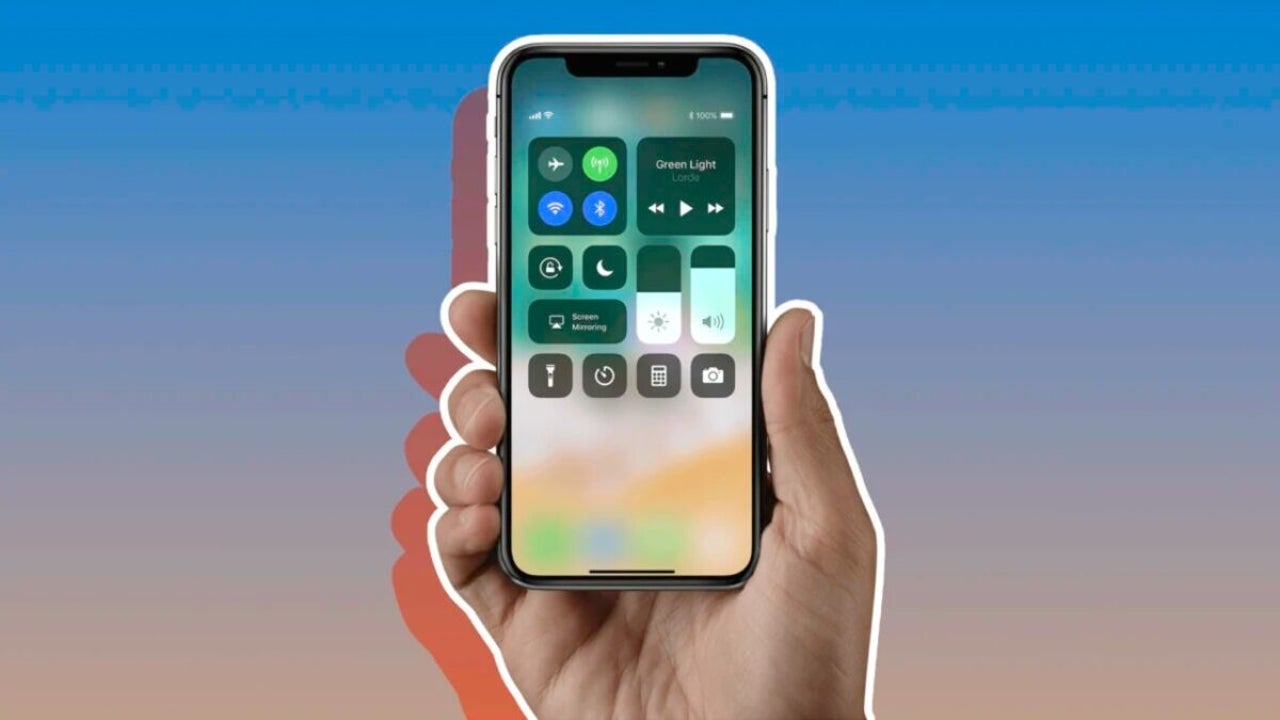
- Open the Control Center on your iPhone or iPad by swiping down from the upper right corner of the screen.
- We touch the button we have just added to start recording. Remember that it is reminiscent of the circular REC button, inside a thin circle.
- We wait for the three-second countdown until the recording starts. In the meantime, we can exit the Control Center and go to what we want to record.
- To end the recording, tap the red button at the top of the screen and confirm by tapping Stop.
Once we have finished recording, we will receive a notification informing us that the recording has been automatically saved in the Photos app on our iPhone or iPad. If we decide to touch the notification, it will take us directly to the video we have just recorded. Otherwise, we will find it next to the rest of the videos ready for us to share or edit.
Note that during recording, our device also captures the audio it hears through the microphone. If we do not want this audio to be recorded, we can disable the microphone before starting the recording. To do this, we need to press and hold the record button in the Control Center that we saw in step two and then tap the microphone at the bottom until we read “Off”. Alternatively, if we need to mute a recording after the fact, we can edit it from the Photos app to turn off the sound track.
Finally, the quality of the recording will be directly related to the quality and resolution of our screen. In this sense, as long as we have the option, it is quite possible that we prefer to record the same operation from our iPad than from our iPhone.
Screen recording is a very practical and useful feature on our iOS devices, allowing us to share information and capture important moments quickly and easily. Once we have added the option to our Control Center, just swipe and press a button and, as fast as loading our iPhone faster with a shortcut, we will start recording anything in seconds. It’s that easy.
Some of the links added in the article are part of affiliate campaigns and may represent benefits for Softonic.

Architect | Founder of hanaringo.com | Apple Technologies Trainer | Writer at Softonic and iDoo_tech, formerly at Applesfera
Latest from David Bernal Raspall
- The Software Behind the Success of Zootopia 2: How Autodesk Maya and Flow Production Tracking Brought It to Life
- The Web You Remember Is Waiting Here: Share Your Memory and Win a Trip to Switzerland
- Wonder 3D in Autodesk Flow Studio levels up the game: check out the AI that models anything in seconds
- The iPhone Fold has leaked: These could be Apple’s foldable specs
You may also like
 News
NewsNext week, one of the best animes in television history returns
Read more
 News
NewsWindows 11 wants to convince users and is considering reversing its most controversial measure in years
Read more
 News
NewsEverything we know about the third installment of Super Mario Bros.: the movie
Read more
 News
NewsYouTuber manages to complete Dark Souls without dodging a single time throughout the game
Read more
 News
NewsMindsEye wants to make a Cyberpunk 2077 with its upcoming updates
Read more
 News
NewsArc Raiders receives a new update that improves the game's weak point: the matchmaking system
Read more