How To
Uninstalling Windows 11 updates the right way

- June 8, 2022
- Updated: July 2, 2025 at 3:40 AM

Updates are more often than not a benefit to any software, Windows 11 included. However, sometimes updates can cause more frustration than they’re meant to. We’ve seen so many instances where Windows software updates have gone a little wrong and resulted in systems malfunctioning or critical features disappearing from the software’s user interface.
For instance, remember that time not too long ago when the Windows 11 taskbar update caused a few items to go missing from the taskbar? In preparation for the next time Microsoft inadvertently throws a spanner at our PCs, we’re going to guide you through how to remove an update from Windows 11.
Types of Windows 11 Updates
There are two main kinds of updates where Windows 11 is concerned. First, you have the cumulative updates. These are normal system updates that patch bugs and vulnerabilities within the Windows 11 ecosystem. The second type of update is the build. This is a far more comprehensive system overhaul that usually brings significant changes in both functionality and appearance.
In Windows 11, we receive cumulative updates far more often than we see a full-blown build update. This is because the cumulative updates are a lot smaller, more often than not.
Below, we’re going to give you two guides. One will be how to uninstall cumulative updates, and the other will be how to remove an entire build update from your Windows 11 device.
How to uninstall Windows 11 updates
How to Uninstall a Cumulative Update on Windows 11

This is a relatively easy process to achieve. All you need to do is select the cumulative update you’d like to remove and it will be removed.
Step 1: Head to Settings
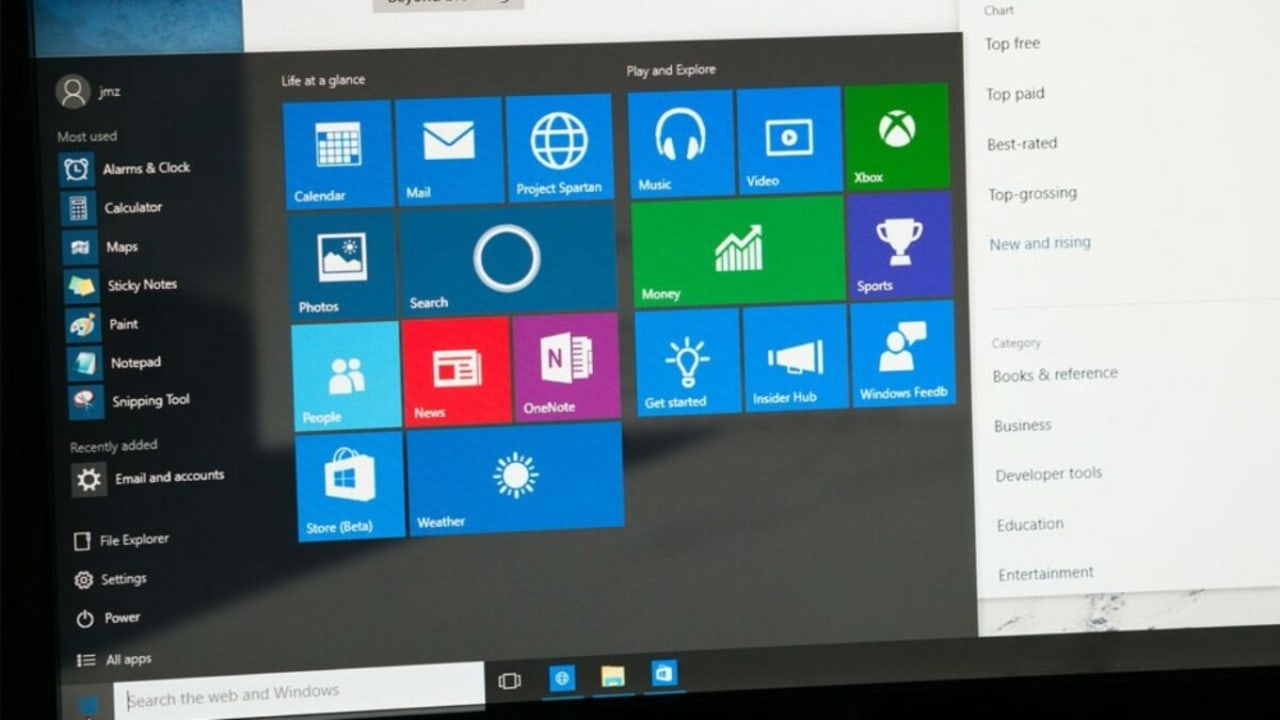
The first thing you need to do is open your Windows 11 Settings app. There are a few ways to do this. You can navigate down to the taskbar and hit the Start button and then simply click on Settings. Or, you can hit the Windows key + i on your keyboard and be taken directly to Settings. You could also type ‘Settings’ into the search dialogue box in the taskbar.
Step 2: Windows Update
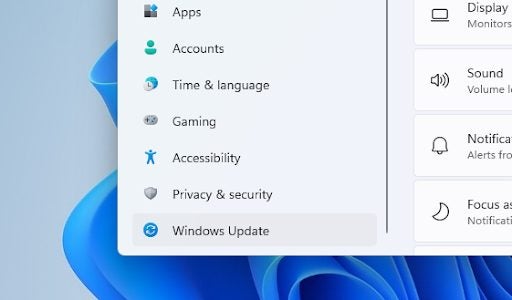
In the bottom left-hand corner of the Settings app interface, hit Windows Update. You can click on the ‘Windows Update’ banner on the right-hand side panel of the Settings interface but this is primarily just to check whether a new update is available.
Step 3: Uninstall Updates
Under Windows Update, you’ll see a list of cumulative updates. If you scroll down, you’ll see a few more options such as Pause Updates and Update History. Click on Update History and then head to Uninstall Updates.
Step 4: Pick an Update
All that’s left to do is select the update you’d like to uninstall and let the uninstallation process begin. For safety sake, ensure that the name of the update you want to uninstall matches with the update you click on exactly. You don’t want to accidentally uninstall the wrong update and mess something up on your Windows 11 device. Once you click Uninstall, you’ll be prompted to confirm the action. Thereafter, the selected update will be uninstalled.
How to Unistall Windows 11 Builds

This is useful if there’s a specific problem with a recently installed build that renders your device less functional than before. There is however a catch. You only have 10 days from the installation of a new build to decide to uninstall it.
Once 10 days pass, the build is here to stay and you cannot roll your version of Windows 11 back. If you wait too long you may have to reinstall completely or perform a factory reset for Windows 11.
Step 1: Settings
The first step in uninstalling a build that is less than 10 days old is to head to your Windows 11 Settings app. As mentioned above, you can open settings in one of three ways; Windows key + i, by using the button in the Start menu, or by searching for it in the taskbar search box.
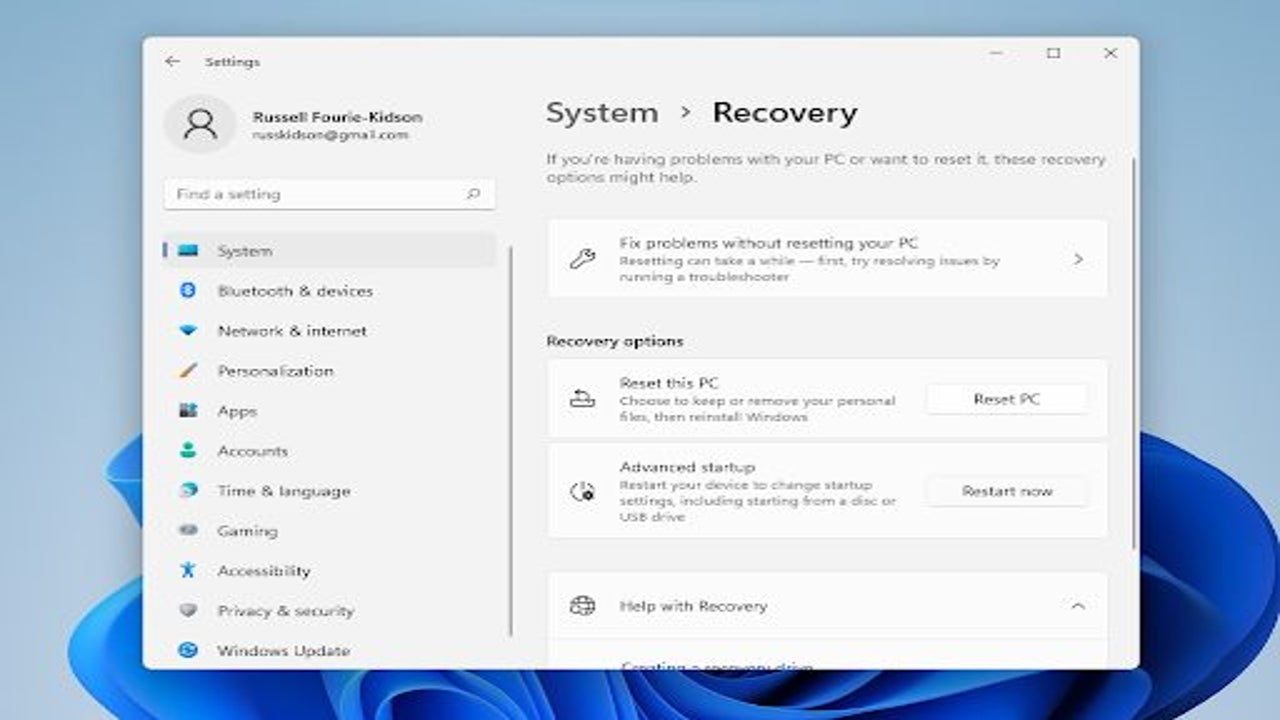
Step 2: Recovery
Next, you’ll want to navigate to System, the first option on your list of general settings, and click it. Then, you’ll need to scroll down the list og general system settings and click on Recovery.
Step 3: Restart
Under the recovery options, you’ll want to locate Advanced Startup, and then hit Restart Now. Windows 11 will bring up a prompt reading ‘We’ll restart your device so save your work.’ Here, you’ll need to hit Restart Now again, and the process will begin. When the PC reboots, you’ll be greeted with a screen reading ‘Choose an Option.’ Here, you’ll want to hit Troubleshoot, head to Advanced Options, and then click on Uninstall Updates.
You’ll now see an option reading Uninstall Latest Feature Update. Hit it. You’ll be asked to confirm. Simply click Uninstall Feature Update, and Windows 11 will remove the most recent feature update or build installed on your device.
If it doesn’t work, get rid of it
Windows 11 has really revolutionized so many aspects of modern computing. One of the kindest aspects of this is that removing troublesome or unnecessary updates is more of a breeze than ever. As mentioned above, it’s of cardinal importance that you verify that the update you want to remove matches the version listed in your updates exactly, otherwise you could cause more damage resulting in having to reinstall various updates again.
You should also run through this list comprehensively first before attempting it so that you know without a shadow of a doubt that you know what you’re doing. Be sure to also check out our guide on the top 10 essential apps you need for Windows 11.
Latest from Russell Kidson
You may also like
 News
NewsCan you guess which streaming service we watch more than Netflix during the day?
Read more
 News
NewsThe Netflix Assassin's Creed already has lead actors
Read more
 News
NewsStranger Things returns for Christmas Eve with the Duffer brothers promising us an LGBTIQ+ resolution for the story
Read more
 News
NewsOne of the games canceled by Microsoft this year might have been closer to completion than we imagined
Read more
 News
NewsThe most acclaimed film by Christopher Nolan was going to be directed by Steven Spielberg
Read more
 News
NewsWorld of Warcraft announces a new open world system
Read more
