How To
Recover deleted files With Recuva
- January 25, 2010
- Updated: July 2, 2025 at 9:16 AM
It’s remarkably easy to delete files from your PC accidentally. Even with all the fail-safes and precautionary measures in place, all it takes is a few poorly-placed miss-clicks, and your precious files are relegated to the inky blackness of the void – never to be seen again. Or are they? Enter Recuva with its incredible recovery skills.
While it’s easier than ever before to delete important files, it’s also easier than ever before to recover deleted content. In the article that follows, we’ll use Recuva to snatch those all-important files out of the void’s clutches.
How to recover deleted files with Recuva
Download Recuva
Your first step is naturally to head to the link in the introduction which will take you directly to Recuva’s download page on our website. You can download Recuva’s executable file in a couple of easy clicks.
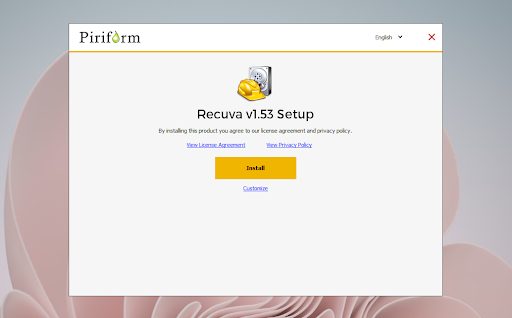
All you need to do to install Recuva is click on the executable file and let the utility make changes to your system. Once the install wizard has run and the installation has completed, the utility will save a shortcut to your homescreen.
Run Recuva
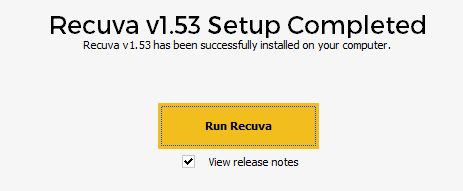
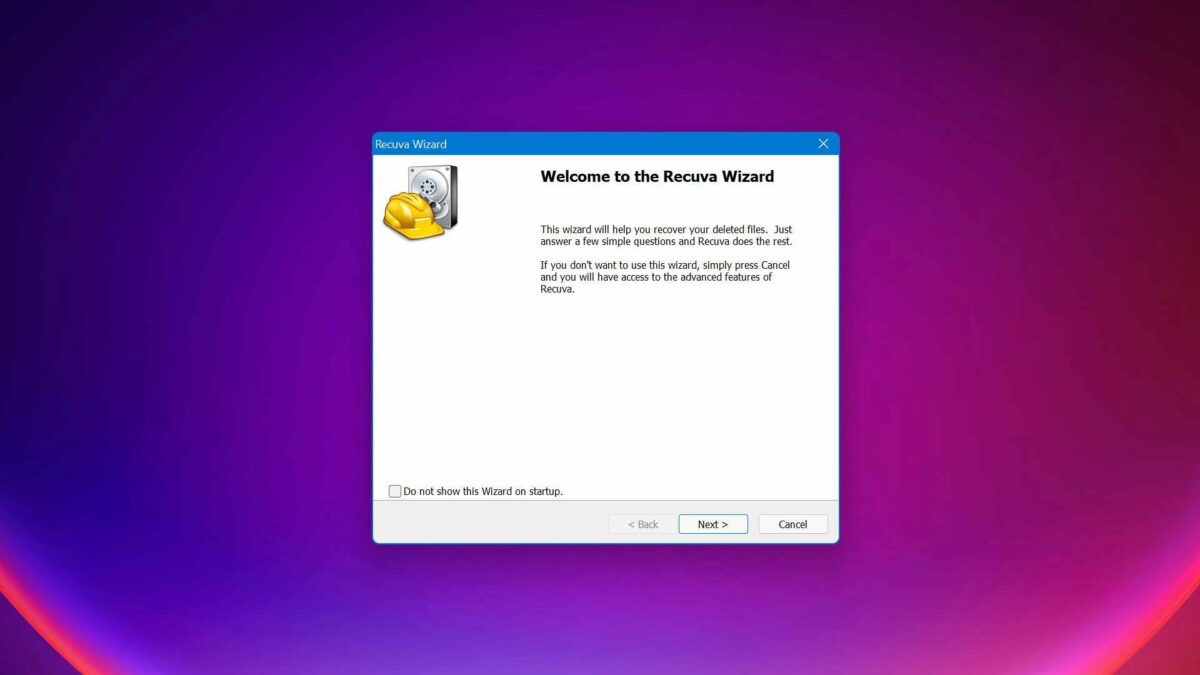
Directly after the installation has completed, you’ll get a pop-up prompting you to run the utility for the first time. If you happen to ignore this, or need the utility again after you’ve used it the first time, you’ll just need to click on the homescreen shortcut, as you would with most other utilities. Once Recuva opens, you’ll notice how simple the interface is. Your use of the utility, from start to finish, is a guided prompt-led experience.
Select files to recover

The first interface you see will ask you to select the type of file you’re trying to recover. This is the most basic information you should know. However, if you’re simply looking for anything that may have been deleted from your system, you can leave the selection on ‘All files.’ If you’re looking for a specific file only, indicating this in the dedicated space within this interface will likely save you some time.
Select the last known file location
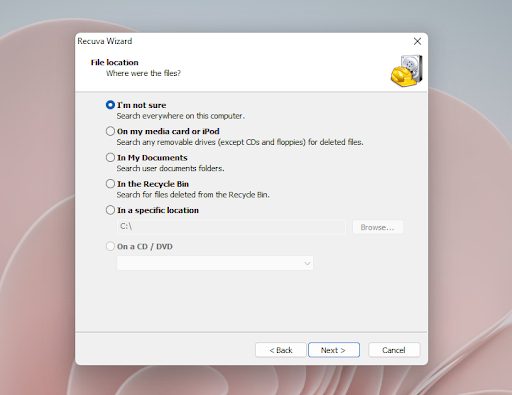
In most accidental deletion cases, you’ll know which type of file you’re looking for, and you might even know the location where this type of file was stored. The next interface is where you specify the particulars of this. Here, you can choose a location so broad as your Documents folder or Recycle Bin, but you can also enter a specific location directory path if you know exactly where your file was. If you don’t know where your file was stored, you can simply select ‘I’m not sure’ and the utility will search your entire computer and all associate drives.
Start Scanning
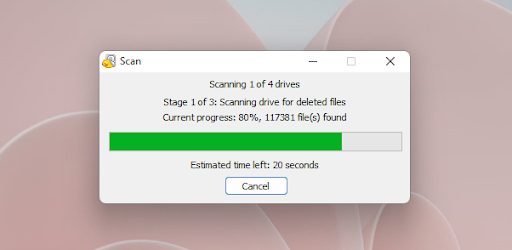
All you need to do on the next interface is hit Start. You’ll see there’s an option to enable a deep scan here, but this isn’t necessary until you’ve scanned your computer at least once. Deep scans take a lot longer than the already advanced search protocols that Recuva employs and should be your last resort when unable to find a specific file.
You’ll now see a progress bar in the signature Windows 11 style. You’ll also see other information here that may be pertinent such as how many files Recuva has found so far. These searches don’t take terribly long; a scan of my system was completed in less than five minutes.
For the purpose of this article I’ll pretend that Recuva didn’t find the file I was looking for. In this case, it might be time to pull out the big guns. Exit Revuca and restart the utilty from your homescreen again. Revert to steps 1-5 again, but when you get to step 5 the second time around, check the box that enables a deep scan. Next, simply click Start to begin the deep scan and wait for the results. You may be waiting over an hour.

Latest from Russell Kidson
You may also like
 News
NewsWhat is Fantastic Frontiers? The new trend that Adobe Firefly helps you create effortlessly
Read more
 News
NewsChatGPT launches its App Store: how it works and what we can do with it
Read more
 News
NewsEscape From Tarkov has sold over a million copies in its first month
Read more
 News
NewsThe leading medical series of recent years returns with a second season
Read more
 News
NewsThe producer of one of the most controversial remakes of the year wouldn't change anything about the game
Read more
 News
NewsKanye West wanted to make a game with Nintendo, but Nintendo had other plans
Read more